Library Management Detailed Documentation
The Library Management Add-On is designed to help librarians and administrators efficiently manage books, authors, publishers, categories, I-Cards, and various book-related transactions.
Introduction
The Library Management Add-On is designed to help librarians and administrators efficiently manage books, authors, publishers, categories, I-Cards, and various book-related transactions. From cataloging books and issuing them to users to handling book requests and managing fines, this product streamlines everyday library operations. All sections are interconnected and provide easy access to information like author profiles, publisher details, book categories, and user-issued data.
How To Install Library Management Add-On?
To Set Up the Library Management Add-On you can follow this link Setup Add-On
Manage I-Cards
- To create a new I-Card, click the “Create” button. Select the User (which will be fetched from the Users section), then enter the Issue Date, Expiry Date, Notes, and Number of Book Issue.
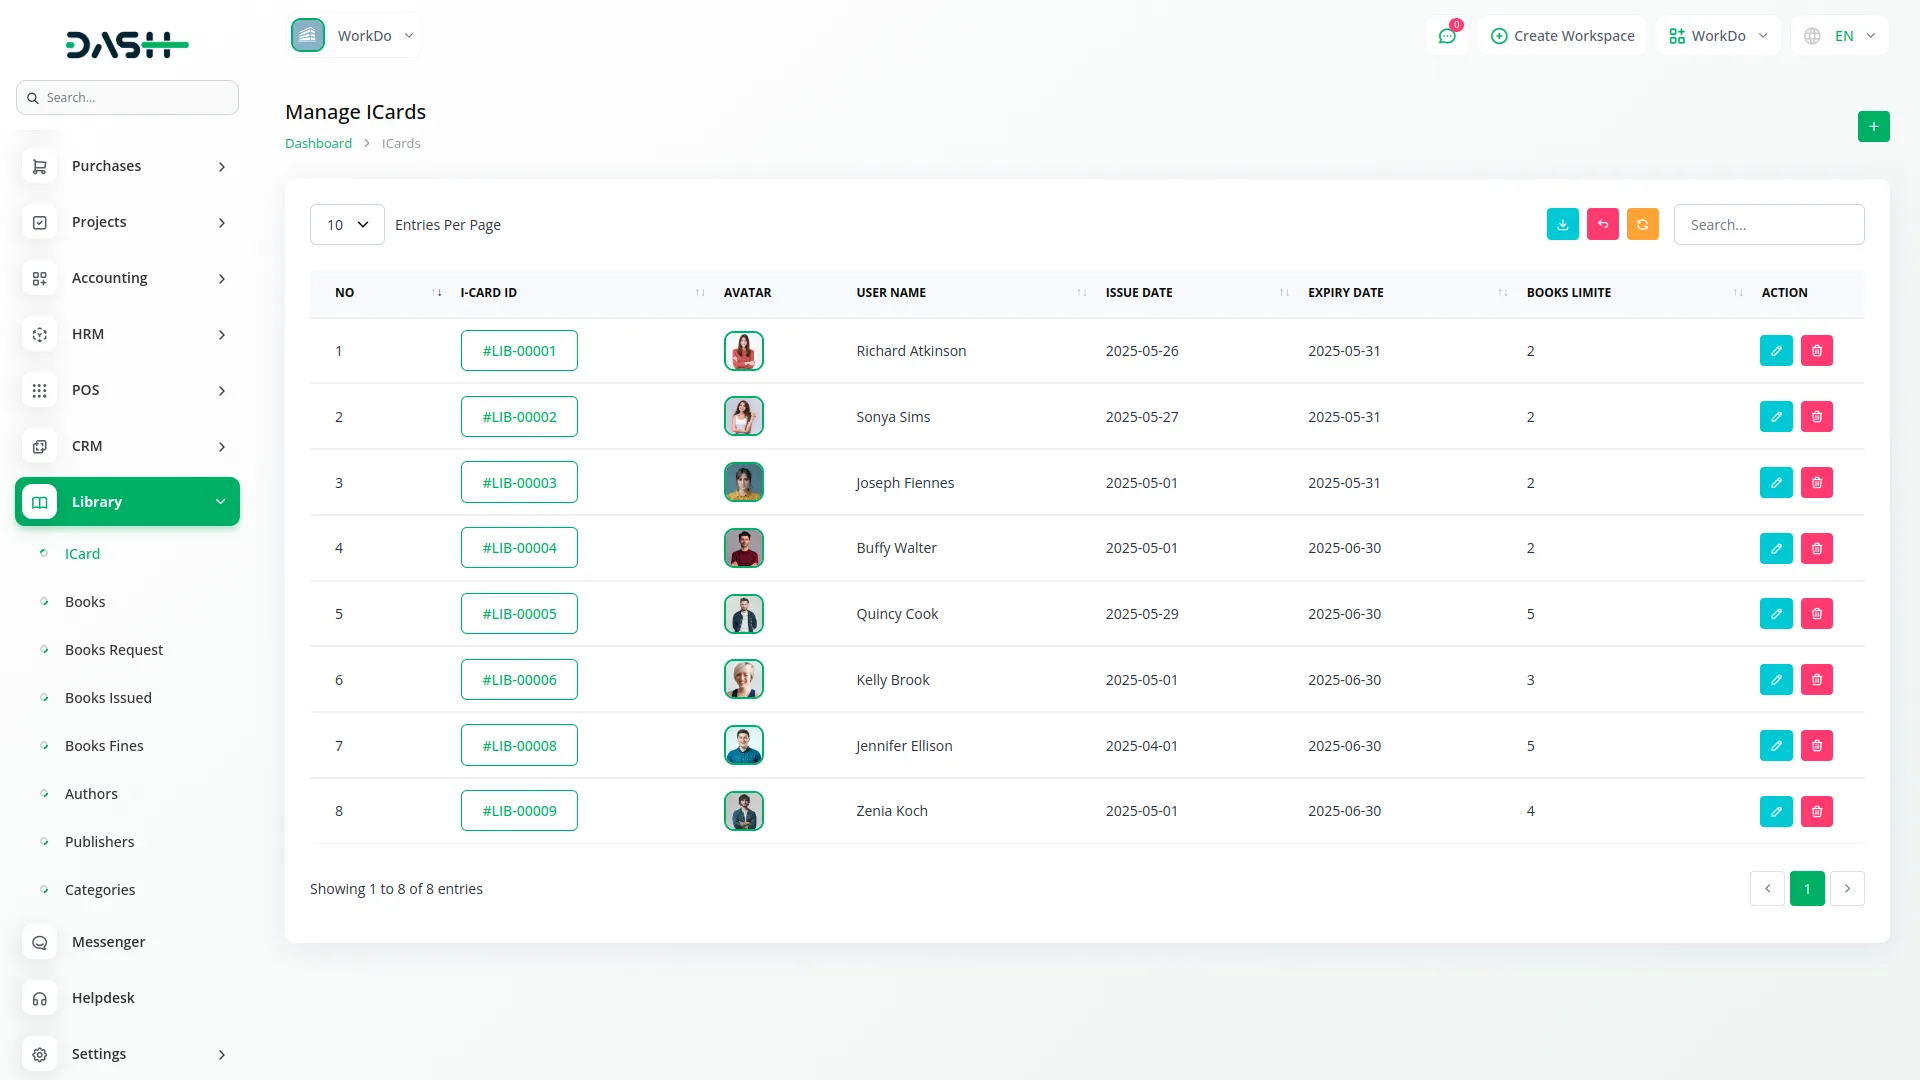
- On the list page, the table displays NO, I-Card ID, Avatar, User Name, Issue Date, Expiry Date, and Books Limit.
- In the Table Columns, the I-Card ID can be clicked to show I-Card details. With the help of the Action column, you can click the “Edit” button to modify the I-Card details, and click the “Delete” button to remove the I-Card from the system.
Manage Books
- To add a new book, click the “Create” button. Fill in details like Book Name, ISBN, Published Date, Author (fetched from the Authors section), Publisher (fetched from the Publishers section), and Category (fetched from the Categories section).
- Also enter the Price, Total Quantity, and select the Status (Issued, coming_soon, reserved, or maintenance). Click “Create” to save the book.
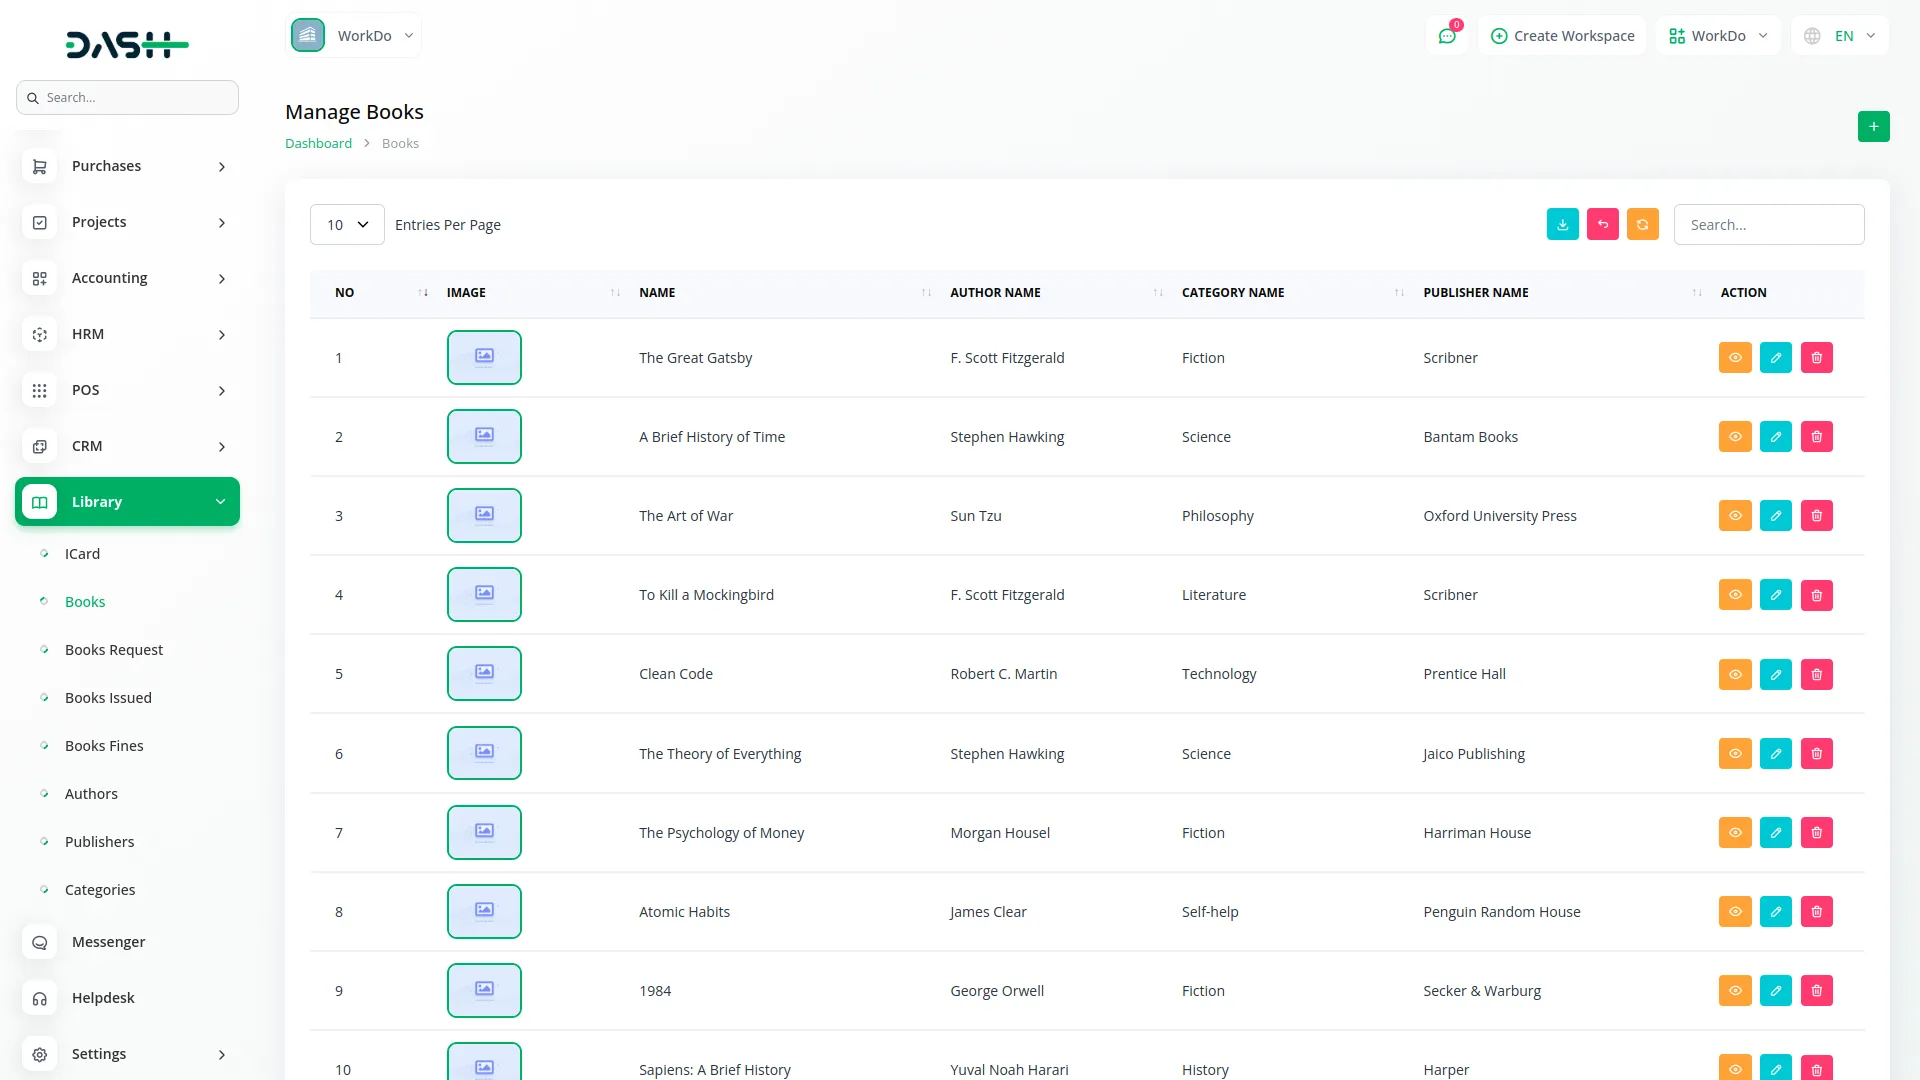
- The list page displays all books with columns such as NO, Image, Name, Author Name, Category Name, and Publisher Name.
- With the help of the Action column, you can click on the “View” button to open the Book Details, click the “Edit” button to change book information, and click the “Delete” button to remove the book from the system.
Manage Book Requests
- To create a new book request, click the “Create” button. In the form, select the User and the Book (Book is fetched from the Book section). Click “Create” once the selection is complete.
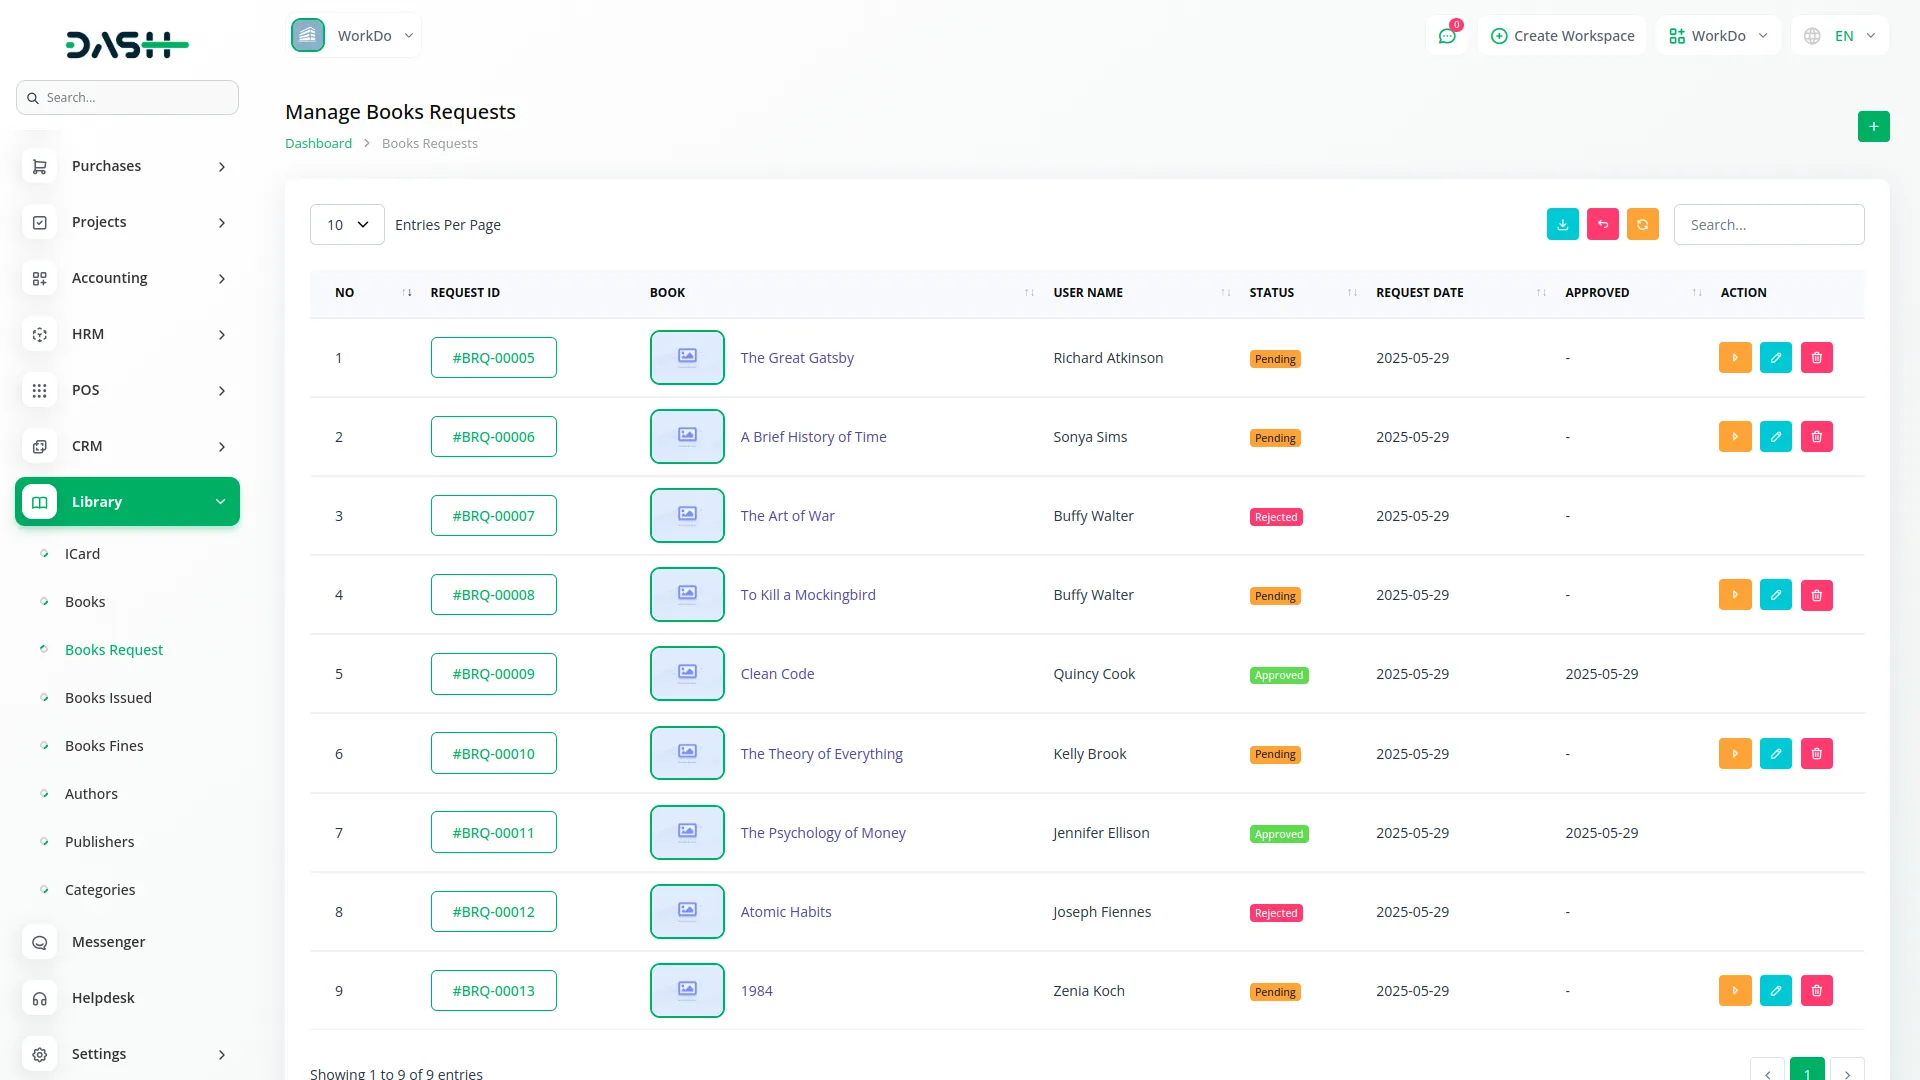
- The list page displays all book requests with the columns NO, Request ID, Book, User Name, Status (Pending, Approved, Rejected), Request Date, and Approved.
- In the Table Columns, the Request ID can be clicked to show Book Request details, and the Book can be clicked to show Book details from the Book section. The User Name is fetched from the Users section.
- With the help of the Action column, you can click the “Request Action” button to open the Book Request form, click the “Edit” button to change the request details, and click the “Delete” button to remove the book request.
Manage Book Issues
- To issue a book, click the “Add” button. Select the User (fetched from the Users section) and the Book (fetched from the Book section). Then fill in the Issue Date, Due Date, Fine Amount Per Day, and Description
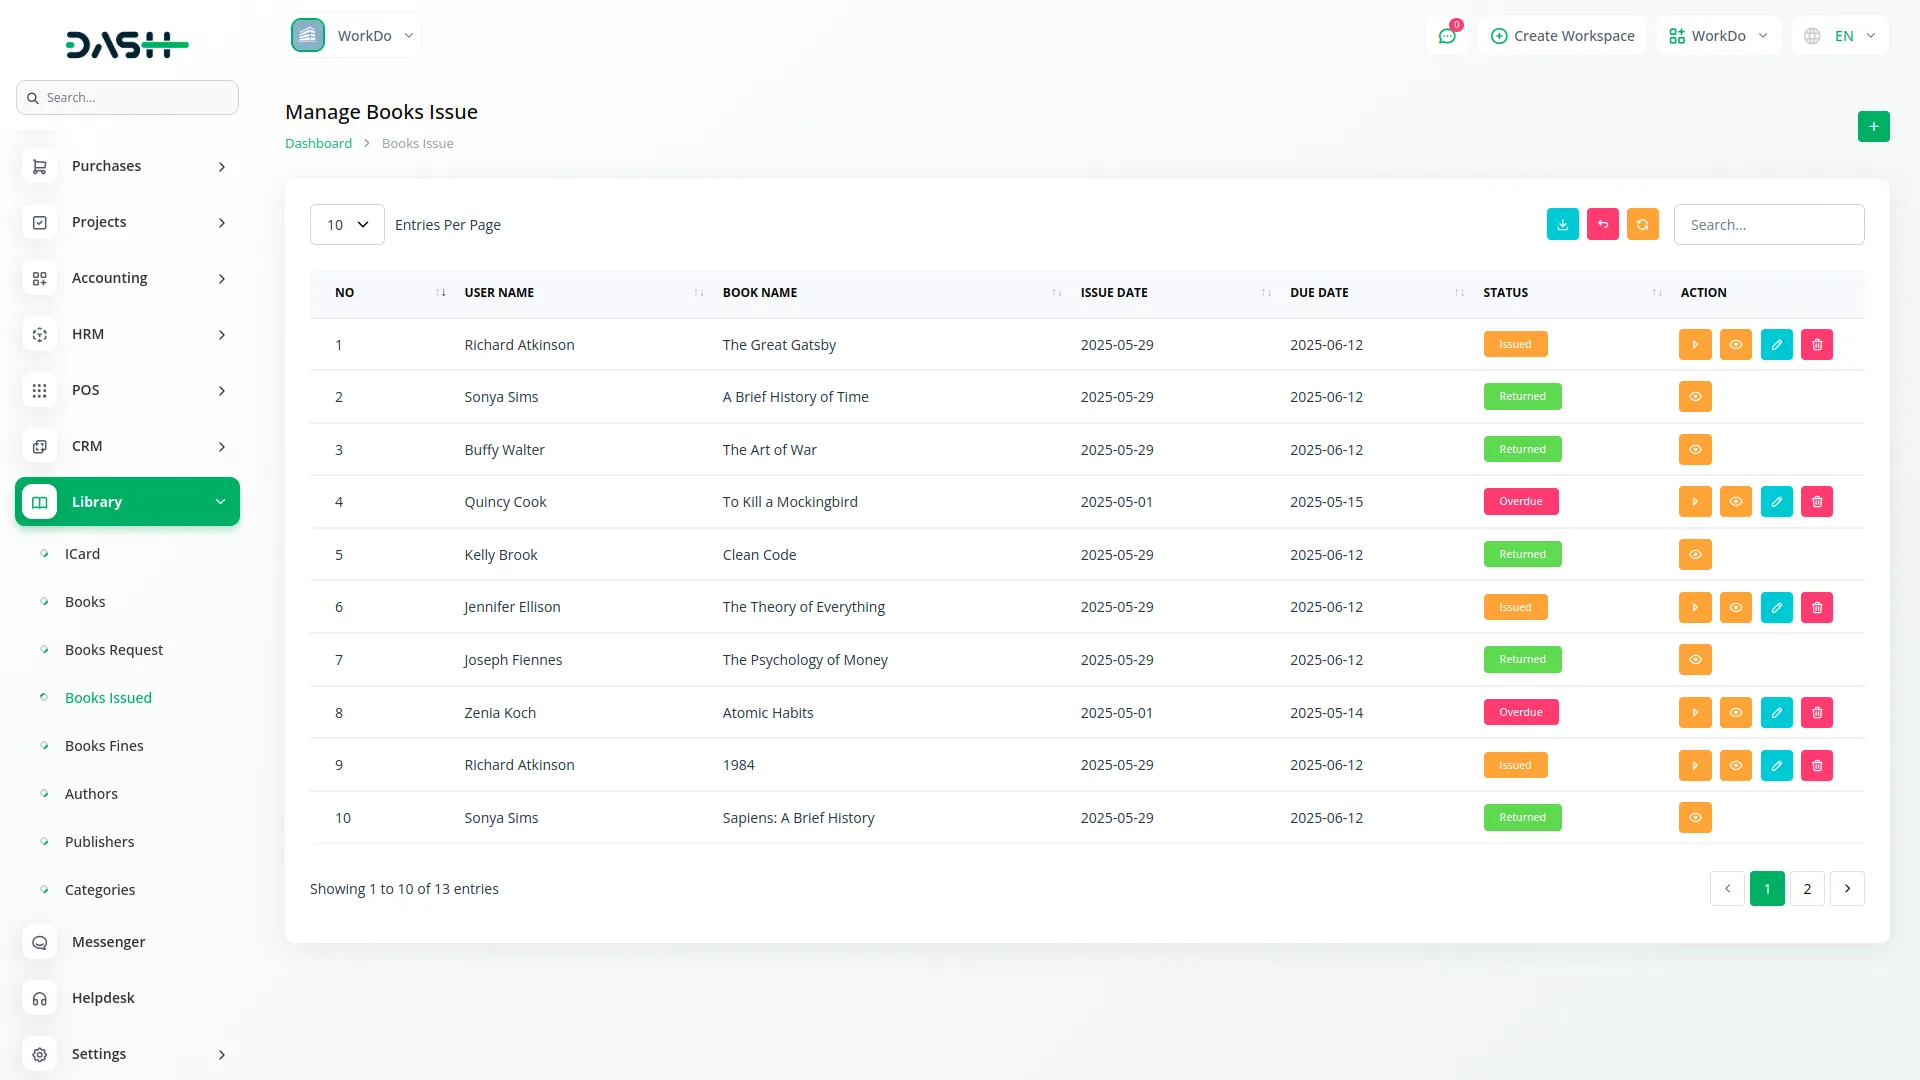
- The list page displays all issued books with the columns NO, User Name, Book Name, Issue Date, Due Date, and Status (Issued, Returned, overdue, damaged, missing).
- With the help of the Action column, you can click the “Issue Action” button to open the Book Issue form, click the “View” button to open the Books Issue details., click the “Edit” button to update the issued book information, and click the “Delete” button to remove the issue record.
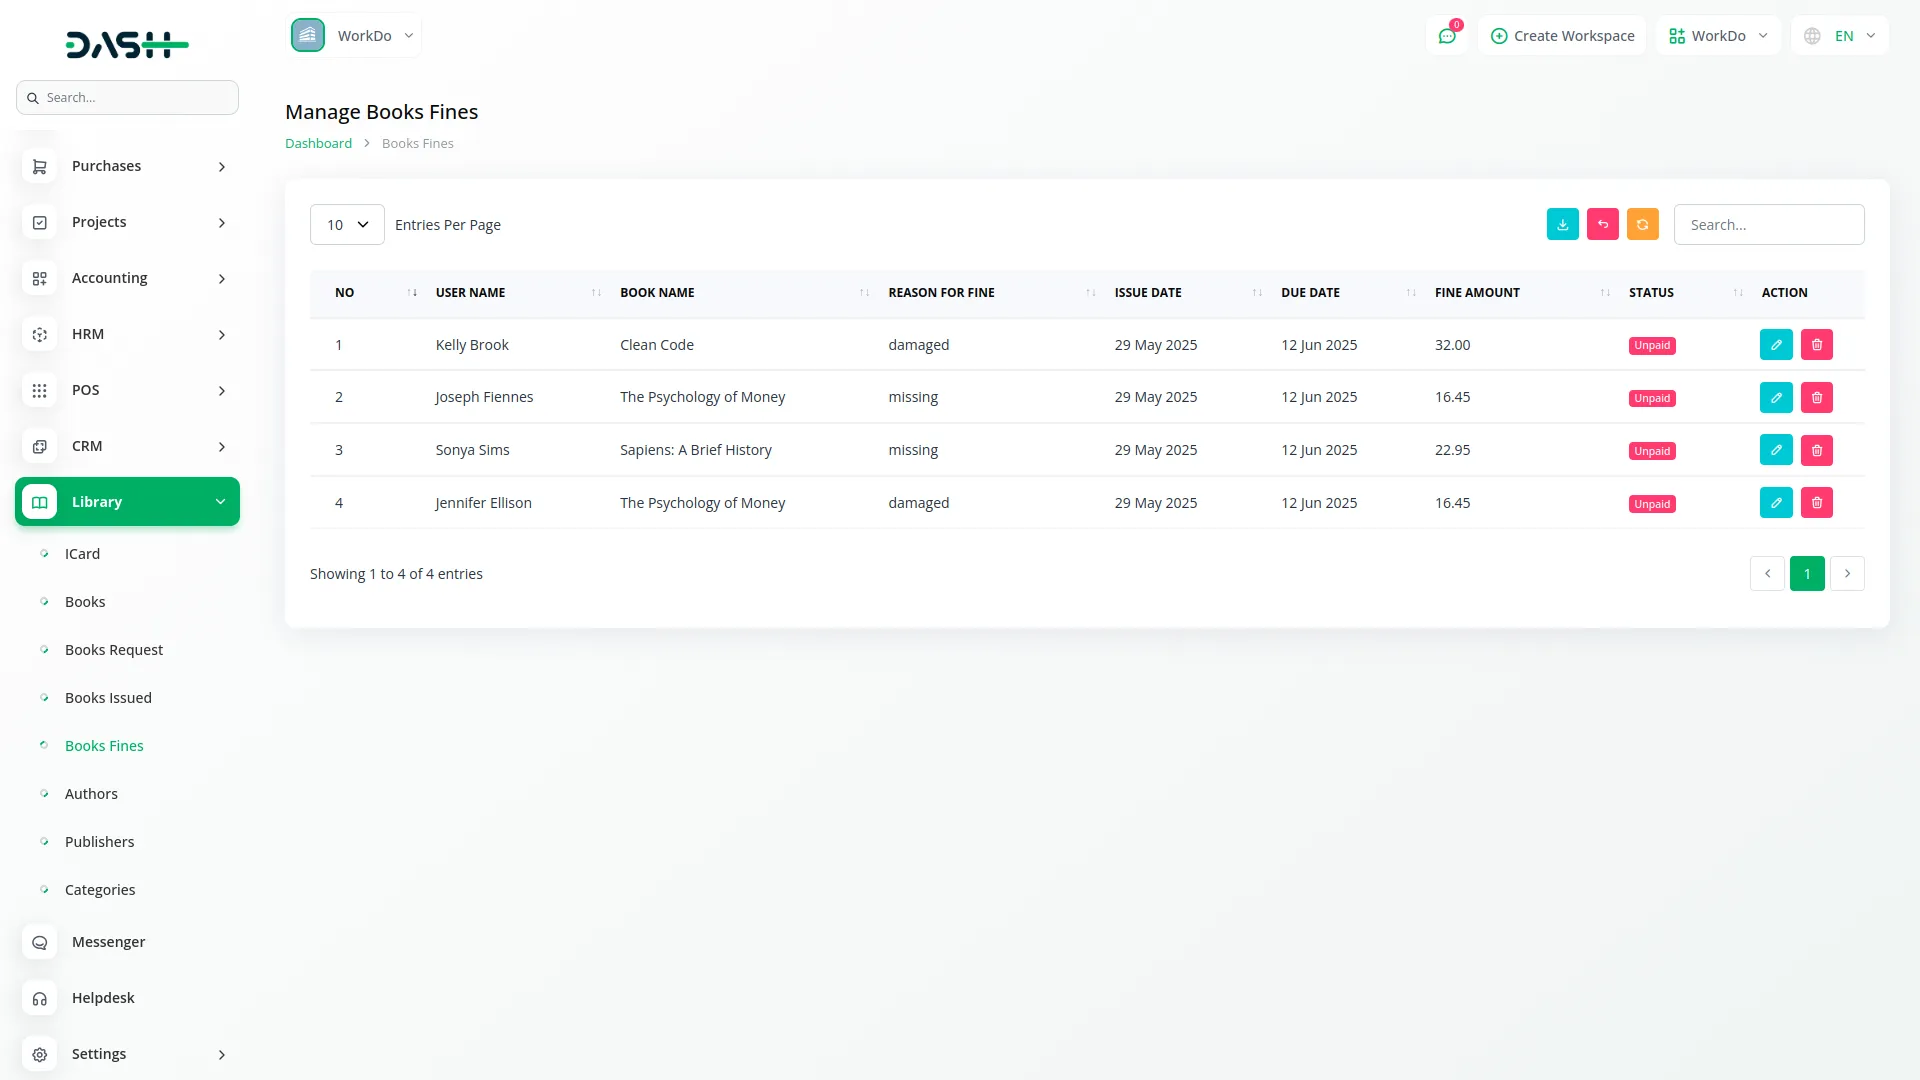
Manage Book Fines
- When the user submits the book, and if it’s overdue, damaged, or missing, the entry of that fine will be automatically done in the finance section.
- The list page displays fines in a table with columns NO, User Name, Book Name, Reason for Fine, Issue Date, Due Date, Fine Amount, and Status (Paid, Unpaid).
- The User Name is fetched from the I-Card section, and the Book Name is fetched from the Book section.
- With the help of the Action column, click “Edit” to update fine-related details, and click the “Delete” button to remove the fine record.
Manage Authors
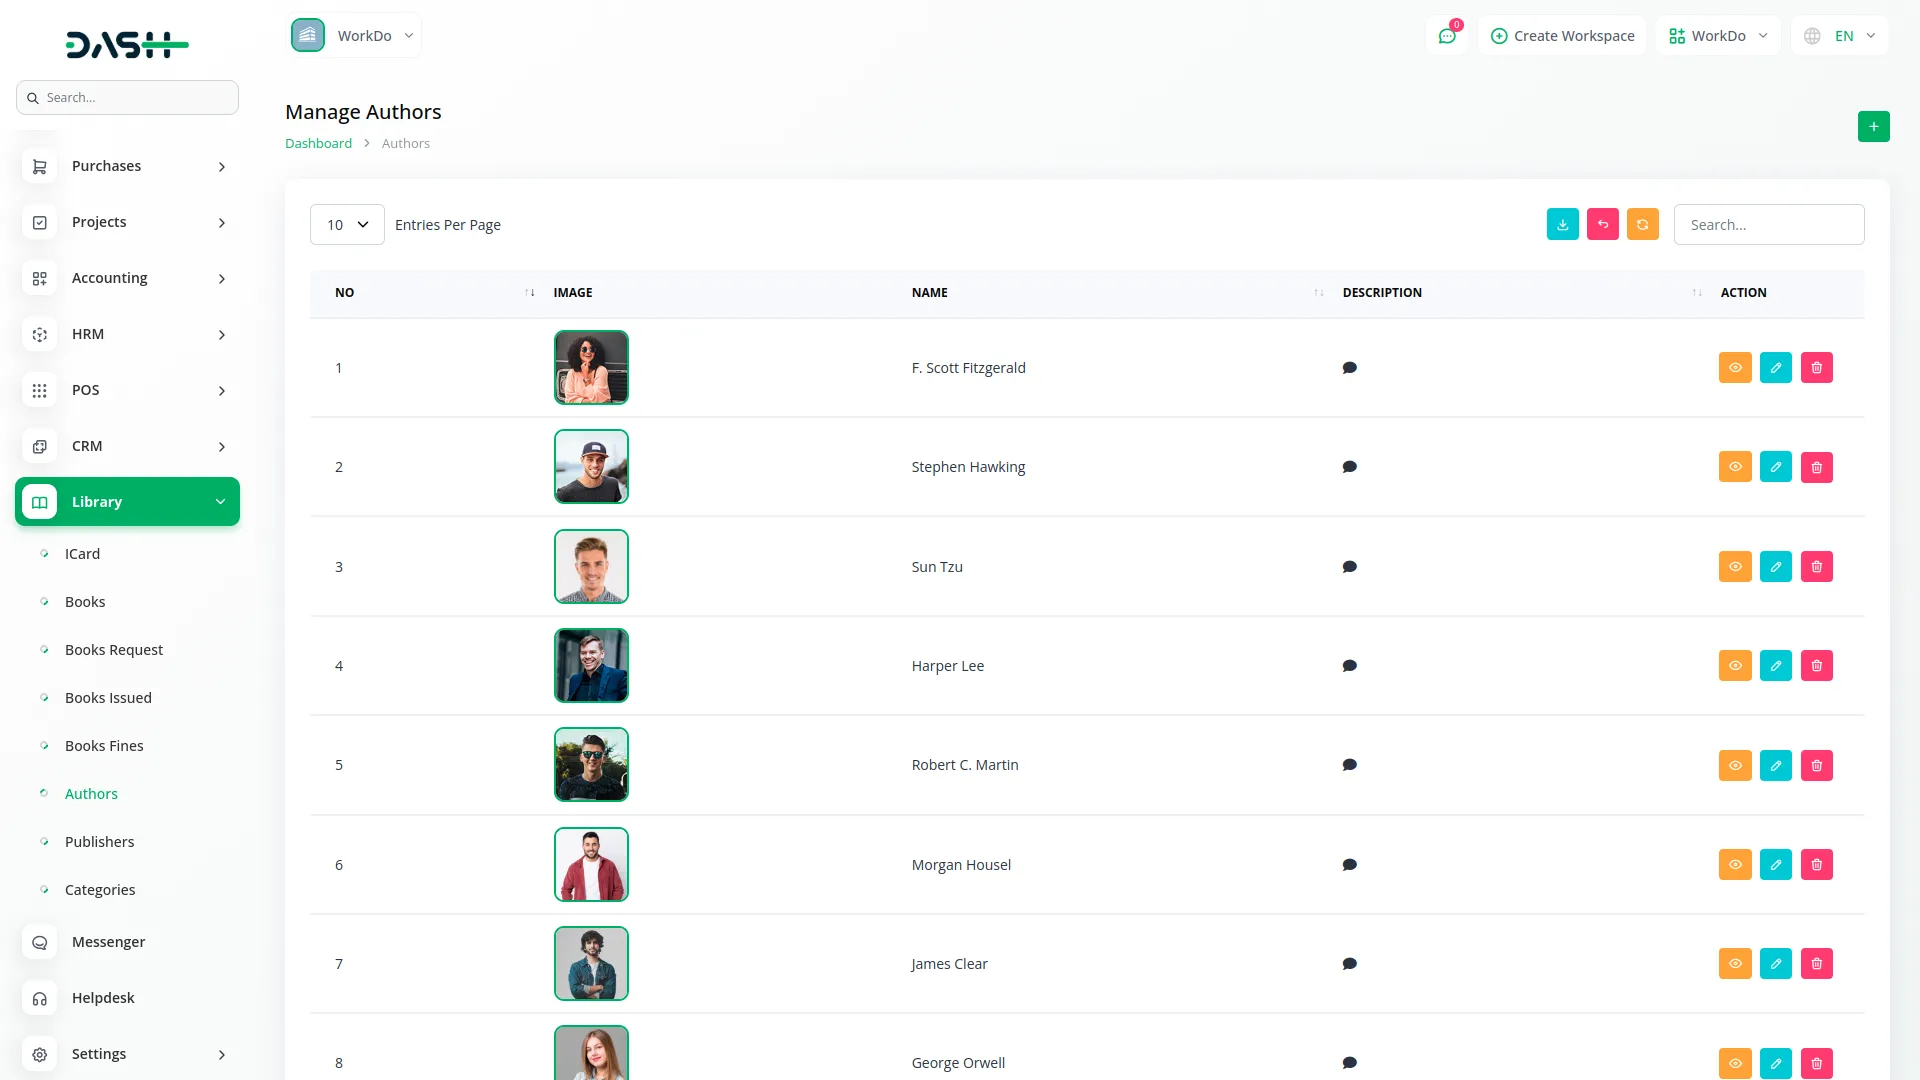
- To add a new author, click the “Create” button. Fill in the form by entering the Name, uploading the Author Image, and writing a short Description, and save the details of the new author.
- The list page displays all authors in a table format with columns like NO, Image, Name, and Description.
- With the help of the Action column, you can click the “View” button to open the Author Details, the “Edit” button to update any of the author information, and click the “Delete” button to remove the author from the system.
Manage Publishers
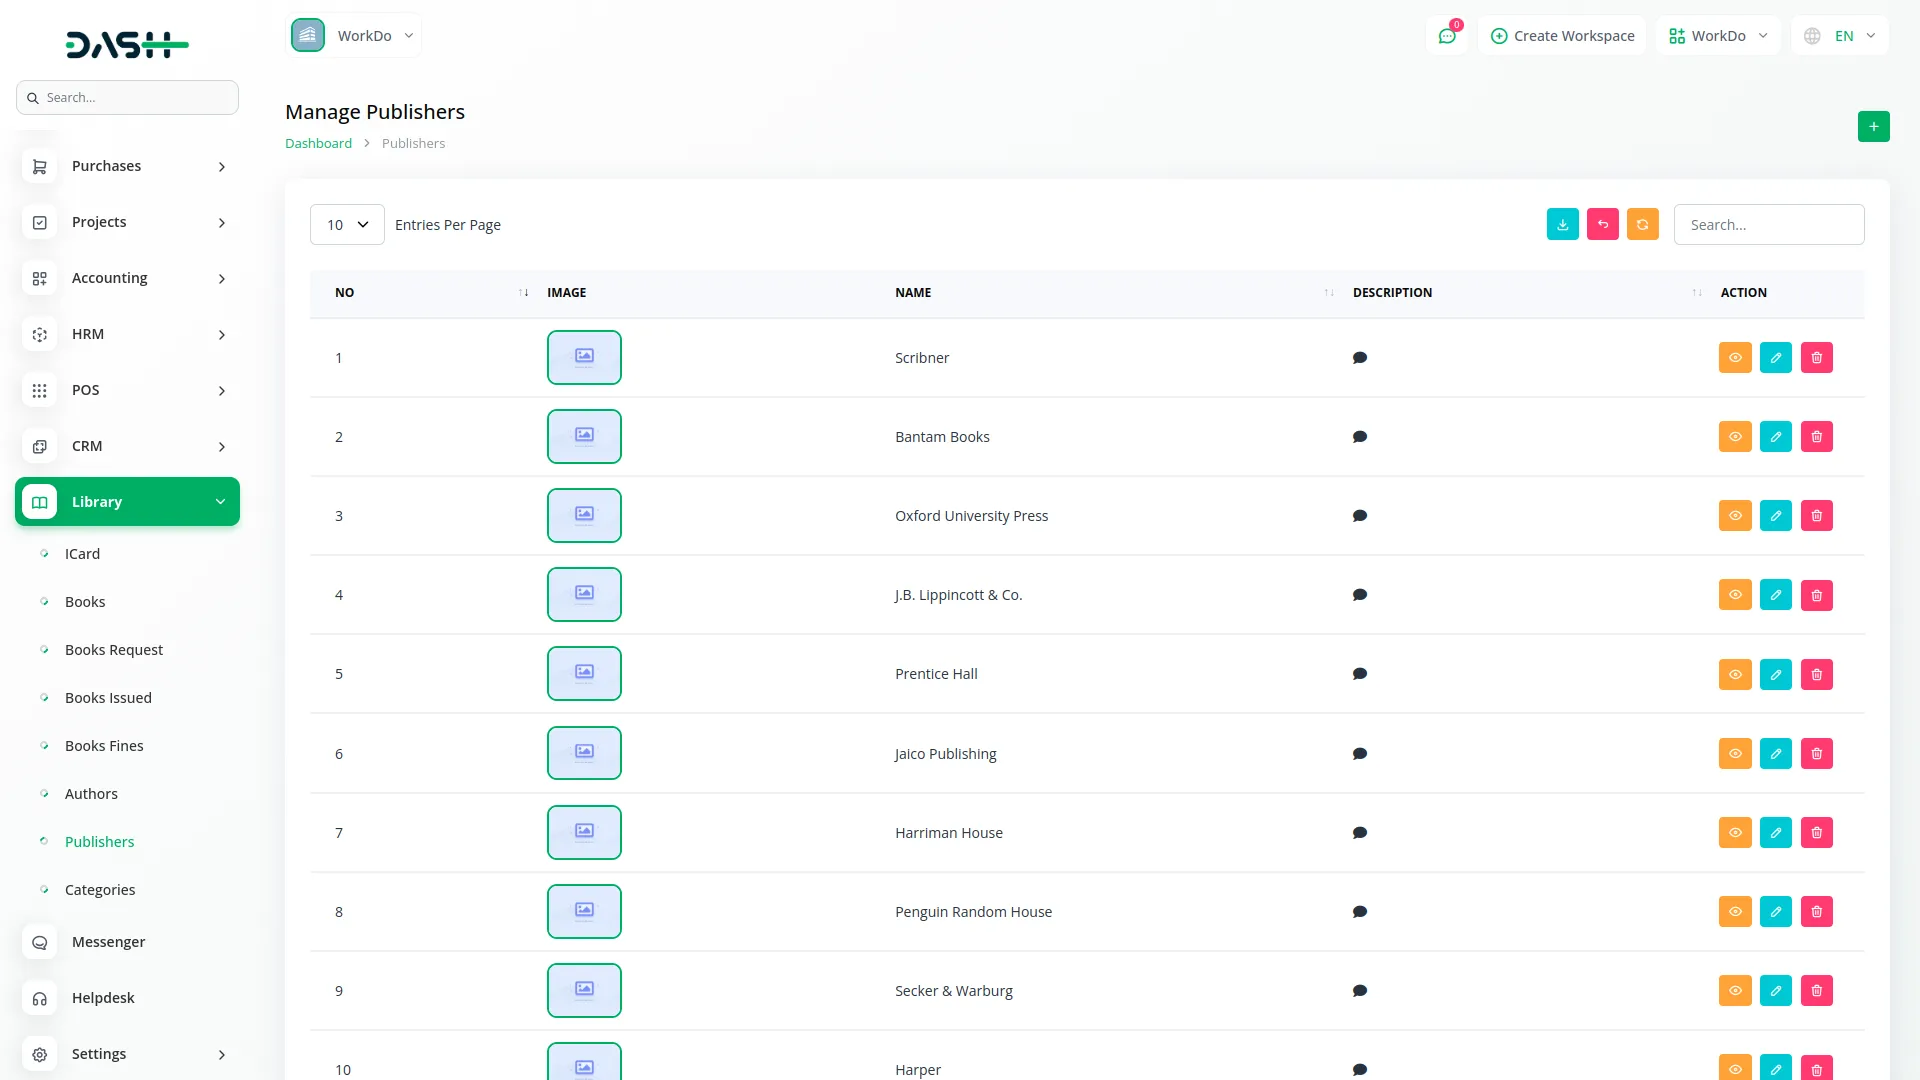
- To add a new publisher, click the “Create” button. Enter the Name, upload the Publisher Image, and write a Description field and save the details.
- On the list page, you will see all publishers displayed with the columns NO, Image, Name, and Description.
- With the help of the Action column, you can click the “View” to open the Publishers Details, “Edit” button to make changes to the publisher’s information, and “Delete” to remove the publisher.
Manage Categories
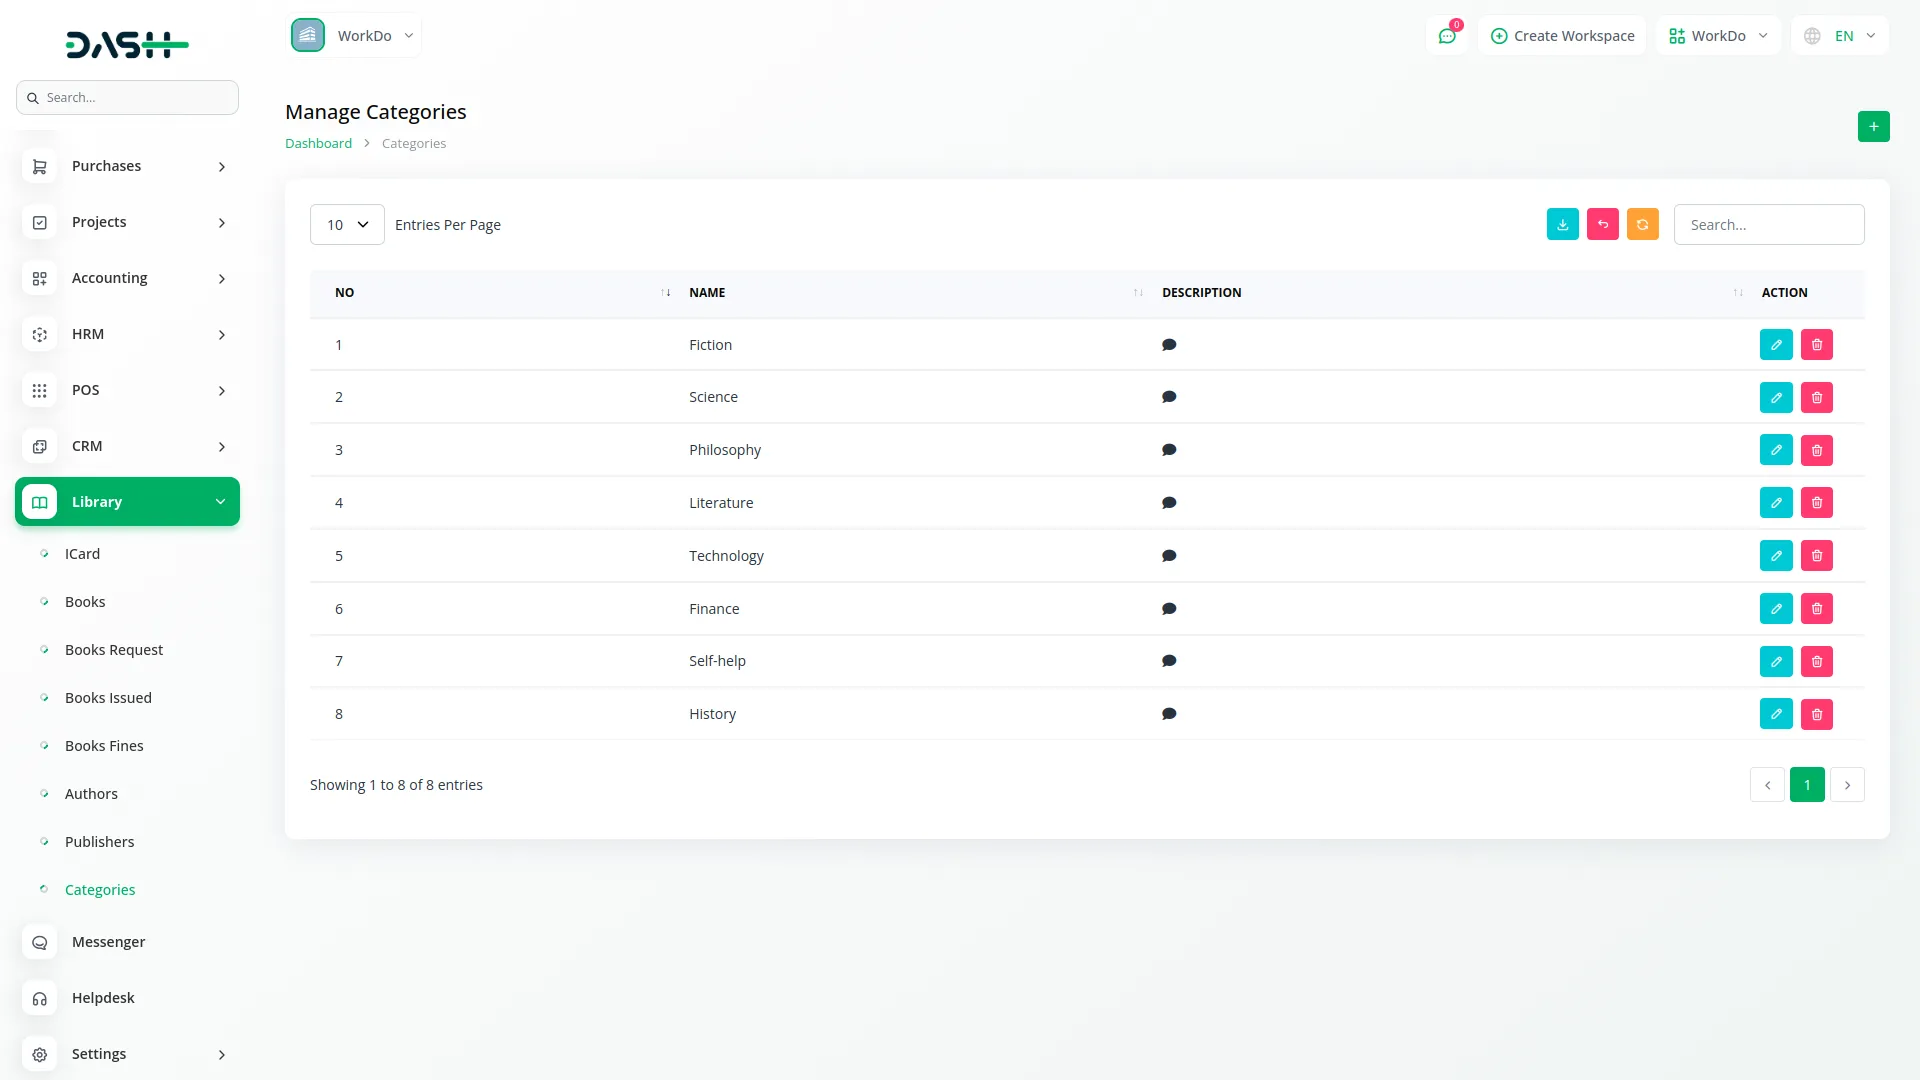
- To add a new category, click the “Create” button. Fill in the Name and Description fields and save the details.
- The list page shows all categories in a table with columns NO, Name, and Description.
- With the help of the Action column, you can click the “Edit” to update the category details, click the “Delete” button to remove the category from the system.
Categories
Related articles
- Newsletter Integration in Dash SaaS
- Custom Field Integration in Dash SaaS
- Society Management Detailed Documentation
- Bakery Store Detailed Documentation
- Sales Agent Integration in Dash SaaS
- BTCPay Integration in Dash SaaS
- Biometric Attendance Integration in Dash SaaS
- Documents Integration in Dash SaaS
- How To Generate The YouTube Credentials
- Vehicle Booking Management Integration in Dash SaaS
- Childcare Management Integration in Dash SaaS
- Find Google Leads Integration in Dash SaaS
Reach Out to Us
Have questions or need assistance? We're here to help! Reach out to our team for support, inquiries, or feedback. Your needs are important to us, and we’re ready to assist you!


Need more help?
If you’re still uncertain or need professional guidance, don’t hesitate to contact us. You can contact us via email or submit a ticket with a description of your issue. Our team of experts is always available to help you with any questions. Rest assured that we’ll respond to your inquiry promptly.
Love what you see?
Do you like the quality of our products, themes, and applications, or perhaps the design of our website caught your eye? You can have similarly outstanding designs for your website or apps. Contact us, and we’ll bring your ideas to life.
