WooCommerce Integration in Dash SaaS
Expert guide to effortlessly integrate and manage your online store with WooCommerce in WorkDo Dash SaaS. Boost your productivity & sales.
Introduction
The WooCommerce Add-On connects your WooCommerce store directly with your platform, allowing you to manage all your eCommerce data in one place. With this integration, you can easily access and update your customers, products, orders, categories, coupons, and tax settings without switching between different systems.
How To Install the Add-On?
To Set Up the WordPress WooCommerce Add-On, you can follow this link: Setup Add-On
WooCommerce Settings Configuration
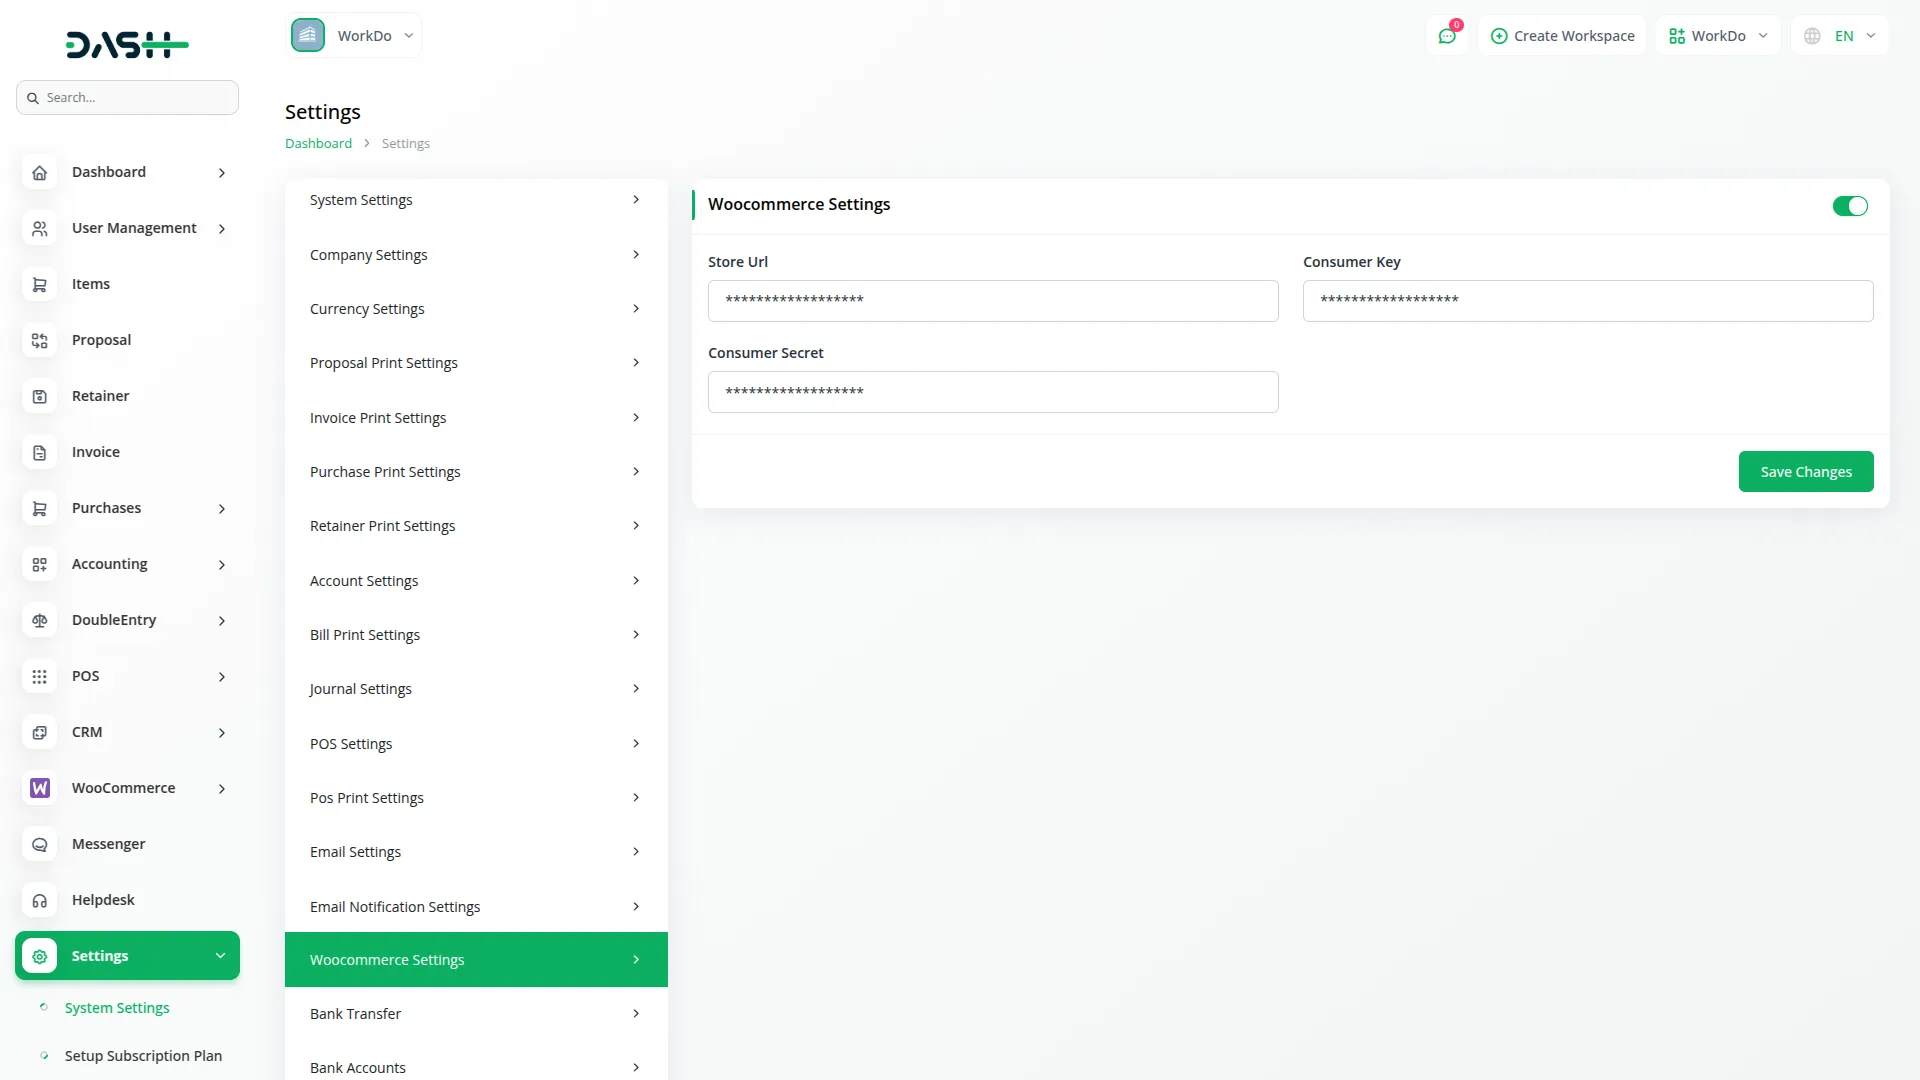
- First, go to Settings, find Company Settings, and click on WooCommerce Settings.
- The Enable/Disable Toggle controls whether WooCommerce appears in the side menu. When off, WooCommerce is hidden, and you can’t enter connection details. When on, you can enter your store information and see WooCommerce in your side menu.
- You’ll need to enter your store URL, Consumer Key, and consumer secret. In the Store URL, type the exact store URL of your WordPress store.
- Enter the Consumer Key generated from your WordPress store. This key allows you to integrate WordPress data with the WorkDo Dash.
- Enter the Consumer Secret generated from your WordPress store. This key, along with the Consumer Key, enables seamless integration of WordPress data with WorkDo Dash. Click Save to finish the setup.
Customer Management
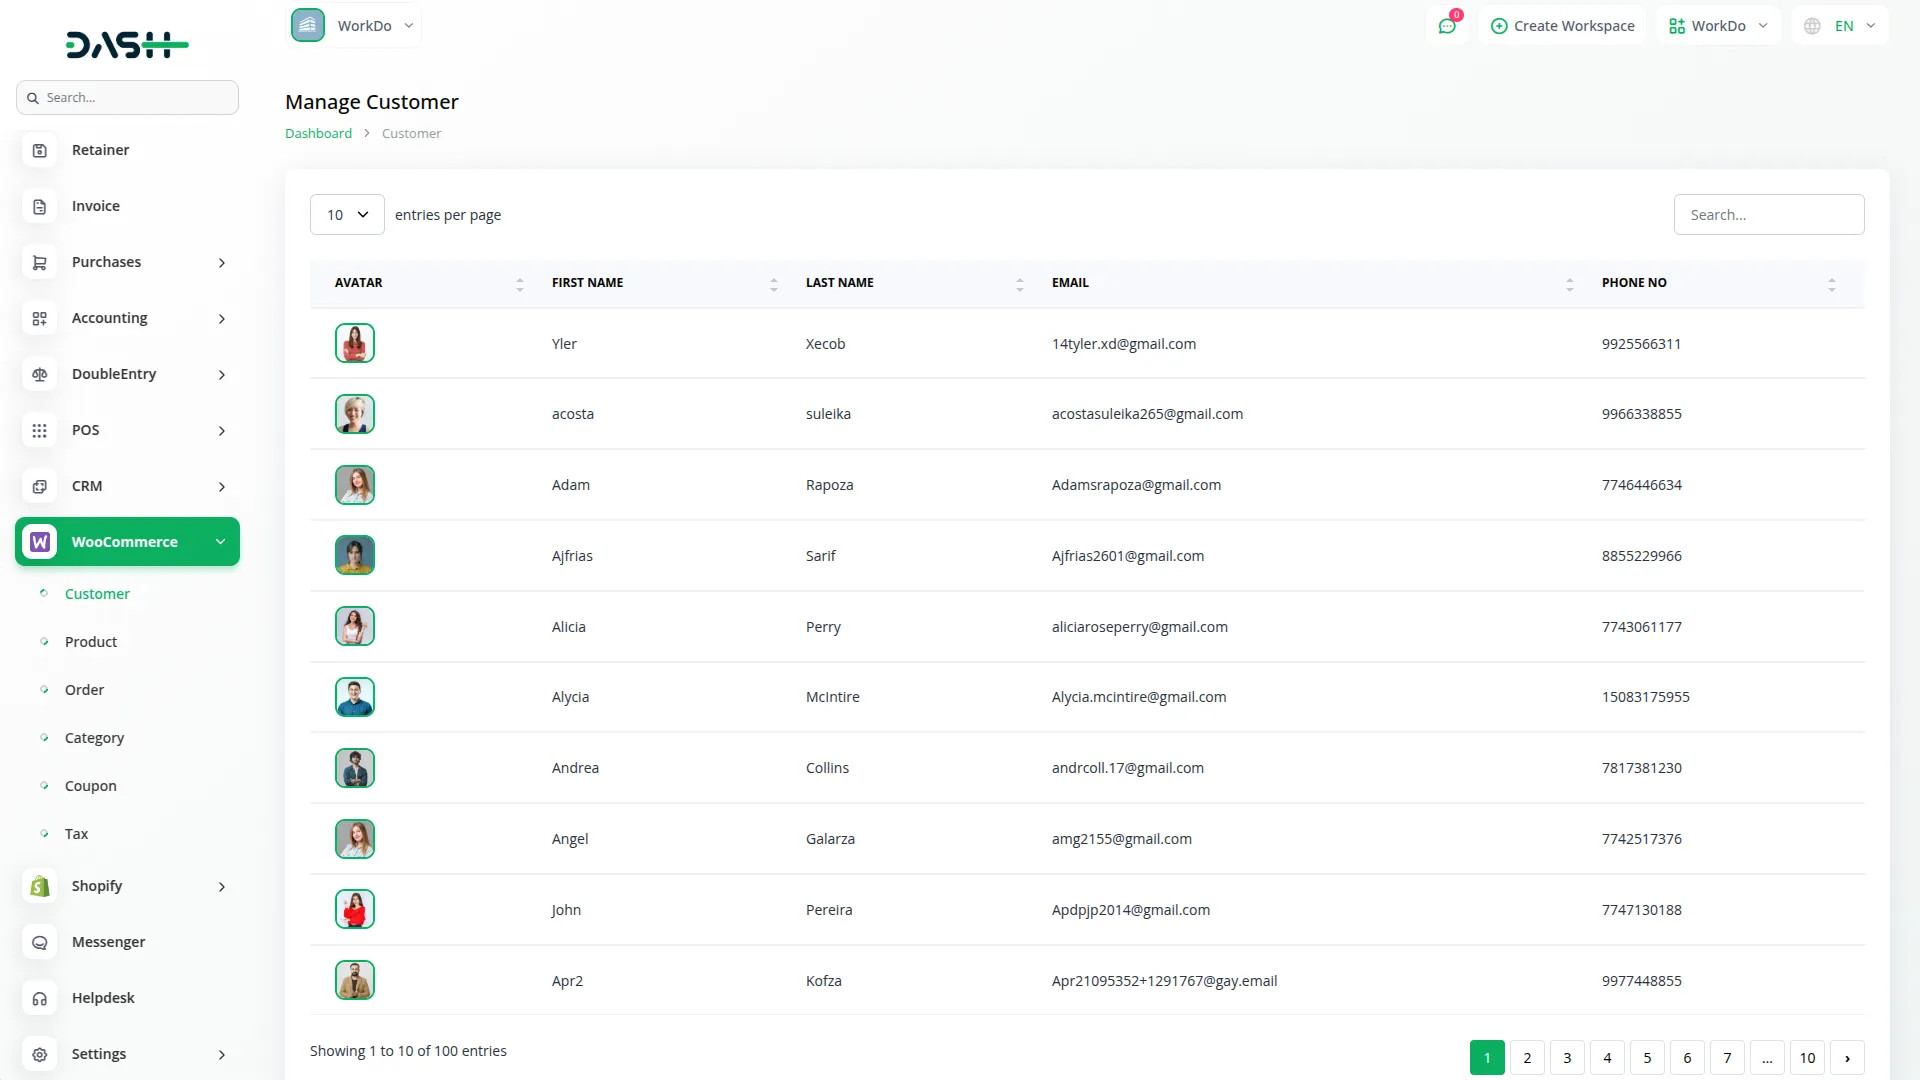
- When you click on Customers in the side menu, you’ll see a list of all your store customers. For each customer, you can see their profile picture, first name, last name, email address, and phone number.
- All this information comes directly from your WooCommerce store. You can view customer details without logging into WordPress. Click the “Create” button to add new customers directly from the platform.
Product Management
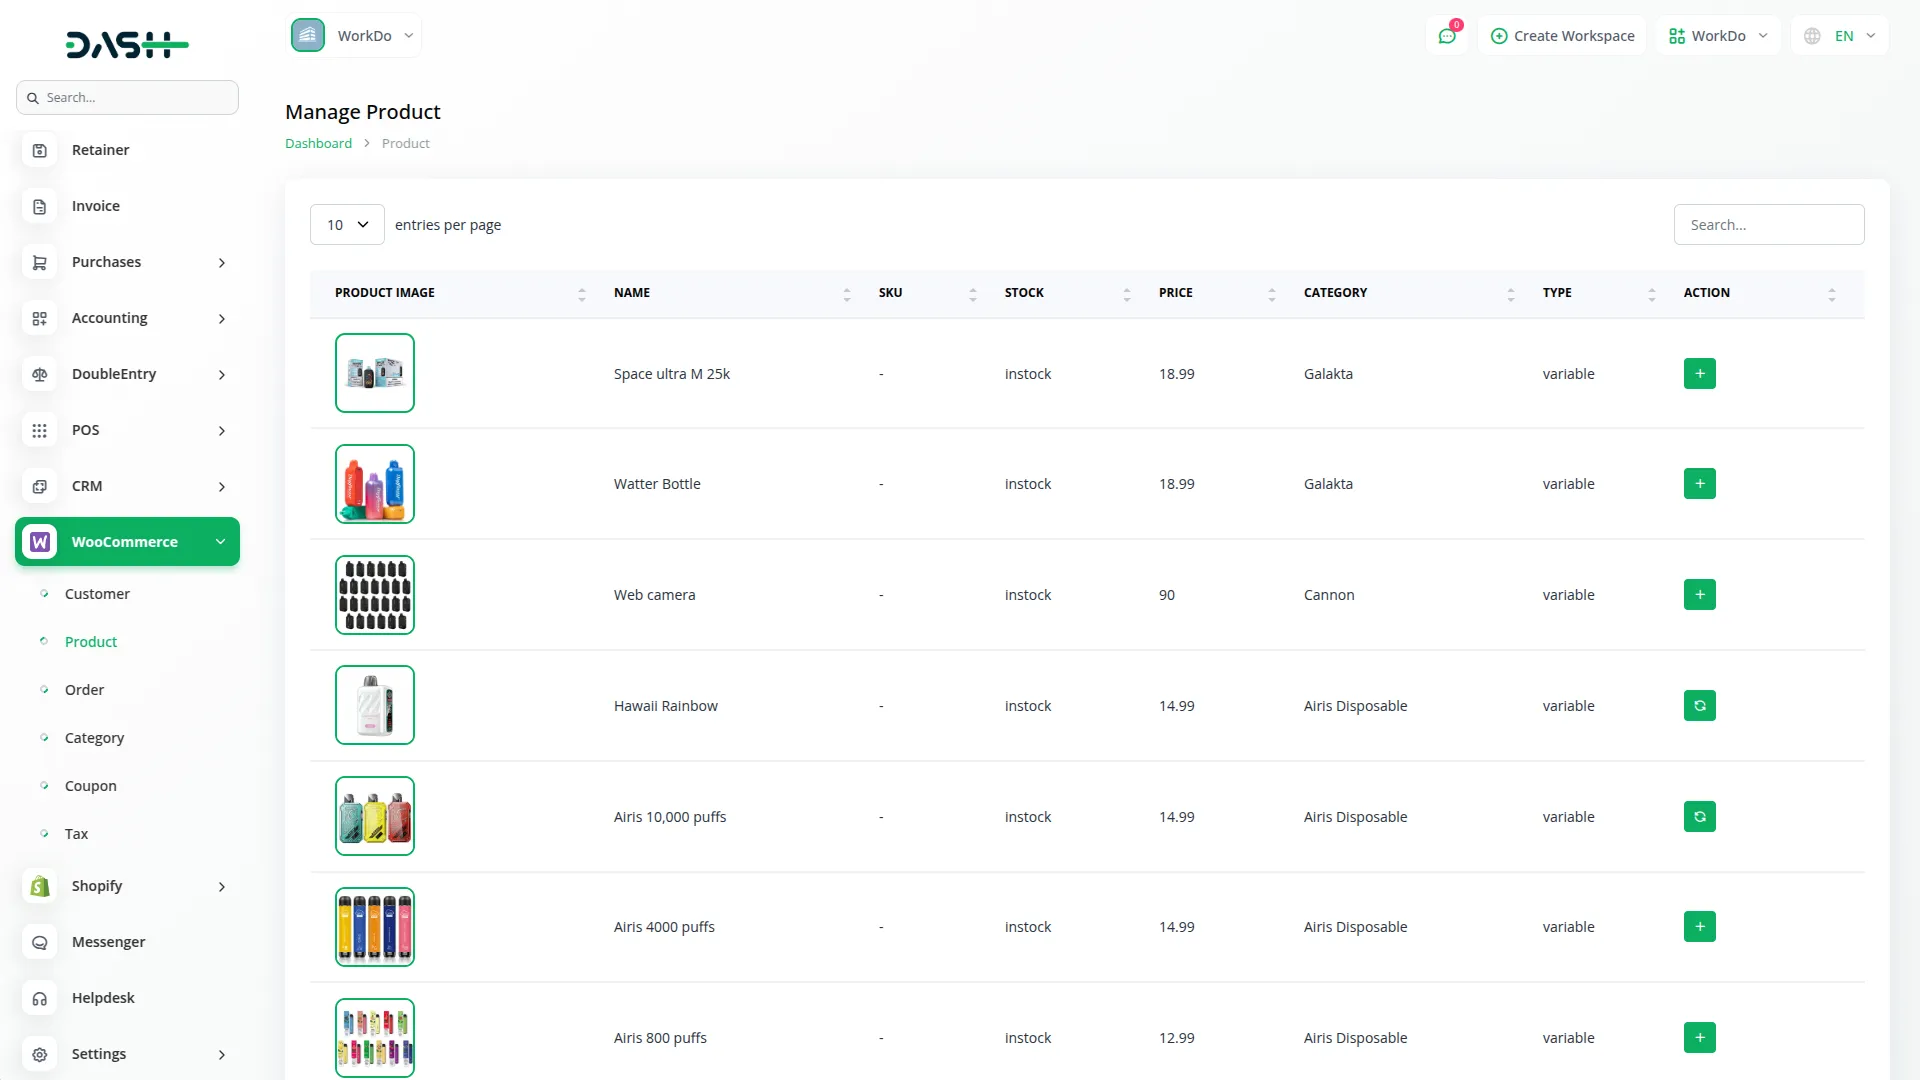
- Go to Products in the side menu to see all your store products. Each product shows its image, name, SKU, stock level, price, category, and type.
- Click the “Sync” button next to any product to import it into your ProductService system for enhanced management.
- When you sync products, categories and taxes are automatically created if they don’t exist in your system. Click on the “Create” button to create a product directly in WooCommerce.
- You can edit or delete products from the items page easily. Click the “View” button to see detailed product information and sync status. Use the filter options to sort products by category, type, or status for better organization.
- If you change products in WordPress, click the “Sync” button to update and maintain synchronization between systems.
Order Management
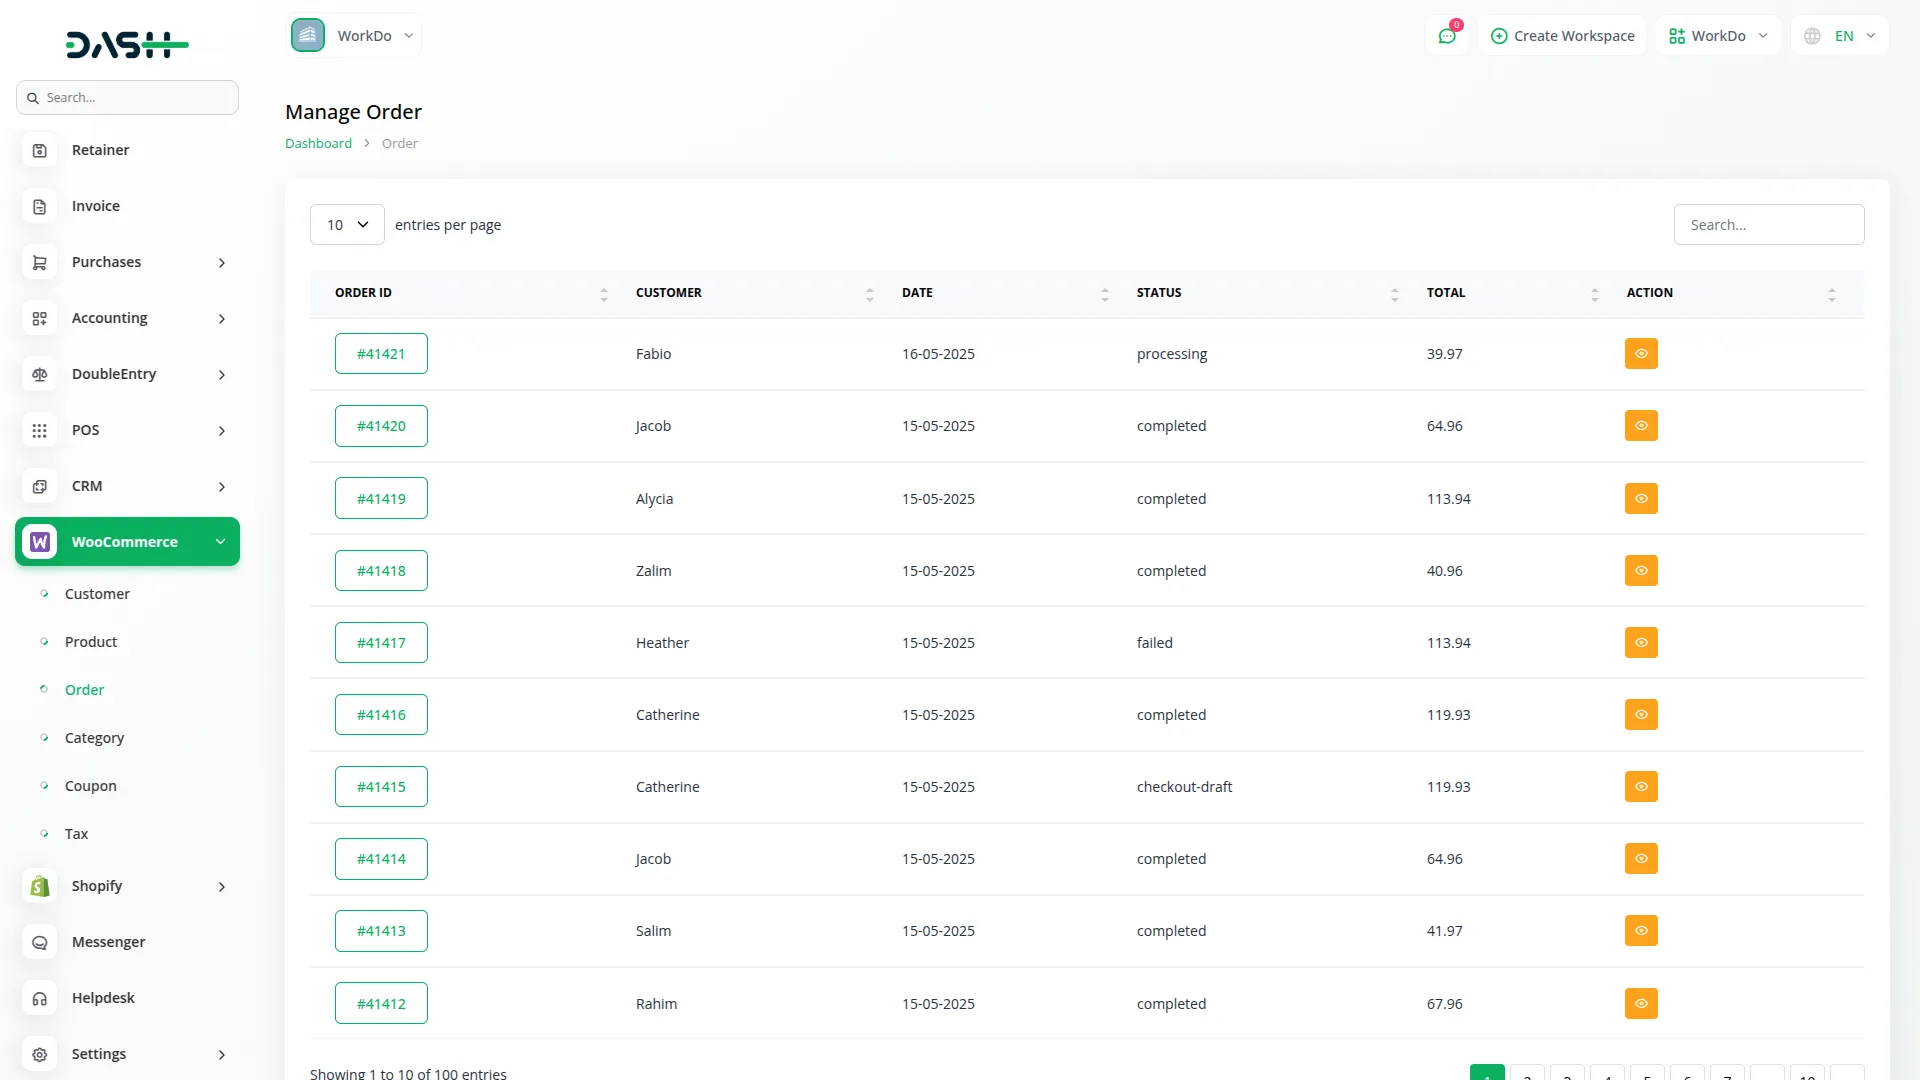
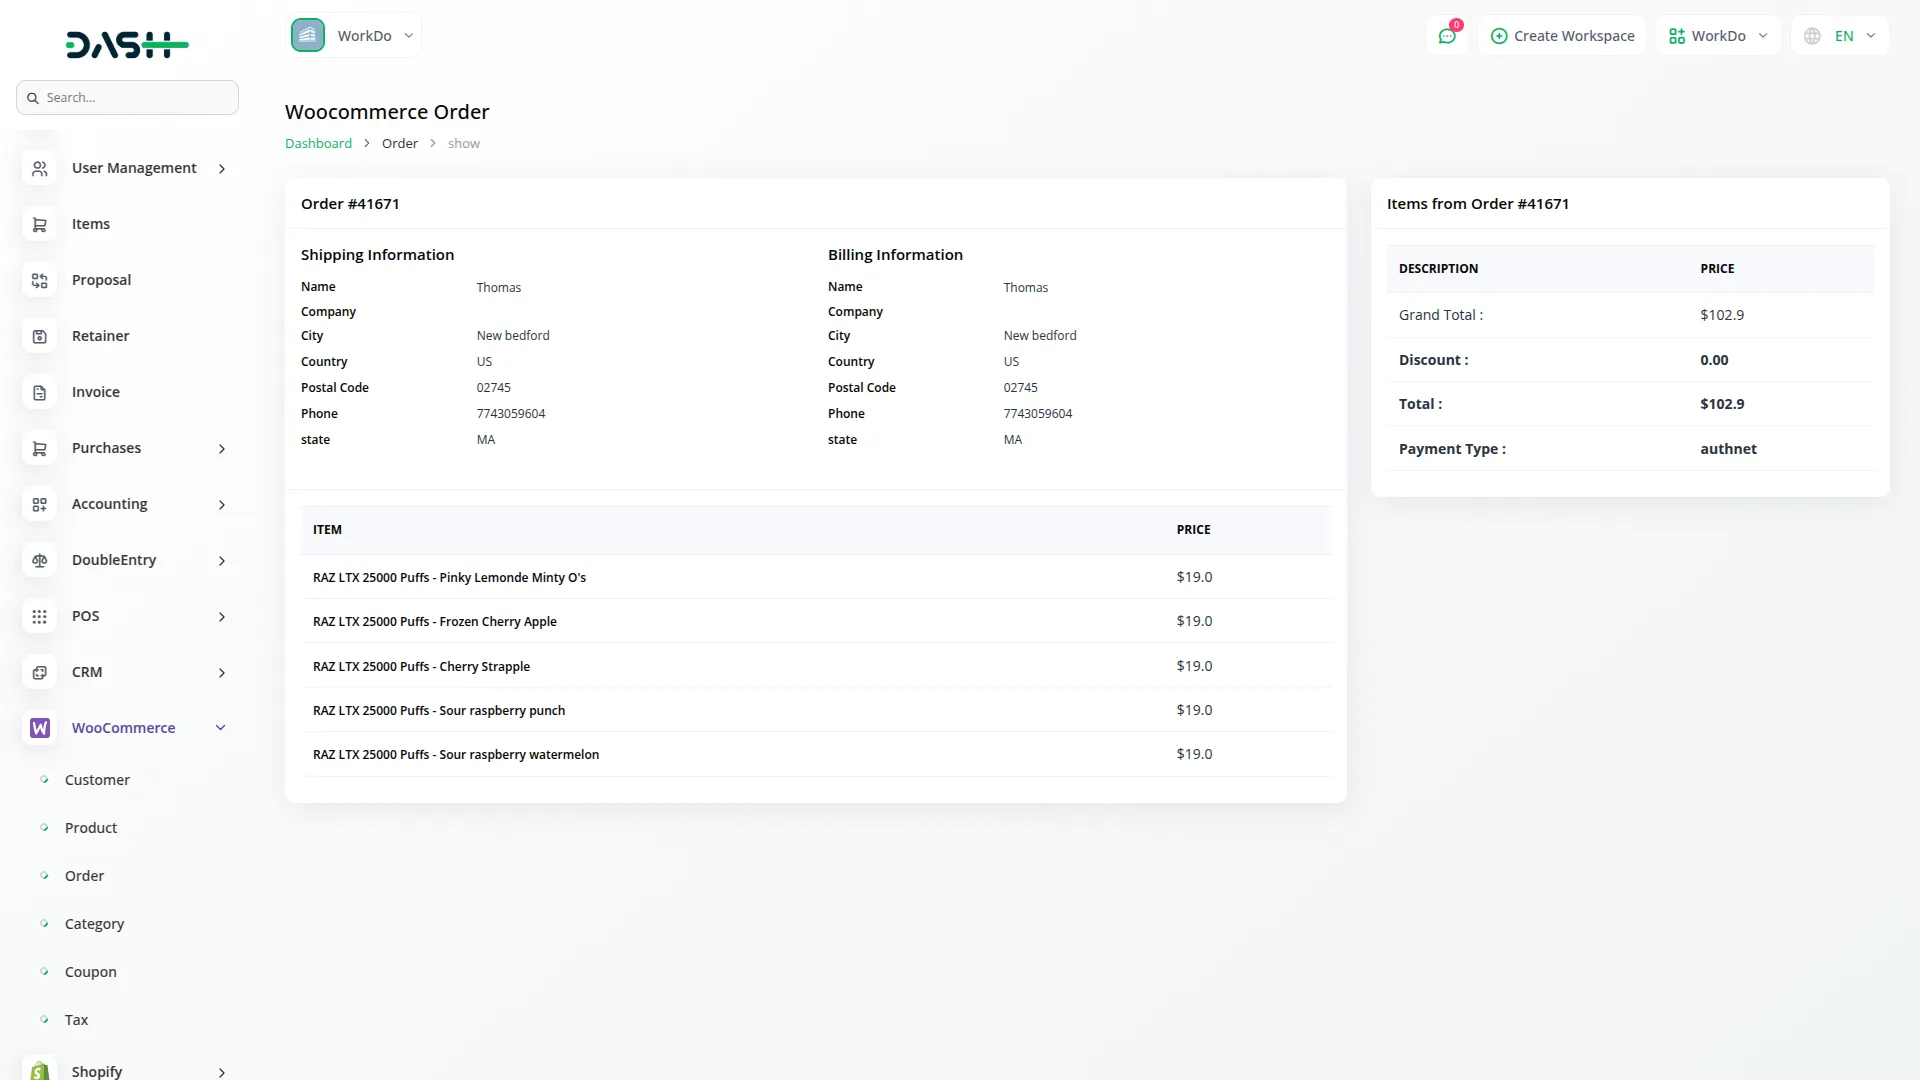
- Navigate to Orders in the side menu to see all orders from your store. Each order shows the Order ID, customer name, date, status, and total amount.
- To see all details for an order, click the “View” button. Orders automatically come from your WordPress store; you can’t add them manually here.
Category Management
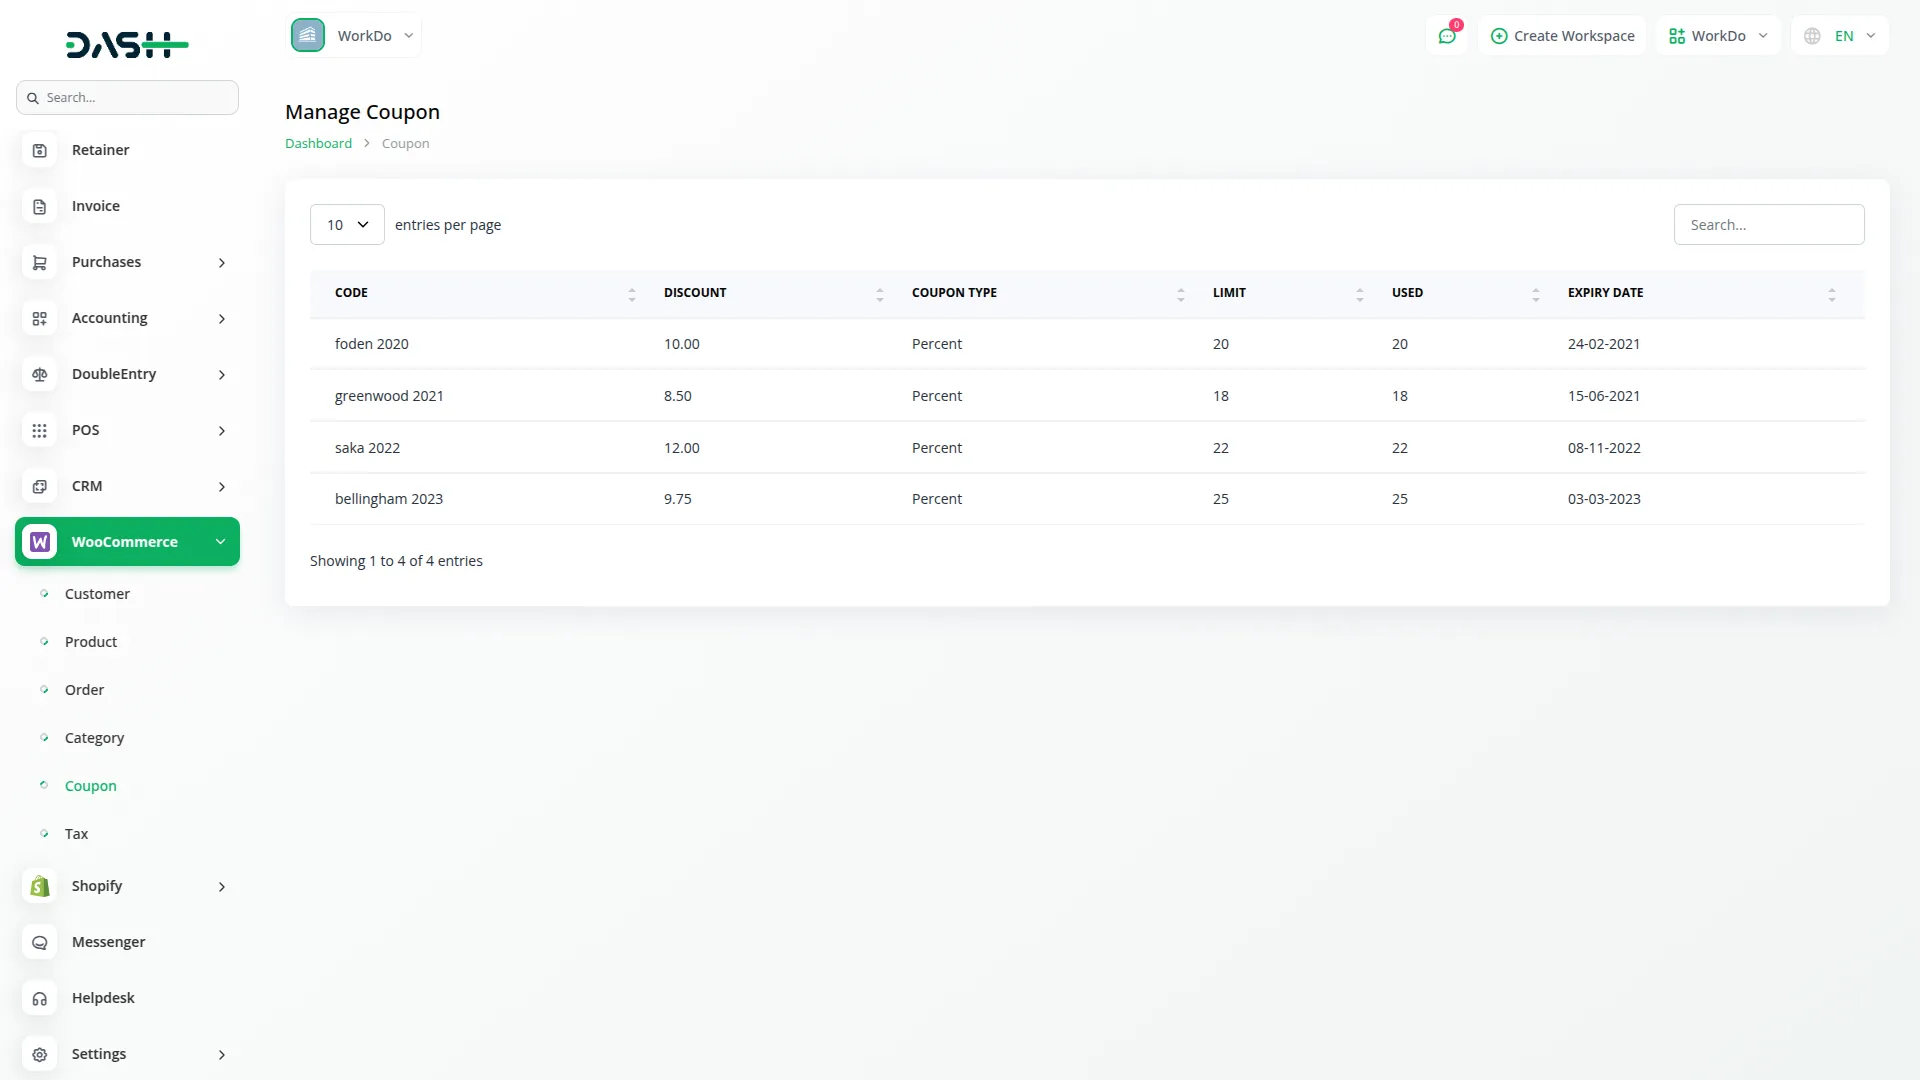
- Click on Categories in the side menu to manage your product categories. You’ll see each category’s image, name, display type, and description. To create a new category, click the “Create” button and fill in the category details.
- Click the “Sync” button to import categories from WooCommerce into your system for better management. To edit or delete categories, use the management tools provided on the page. After making changes in WordPress, click “Sync” to update your categories and maintain consistency.
Coupon Management
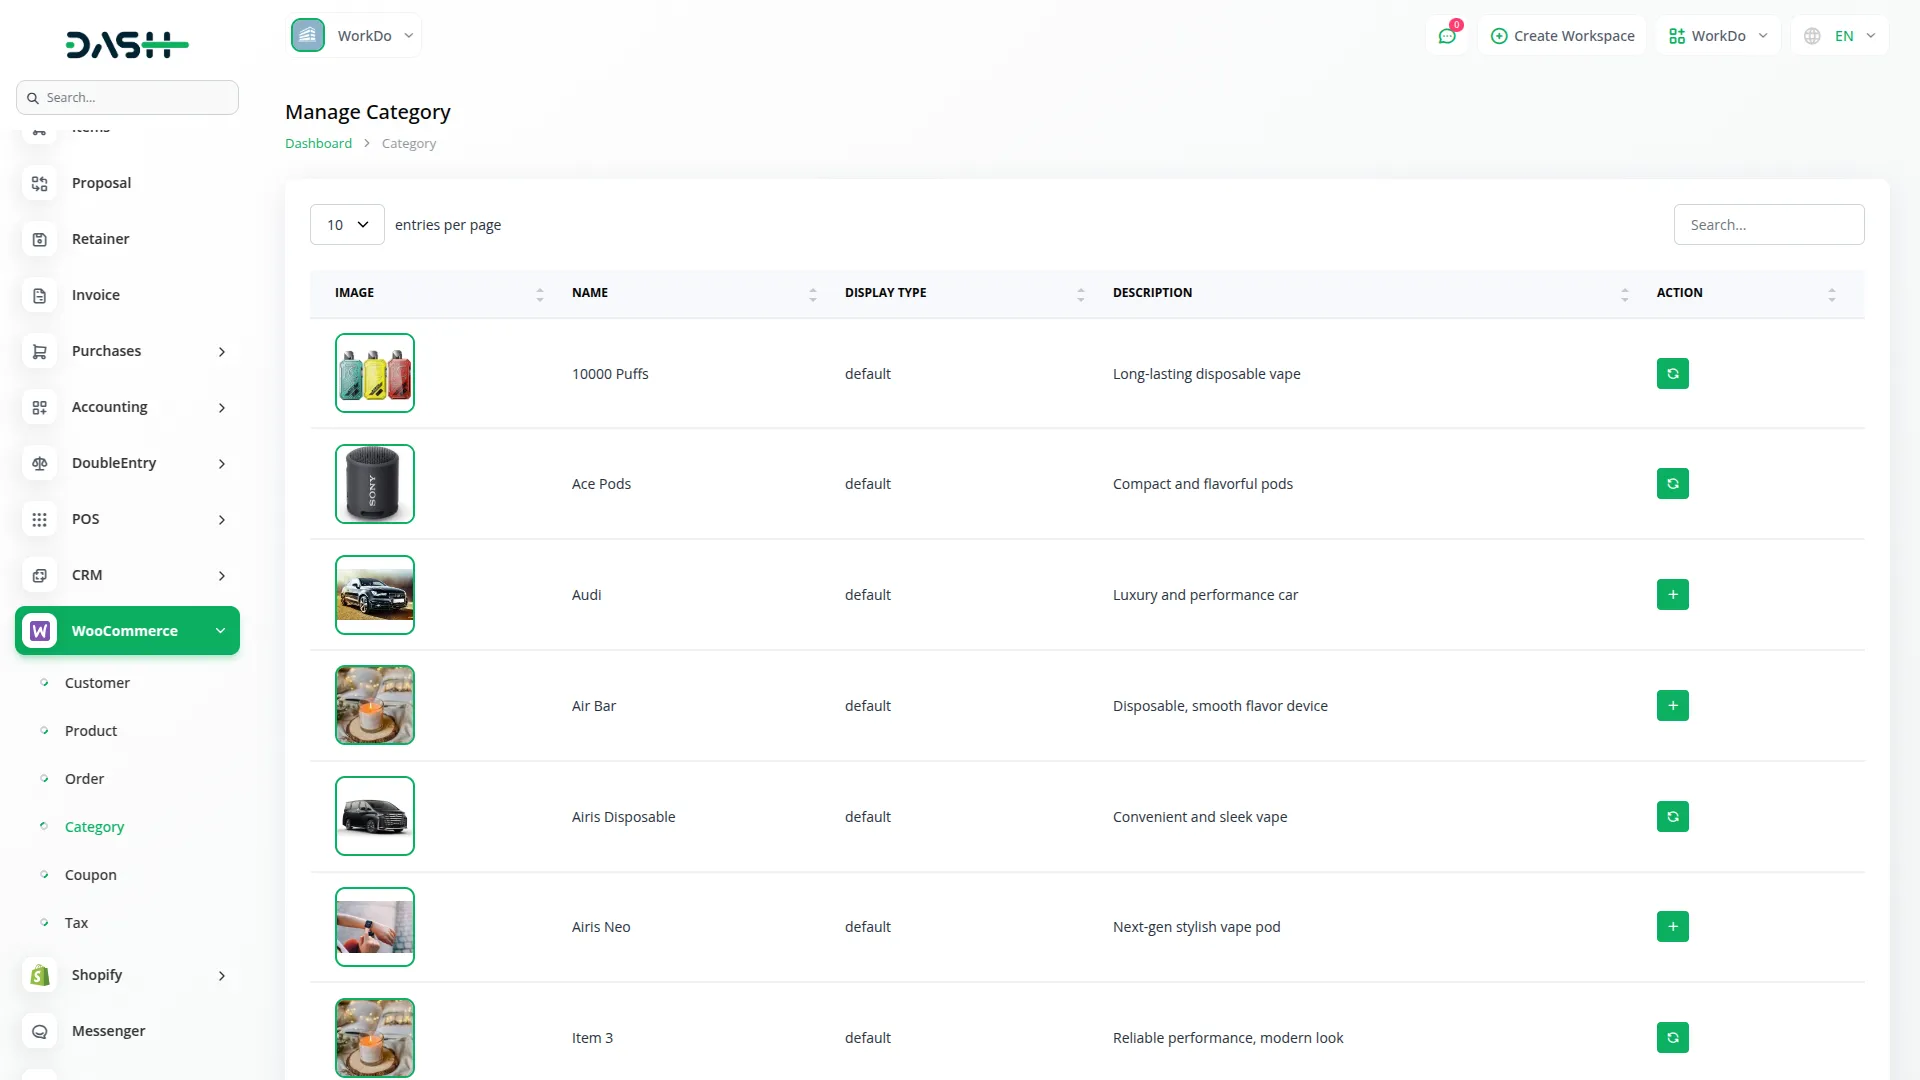
- Navigate to Coupons in the side menu to see all your store coupons. Each coupon shows its code, discount amount, type, usage limit, how many times it’s been used, and when it expires.
- This information comes directly from your WooCommerce store. Click the “Create” button to add new coupons directly from the platform. You can edit or delete existing coupons using the management options available.
Tax Management
- Click on Taxes in the side menu to manage your store’s tax settings. You’ll see tax names, rates, country, state, and city. To add a new tax, click the “Create” button, enter the tax details, and save.
- Click the “Sync” button to import tax settings from WooCommerce into your system. To edit or delete taxes, use the management tools provided on the page. After changing taxes in WordPress, click “Sync” to update the information and ensure both systems stay synchronized.
Categories
Related articles
- Zendesk Integration in Dash SaaS
- Water Park Management
- PhonePe Integration in Dash SaaS
- Sign-In with Facebook Add-On Integration in Dash SaaS
- How to Generate the Credentials from Rocket.Chat
- Legal Case Management Integration in Dash SaaS
- Facebook Post Integration in Dash SaaS
- SWOT Analysis Model Integration in Dash SaaS
- Zulip Chat Add-On Detailed Documentation
- Google Docs Integration Detailed Documentation
- Google Analytics Integration in Dash SaaS
- Finding Email Credentials for the EMailbox Module in Dash SaaS
Reach Out to Us
Have questions or need assistance? We're here to help! Reach out to our team for support, inquiries, or feedback. Your needs are important to us, and we’re ready to assist you!


Need more help?
If you’re still uncertain or need professional guidance, don’t hesitate to contact us. You can contact us via email or submit a ticket with a description of your issue. Our team of experts is always available to help you with any questions. Rest assured that we’ll respond to your inquiry promptly.
Love what you see?
Do you like the quality of our products, themes, and applications, or perhaps the design of our website caught your eye? You can have similarly outstanding designs for your website or apps. Contact us, and we’ll bring your ideas to life.
