Xendit Integration in Dash SaaS
Explore the seamless Xendit integration in Dash SaaS to revolutionize your online payment experience. Streamline transactions with ease.
Supported Countries: Indonesia , Philippines , Vietnam , Thailand , Malaysia
Supported Currencies: Indonesian Rupiah (IDR), Philippine Peso (PHP), United States Dollar (USD) , Vietnamese Dong (VND) , Malaysian Ringgit (MYR) , Thai Baht (THB)
Benefits of using Xendit Payment Gateway
- Seamless Payment Processing: Xendit provides a platform for businesses to accept a wide range of payment methods, including credit cards, debit cards, bank transfers, and digital wallets, making it easy for customers to make payments.
- Multi-Currency Support: Xendit supports various currencies, which is especially valuable for businesses operating in multiple countries, allowing them to transact in local currencies.
- Local Payment Methods: Xendit offers support for popular local payment methods in Southeast Asia, catering to the preferences of customers in the region.
- Quick and Easy Integration: Xendit offers developer-friendly APIs and tools for easy integration into websites and mobile applications, reducing the technical complexity of payment processing.
How to Access Xendit Add-On?
Ready to enhance your online payment capabilities with Xendit? Follow these simple steps to get started:
- Visit WorkDo Website: Head over to https://workdo.io/ and explore the extensive range of Dash SaaS Add-Ons.
- Discover Xendit: Navigate to the Dash SaaS Add-Ons section and locate the Xendit Add-On
- Activate the Add-On: Click the Activate button next to the Xendit Add-On to enable it for your WorkDo Dash account.
How does Xendit Work?
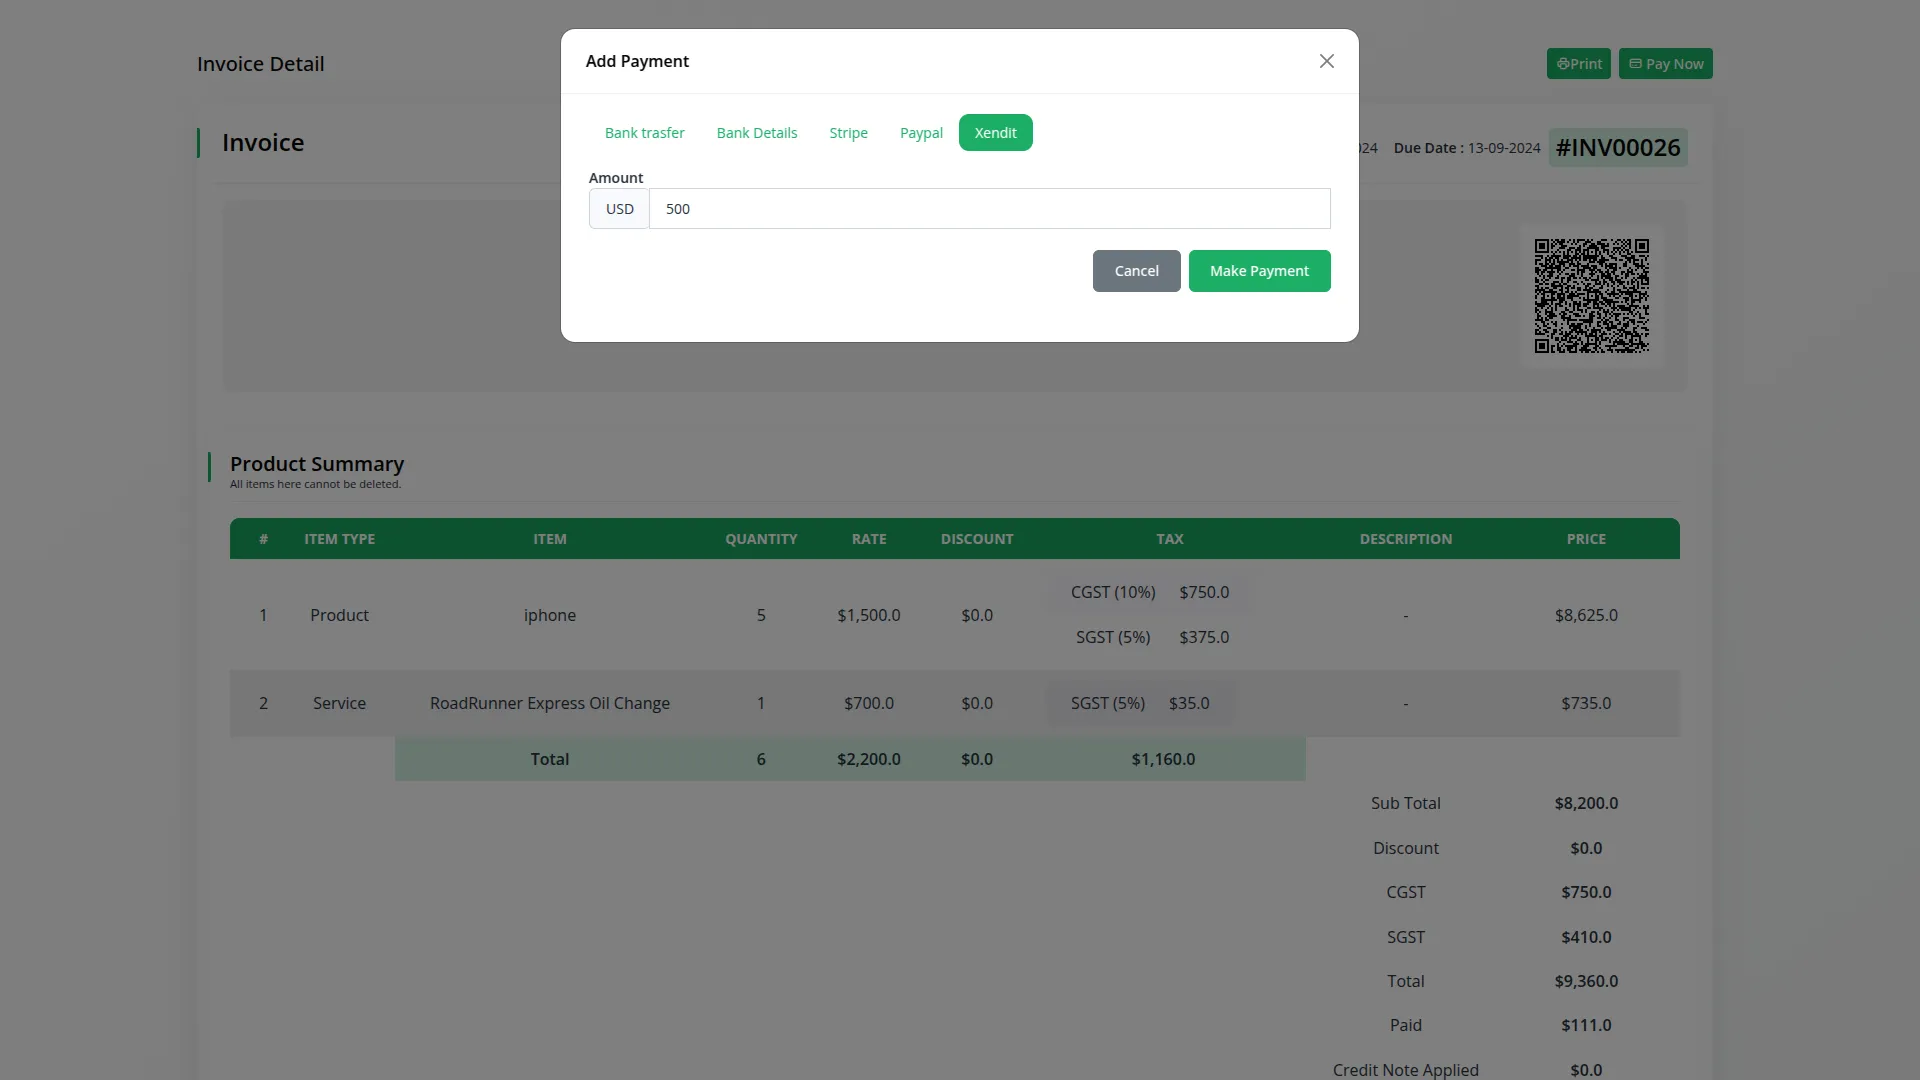
Xendit serves as a versatile payment gateway by seamlessly integrating with your online platform. Customers are empowered to select their preferred payment method, and Xendit handles the payment transaction with a strong emphasis on security and reliability. The platform features a user-friendly interface and is supported by a responsive customer service team, delivering a dependable and hassle-free payment experience, which makes it a trusted choice for merchants and customers alike.
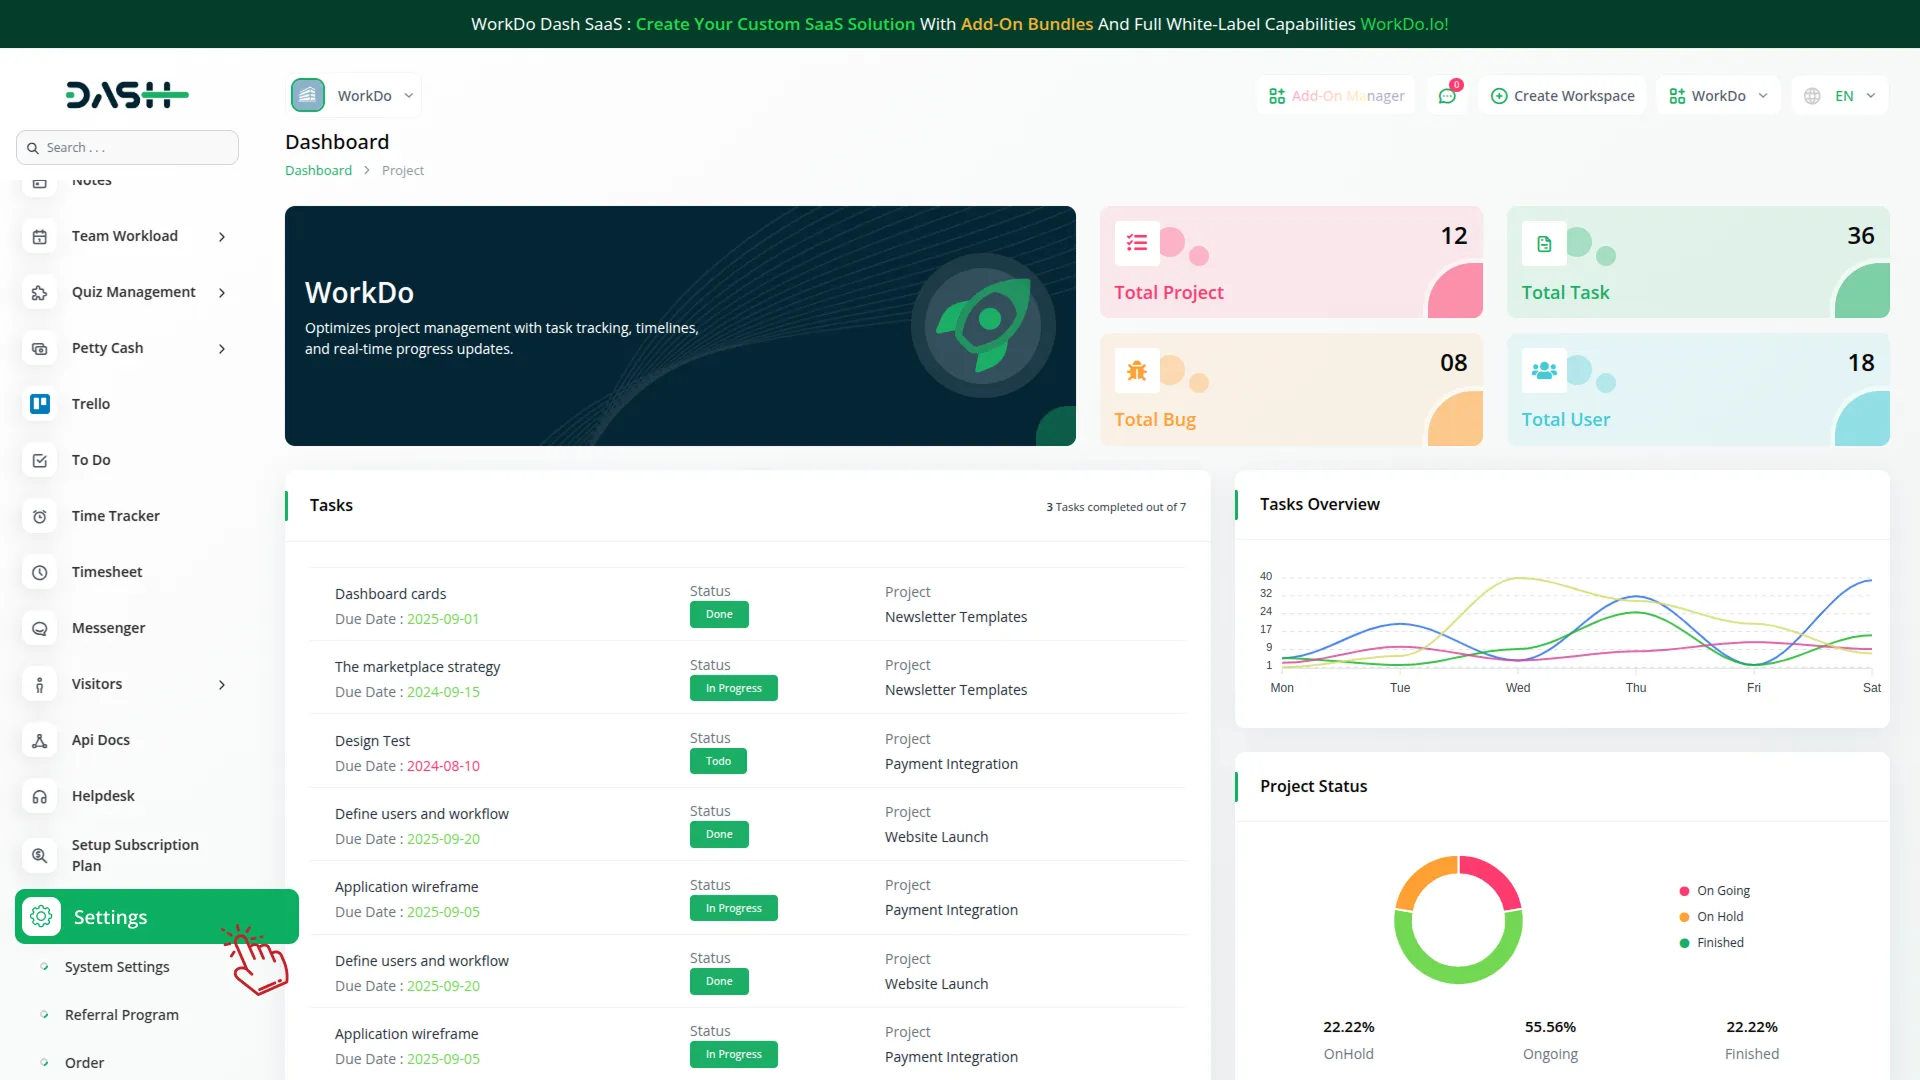
Super Admin Settings (Plan Purchase by the Company)
The “Super Admin Settings” are typically accessible to the highest-level administrator or super administrator within a software platform or system. These settings allow the super admin to manage various aspects of the company’s usage and subscription plans. This may include:
- Purchasing or upgrading subscription plans for the entire company.
Here, you can manage the payment gateway keys from the “Settings” of the Super Admin Login.

Company Settings (Invoices, Retainer, etc. Payment)
“Company Settings” in the context of invoices, retainers, and payments refer to the configuration options available to a company or organization for managing financial transactions. These settings may include:
- Configuring invoice templates and customization options.
- Setting up payment gateways for accepting payments from clients or customers.
- Defining retainer or deposit policies for services or products.
- Managing tax settings and compliance.
- Setting payment terms and conditions
This Payment Gateway Supports:
- Plan
- Invoice
- Retainer
- LMS
- Hotel&Room Management
- More +
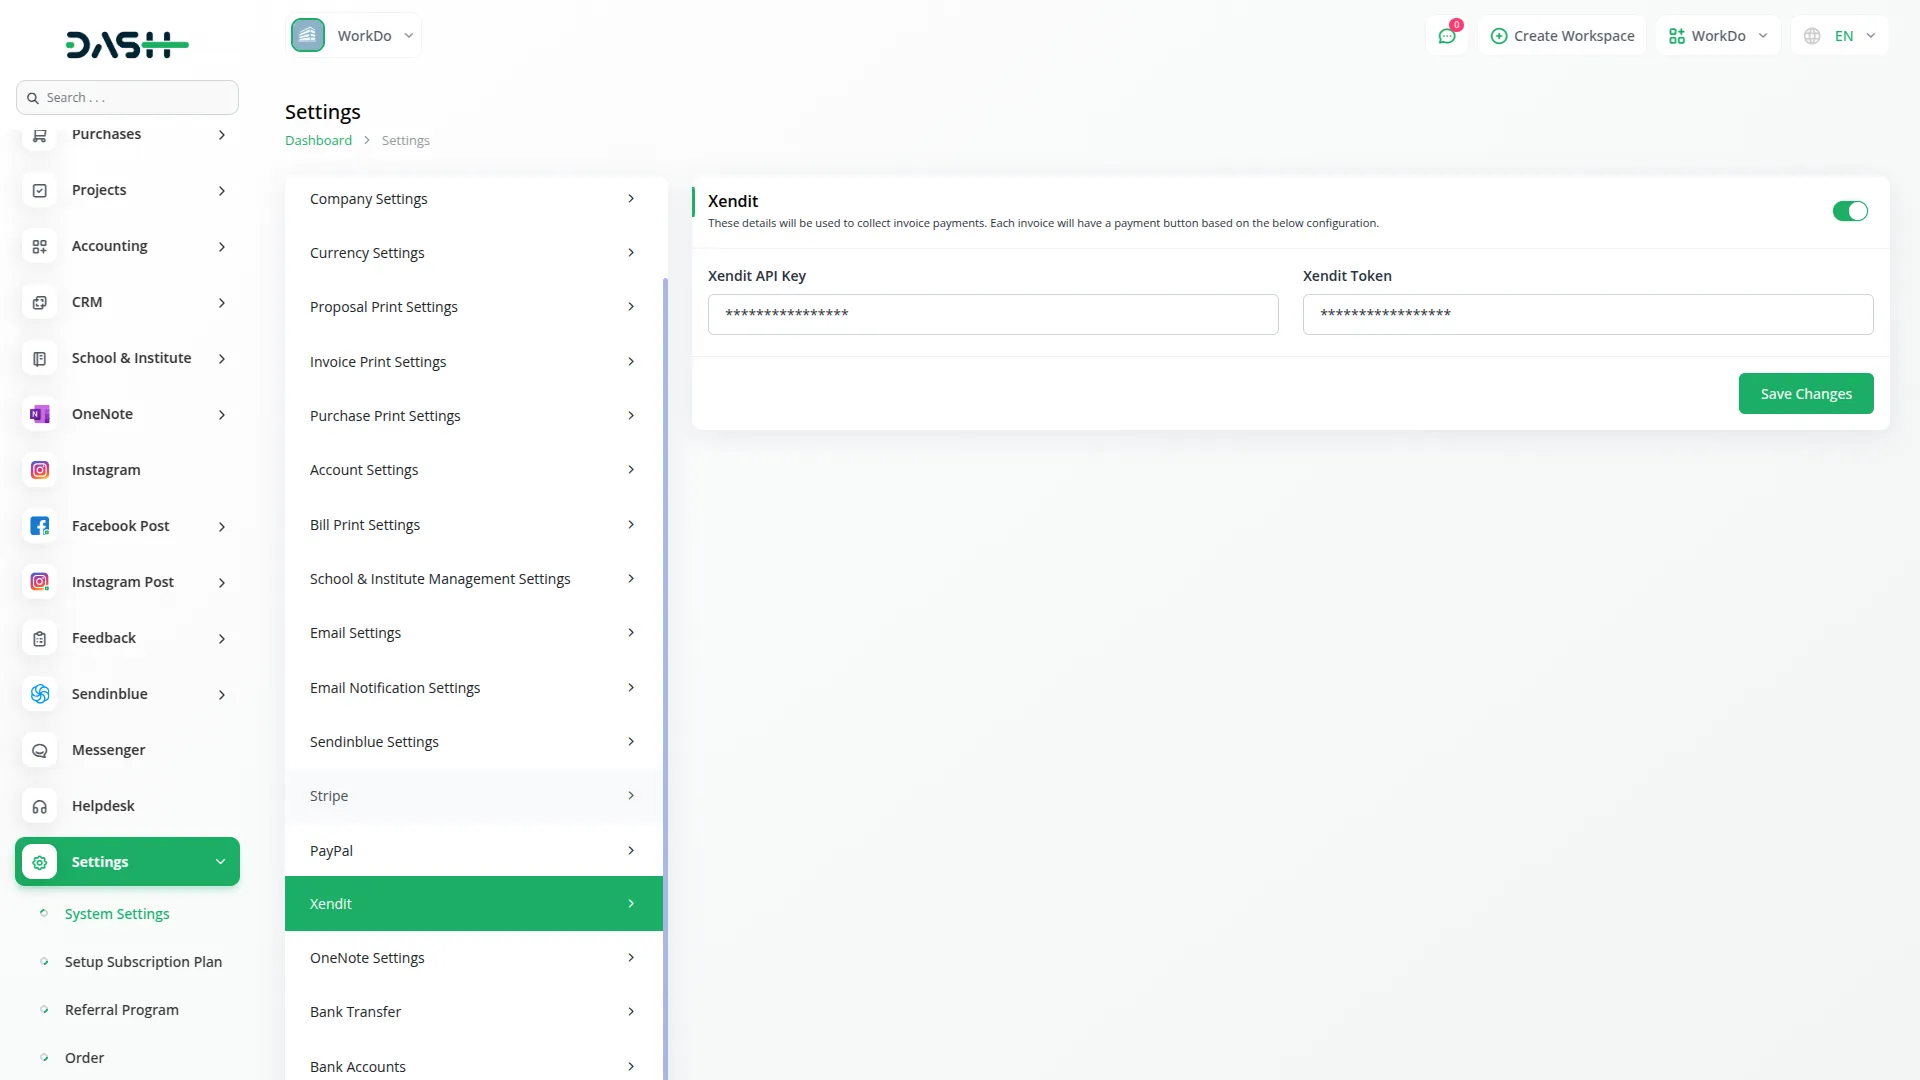
Here, you can manage the payment gateway keys from the “System Settings” under “Settings” of the Company Login.

How to Generate the API Key ?
1. Generate API Key :
- Log in to your Xendit account or create one if you dont have an account yet.
- Obtain comprehensive information about Xendit.
- To generate the Xendit API Key and Xendit Token you can follow this :https://help.xendit.co/hc/en-us/articles/16516398053273-What-is-API-Key-and-How-Do-I-Create-Them-
2. Configure Xendit Gateway in (Product Name) :
- Log in to your (Product Name) account with administrator credentials.
- Navigate to the settings page.
3. Access Payment Settings
- Within the settings page, locate and select the “Payment Settings” option.
4. Set Up Xendit Gateway :
- Scroll down the page until you find the Xendit Gateway option.
- Click on the Xendit Gateway to access its configuration settings.
5. Enter Required Details :
In the settings, provide the following essential details:
- Xendit Secret Key.


6. Save Your Settings :
- After entering the necessary details, save the settings to activate the Xendit Payment Gateway within your (Product Name) platform.
This detailed documentation provides an overview of Xendit Payment Integration, its benefits, and the integration process. By integrating Xendit, businesses, and organizations can offer their customers a secure and flexible payment experience while streamlining their own payment processes.
Note : The Xendit Add-On is a paid feature and can be accessed by users who have purchased it. By integrating the Xendit Add-On into your WorkDo Dash SaaS account, you will provide a reliable and user-friendly payment gateway that supports global transactions.
Categories
Related articles
- Payment Gateway Payfast
- Tip Module Integration in BookingGo SaaS
- Benefit Payment Gateway – BookingGo
- Payment Gateway FedaPay
- NMI Payment Gateway Integration in Dash SaaS
- CinetPay Payment Gateway in BookingGo SaaS
- MyFatoorah Payment Gateway in BookingGo SaaS
- DPO Payment Gateway
- Payment Gateway YooKassa
- YooKassa Payment Gateway in BookingGo SaaS
- PayTR Payment Gateway in BookingGo SaaS
- Omise Payment Gateway
Reach Out to Us
Have questions or need assistance? We're here to help! Reach out to our team for support, inquiries, or feedback. Your needs are important to us, and we’re ready to assist you!


Need more help?
If you’re still uncertain or need professional guidance, don’t hesitate to contact us. You can contact us via email or submit a ticket with a description of your issue. Our team of experts is always available to help you with any questions. Rest assured that we’ll respond to your inquiry promptly.
Love what you see?
Do you like the quality of our products, themes, and applications, or perhaps the design of our website caught your eye? You can have similarly outstanding designs for your website or apps. Contact us, and we’ll bring your ideas to life.
