Garage/Workshop Management Integration in Dash SaaS
The Garage Workshop Management software is designed to help automotive service centers manage their daily operations efficiently.
Introduction
The Garage Workshop Management software is designed to help automotive service centers manage their daily operations efficiently. This comprehensive Add-On handles vehicle registration, service scheduling, job card management, inventory tracking, and warranty management. The software streamlines workshop processes from initial vehicle setup to service completion, making it easy for garage owners and staff to track repairs, manage parts inventory, and maintain customer records.
How To Install The Add-On?
To Set Up the Garage Workshop Management Add-On, you can follow this link: Setup Add-On.
How To Use The Garage Workshop Management Add-On ?
System Setup
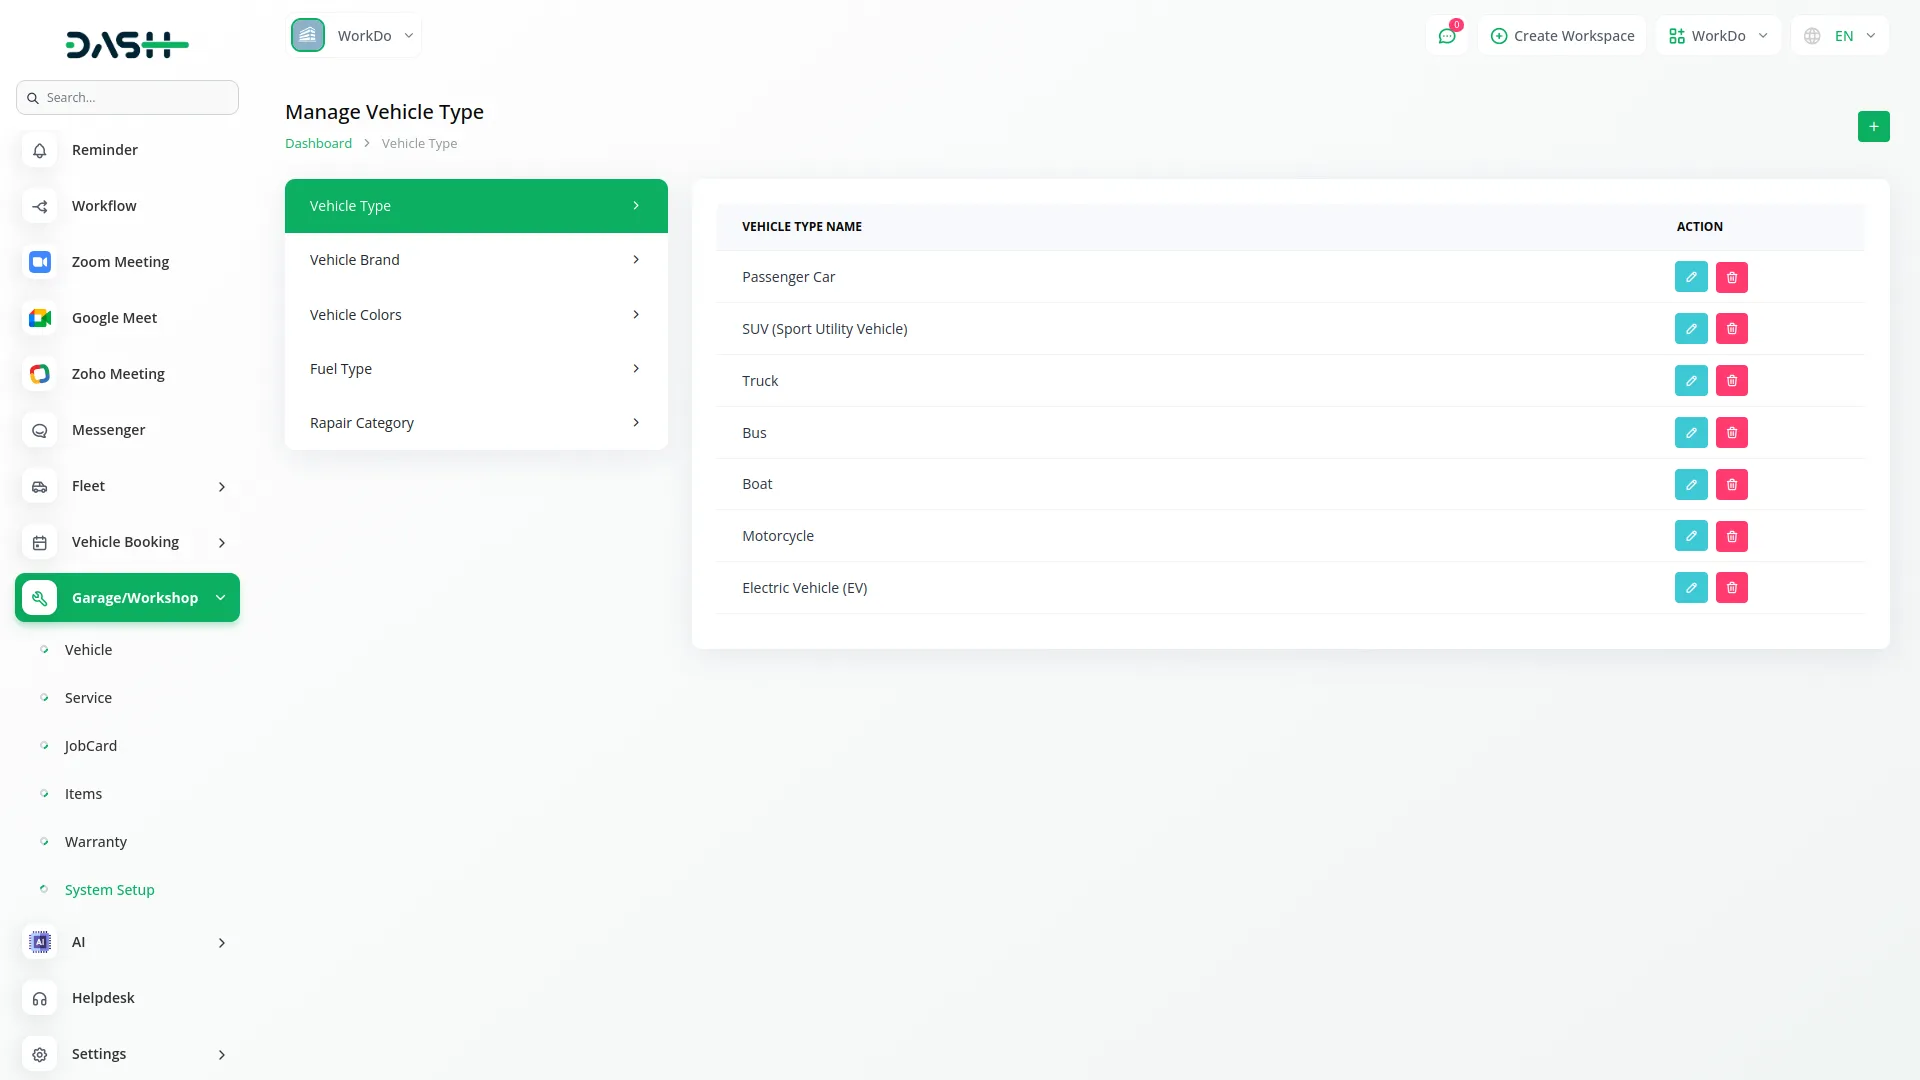
Vehicle Type
- To create a new Vehicle Type, click the “Create” button at the top of the Vehicle Type page. Enter the Vehicle Type Name in the form field.
- The list page displays all vehicle types in a table with the Vehicle Type Name column. You can perform actions like ‘Edit’ or ‘Delete’ on each record using the action buttons.
- If you have entered the vehicle type in the fleet Add-On, it would automatically show up in this section.
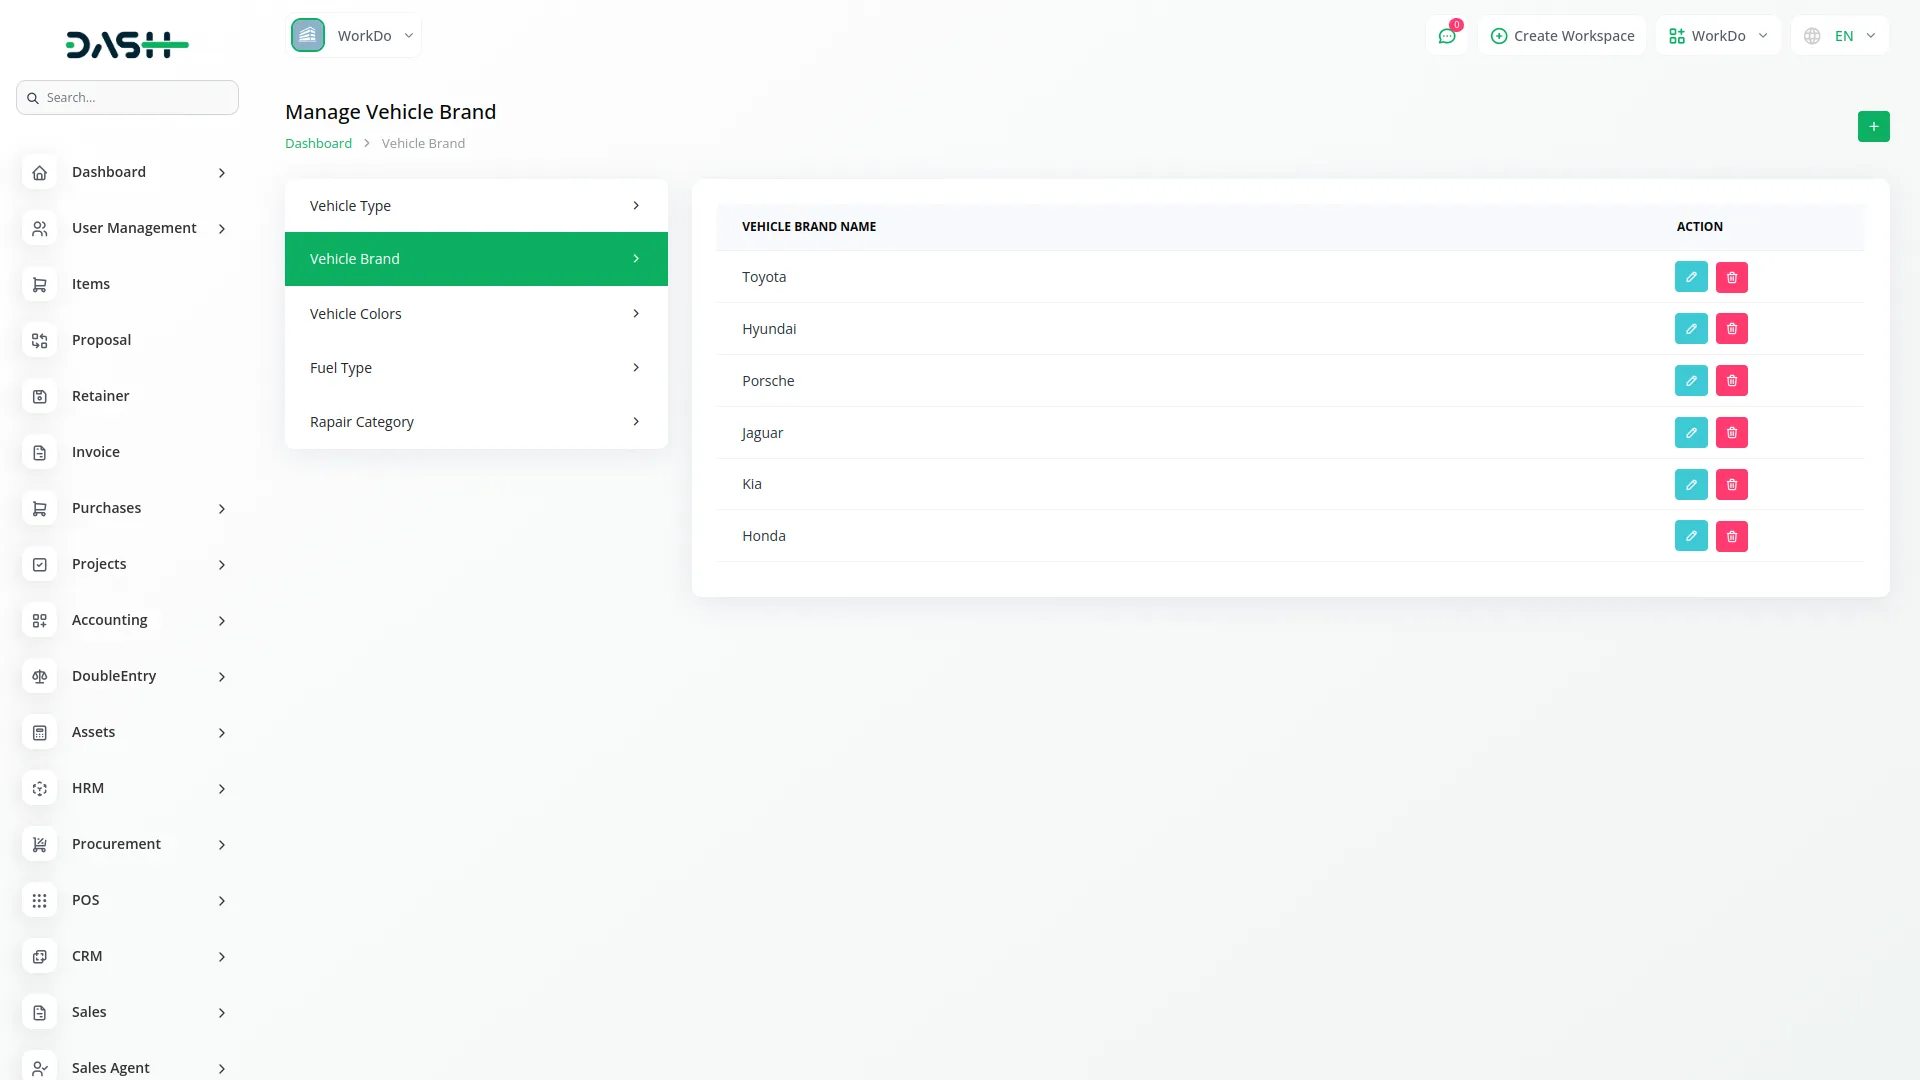
Vehicle Brand
- To create a new Vehicle Brand, click the “Create” button. Fill in the Vehicle Brand Name field in the form.
- The list page shows all vehicle brands with the Vehicle Brand Name column. Available actions include ‘Edit’ and ‘Delete’ for each brand record.
Vehicle Colours
- To create a new Vehicle Color, click the “Create” button on the Vehicle Colors page. Enter the Vehicle Colors Name in the required field.
- The list page displays all available colours with the Vehicle Colours Name column. You can edit or delete any colour record using the action buttons.

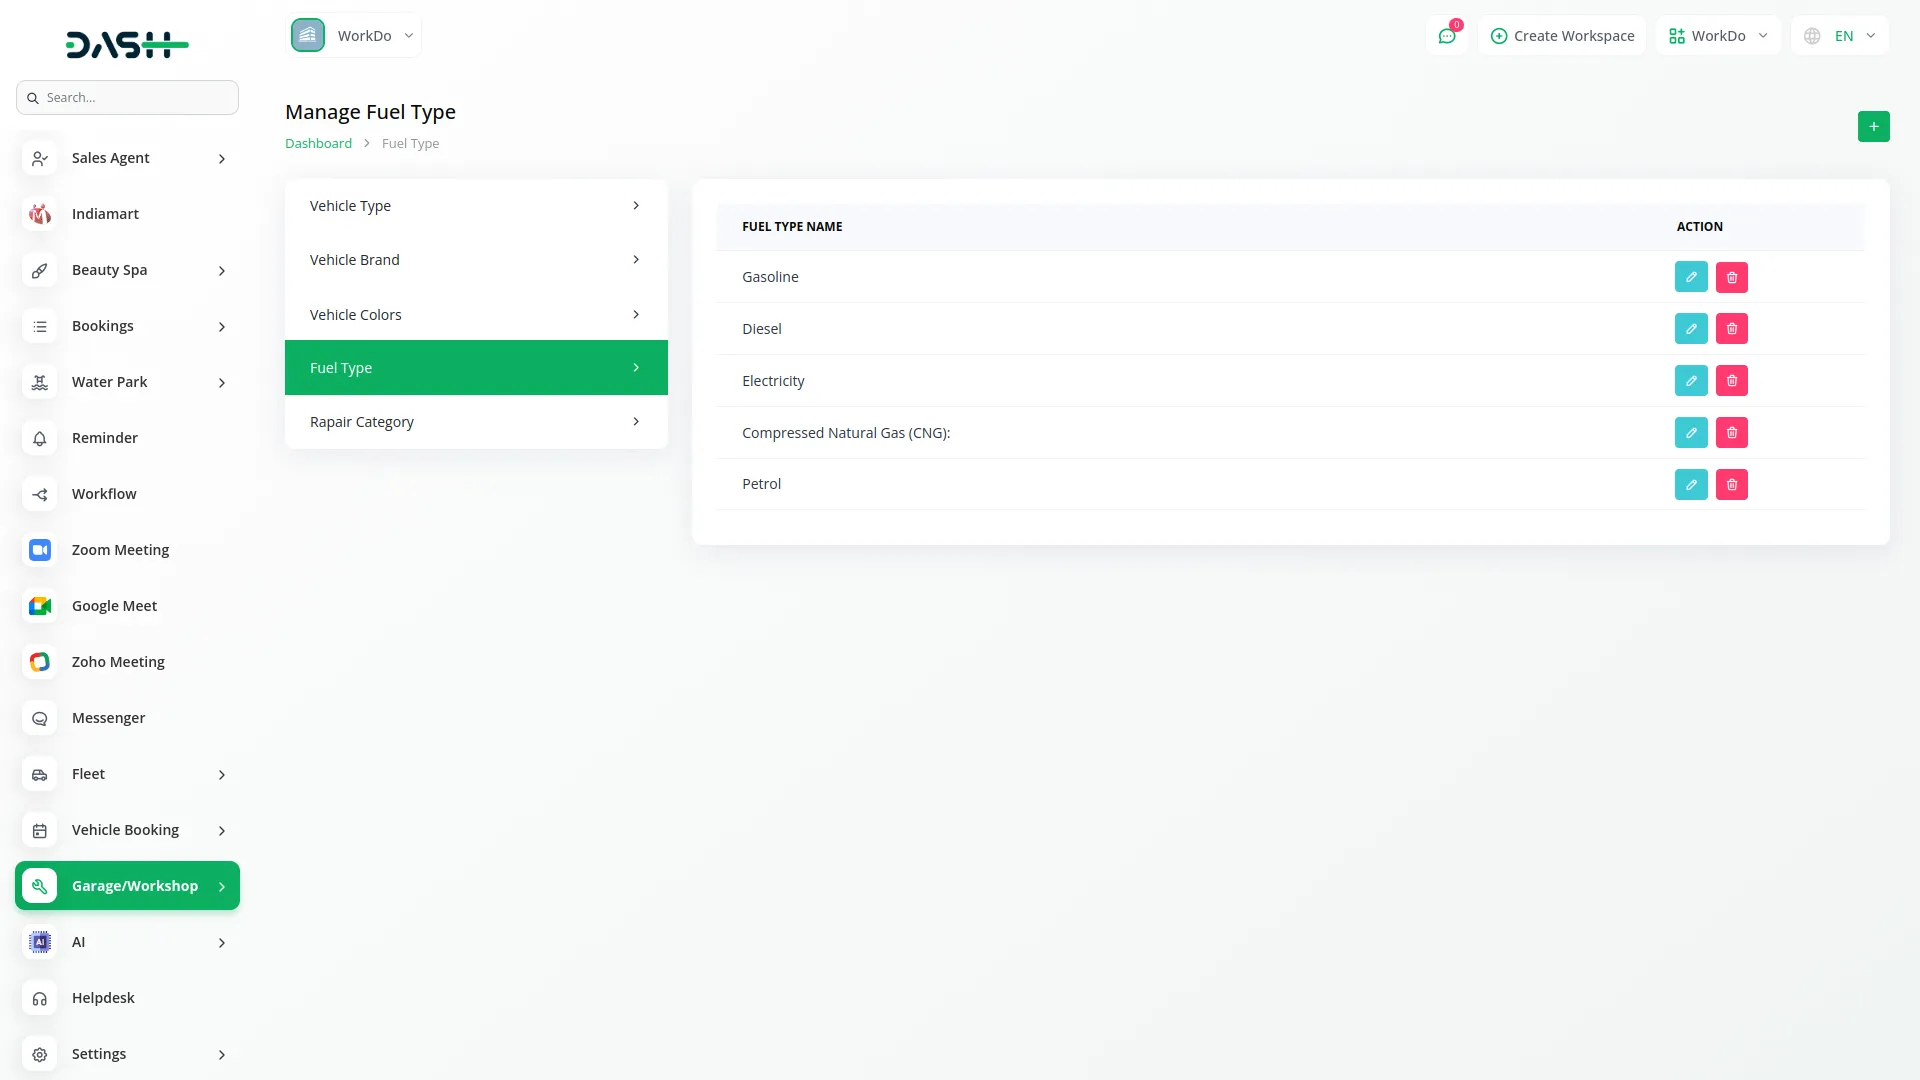
Fuel Type
- To add a new Fuel Type, click the “Create” button. Enter the Fuel Type Name in the form field.
- The list page shows all fuel types with the Fuel Type Name column. Actions available are ‘Edit’ and ‘Delete’ for each fuel type record.
- If you have entered the fuel type in the fleet Add-On, it would automatically show up in this section.
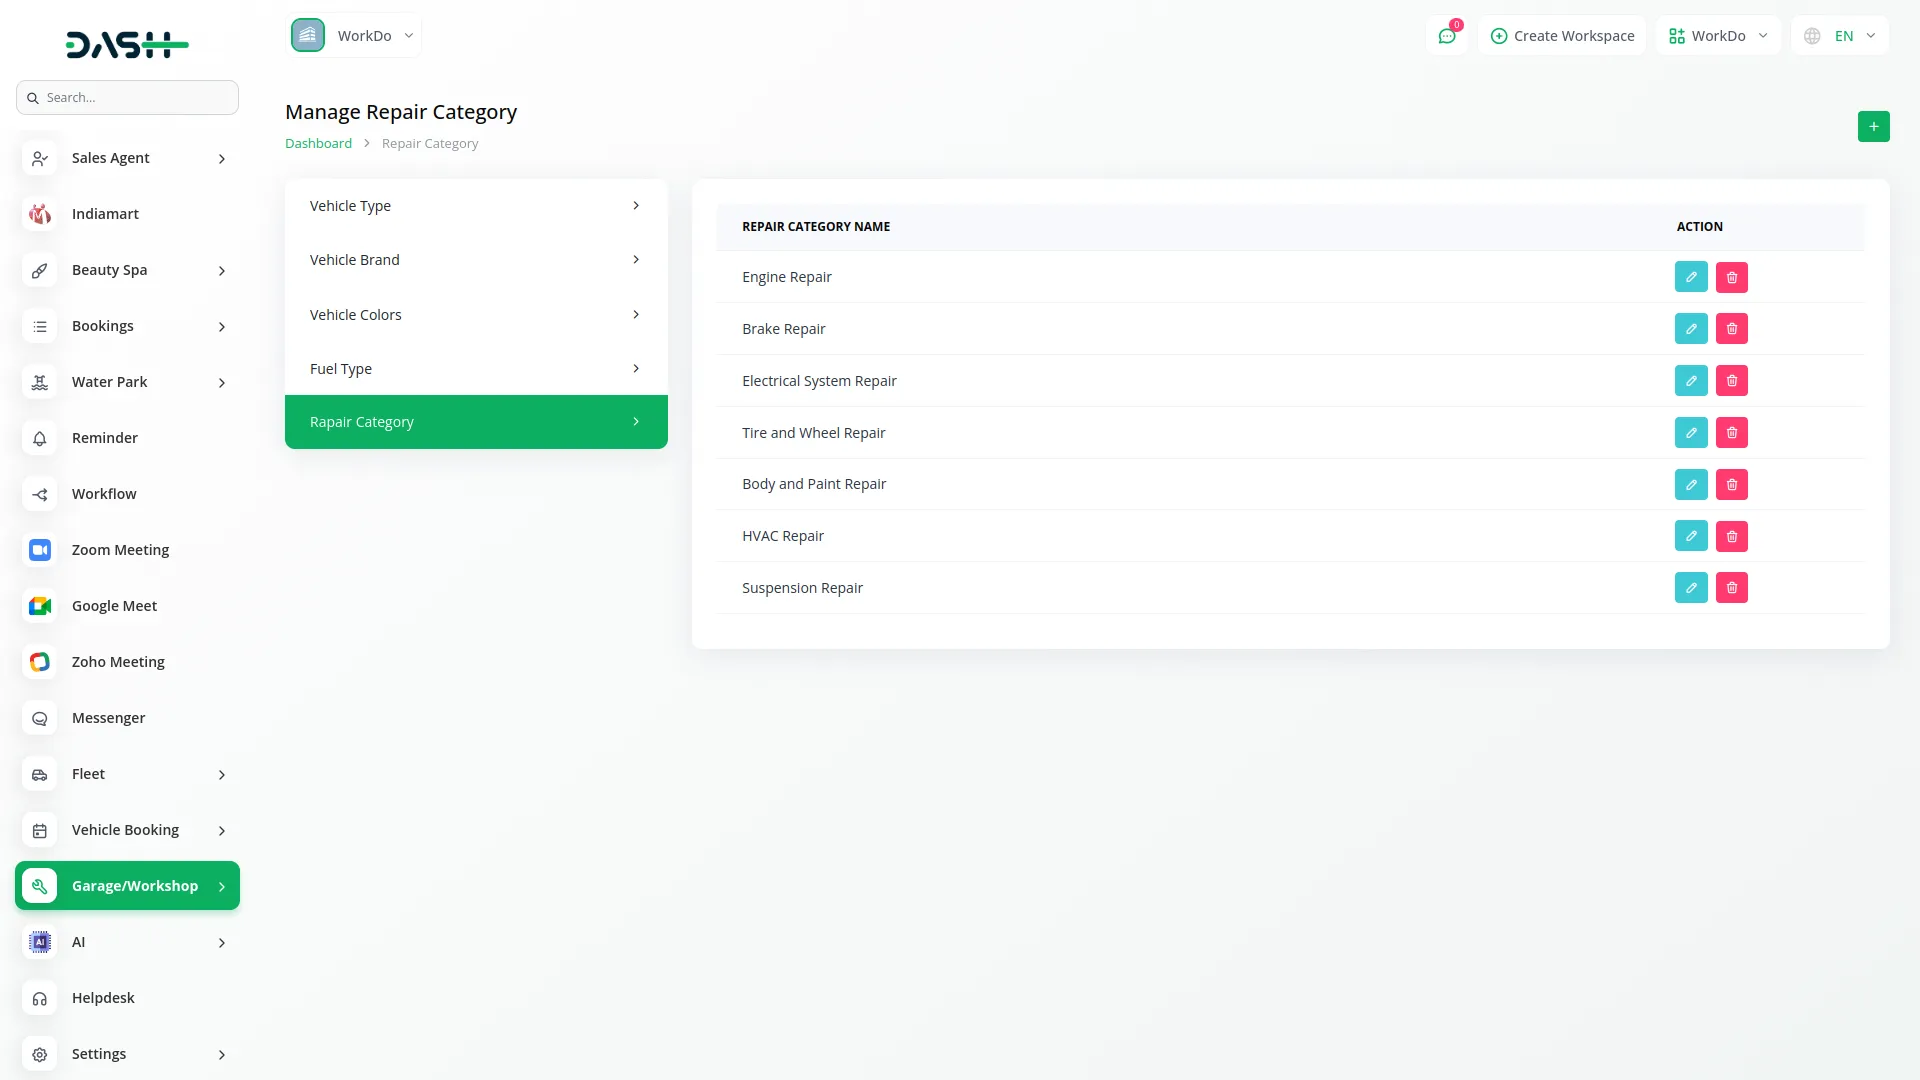
Repair Category
- To create a new Repair Category, click the “Create” button. Fill in the Repair Category Name field.
- The list page displays all repair categories with the Repair Category Name column. You can edit or delete any repair category using the action buttons.
Vehicle Management
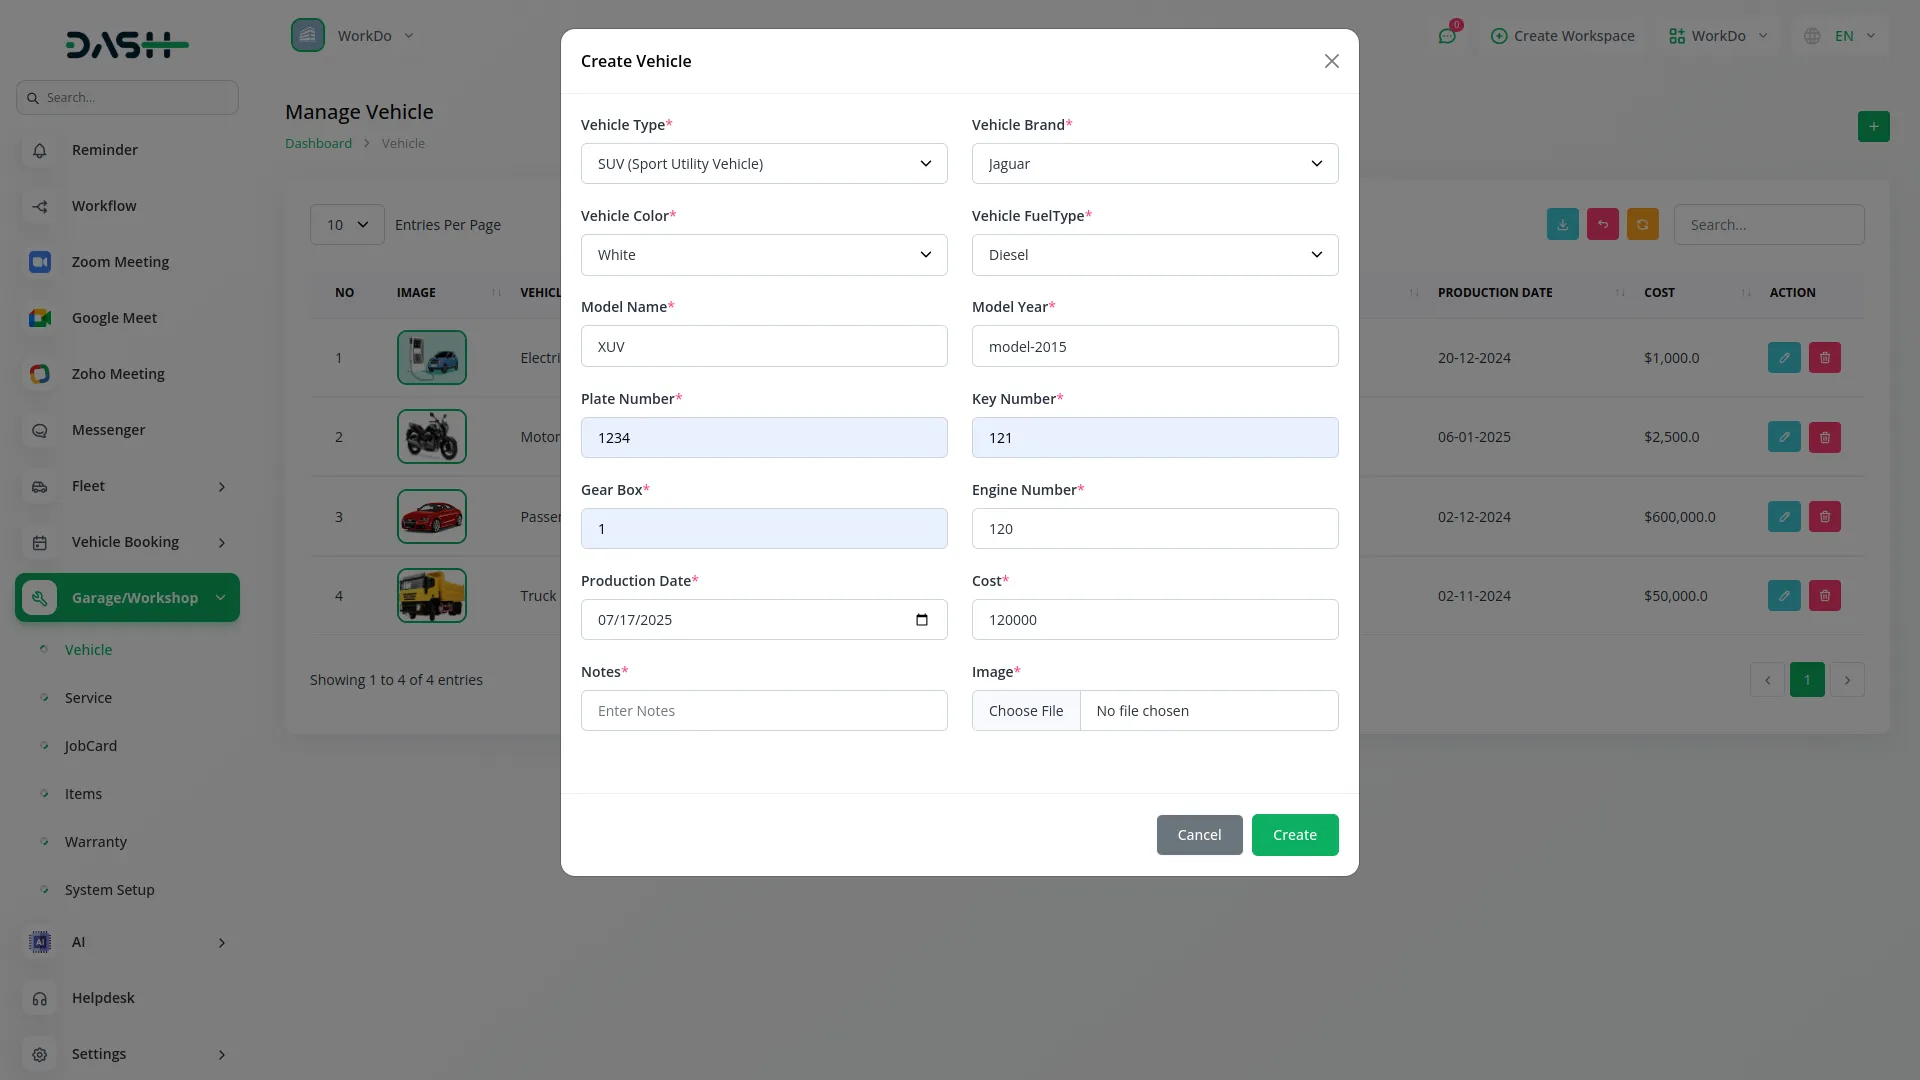
- To register a new Vehicle, click the “Create” button at the top of the vehicle page. Select the Vehicle Type from the dropdown menu (this comes from System Setup), Choose the Vehicle Brand from the dropdown (this comes from System Setup), Pick the Vehicle Color from the dropdown (this comes from System Setup), Select the Vehicle type from the dropdown (this comes from System Setup).
- Then enter the Model Name, Model Year, Plate Number, Key Number, Gear Box, Engine Number, Production Date, Cost, and Notes. Upload the vehicle Image to complete the registration.
- The list page shows all vehicles with columns for Name, Service, Date, Number, Email, and Gender. Use the Search, Export, Reload, and Reset buttons to manage the vehicle list. Available actions include ‘Edit’ and ‘Delete’ for each vehicle record.
Service Management
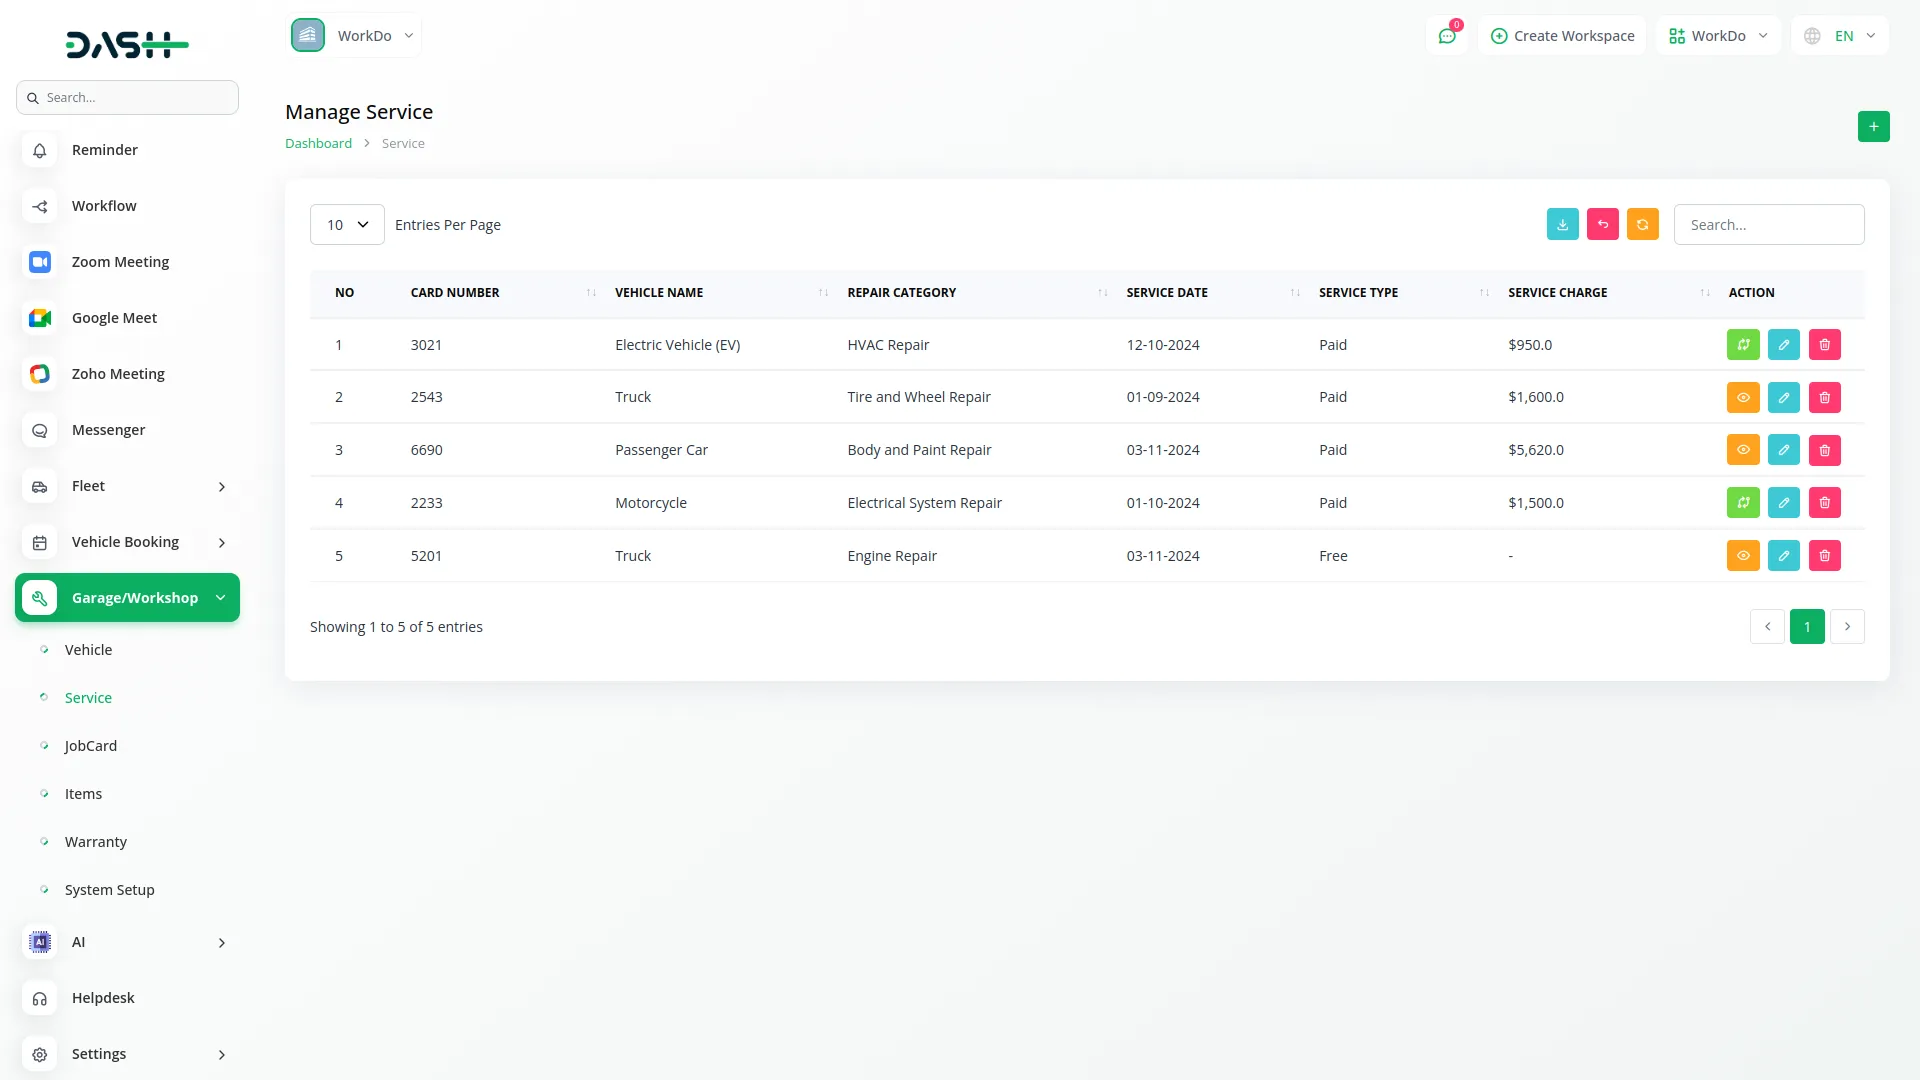
- To add a new Service record, click the “Create” button on the service page. Enter the Card Number and Title. Select the Assign To user from the dropdown menu. Choose the Vehicle Type Name from the dropdown (this comes from System Setup). Select the Repair Category from the dropdown (this comes from System Setup).
- Fill in the Service Date and Return Date. Enter the Service Charge amount. Choose the Service Type using the radio buttons (Free or Paid). Select the Motor Test option using radio buttons (Yes or No). Choose the Wash option using the radio buttons (Yes or No). Add any additional Notes.
- By default, the “Convert to Job Card” button is shown. Click this button to convert the service record to a job card view.
- The list page displays all services with columns for No, Card Number, Vehicle Name, Repair Category, Service Date, Service Type, and Service Charge. Use the Search, Export, Reload, and Reset buttons to manage the service list. Available actions include ‘Edit’ and ‘Delete’.
Job Card
- The Job Card section shows service details that have been converted from the Service using the “Convert to Job Card” action. The status is set to “Open” by default.
- The list page displays all job cards with columns for Job Card Number, Vehicle Name, Repair Category, Assign To, Service Date, and Status. Use the Search, Export, Reload, and Reset buttons to manage the job card list.
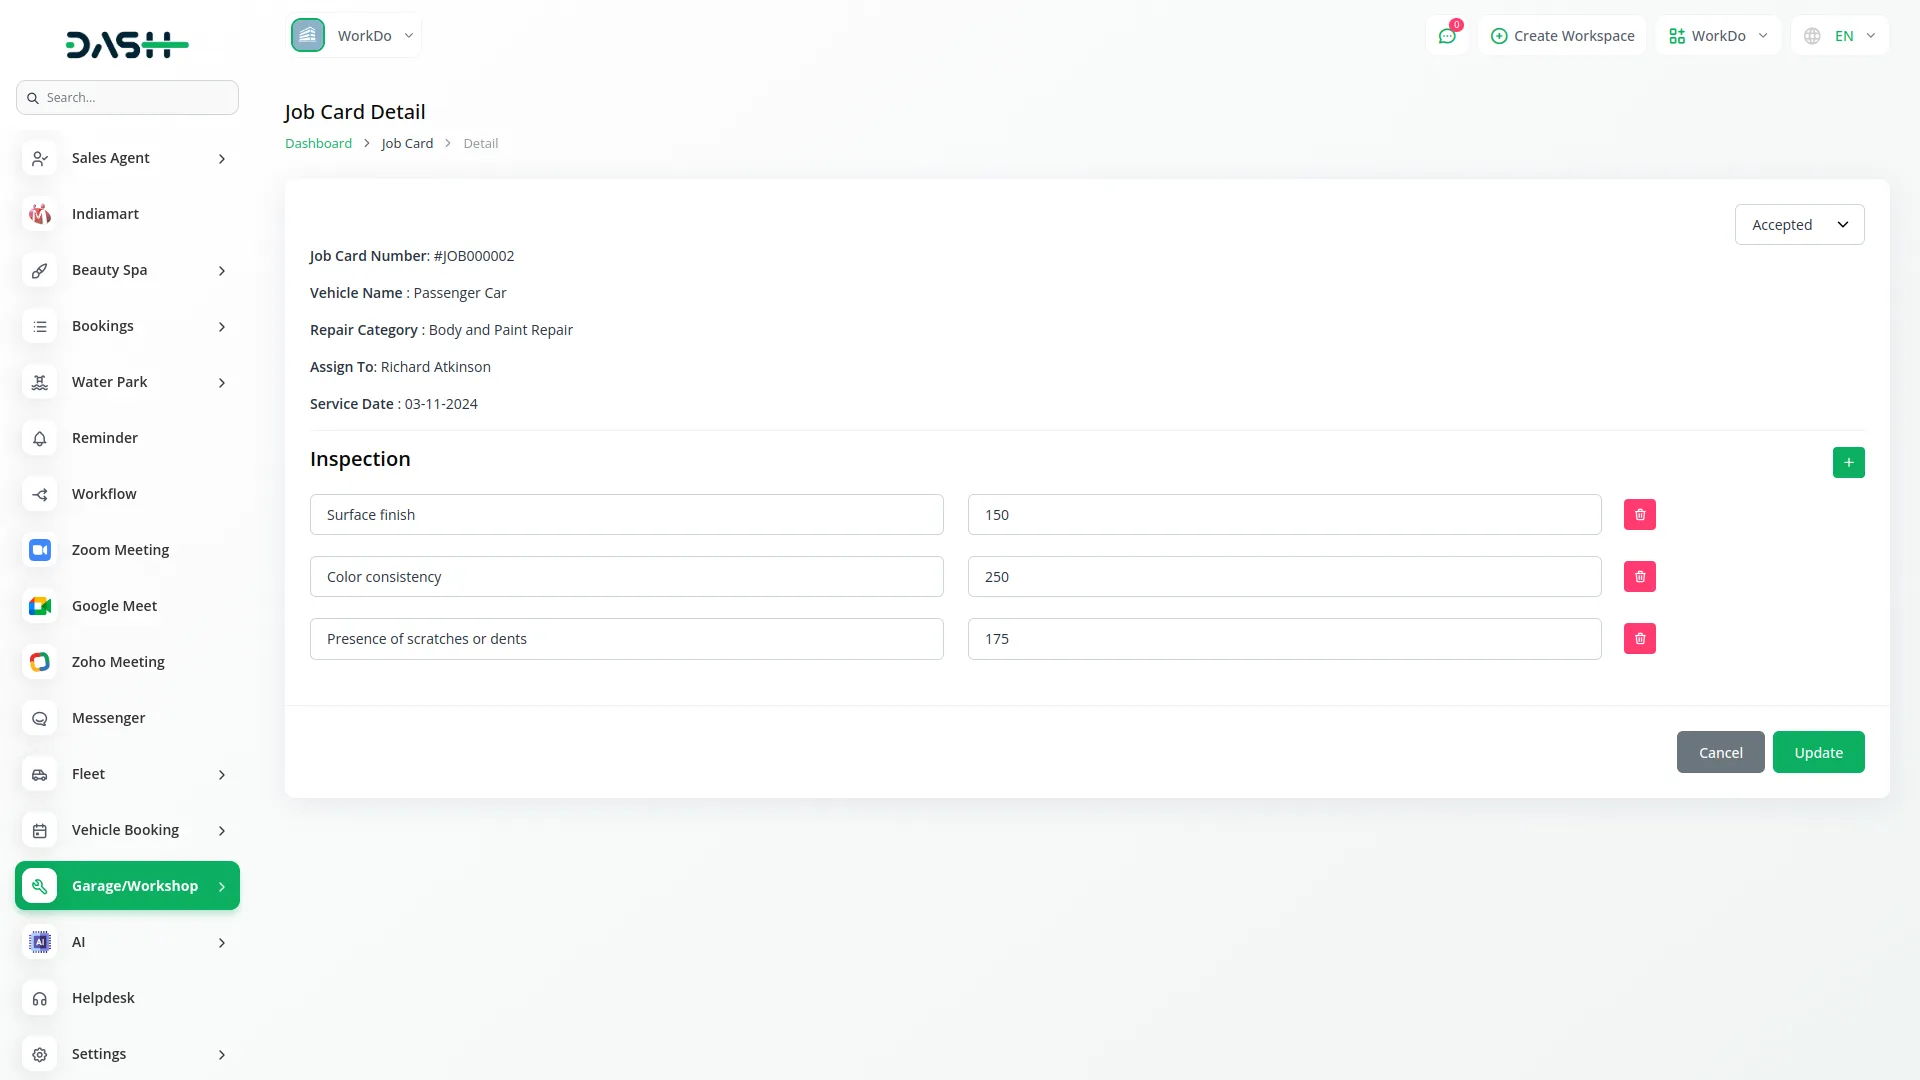
- Click the “View action” button to access the job card details. In the View section, you can change the Status using the dropdown (Open, Accepted, Close, Complete). The Job Card Number, Vehicle Name, Repair Category, Assign To, and Service Date fields are automatically filled from the original service record.
- For Inspection, click the “Create” button to add inspection items using the repeater fields for Product and Cost.
Items Management
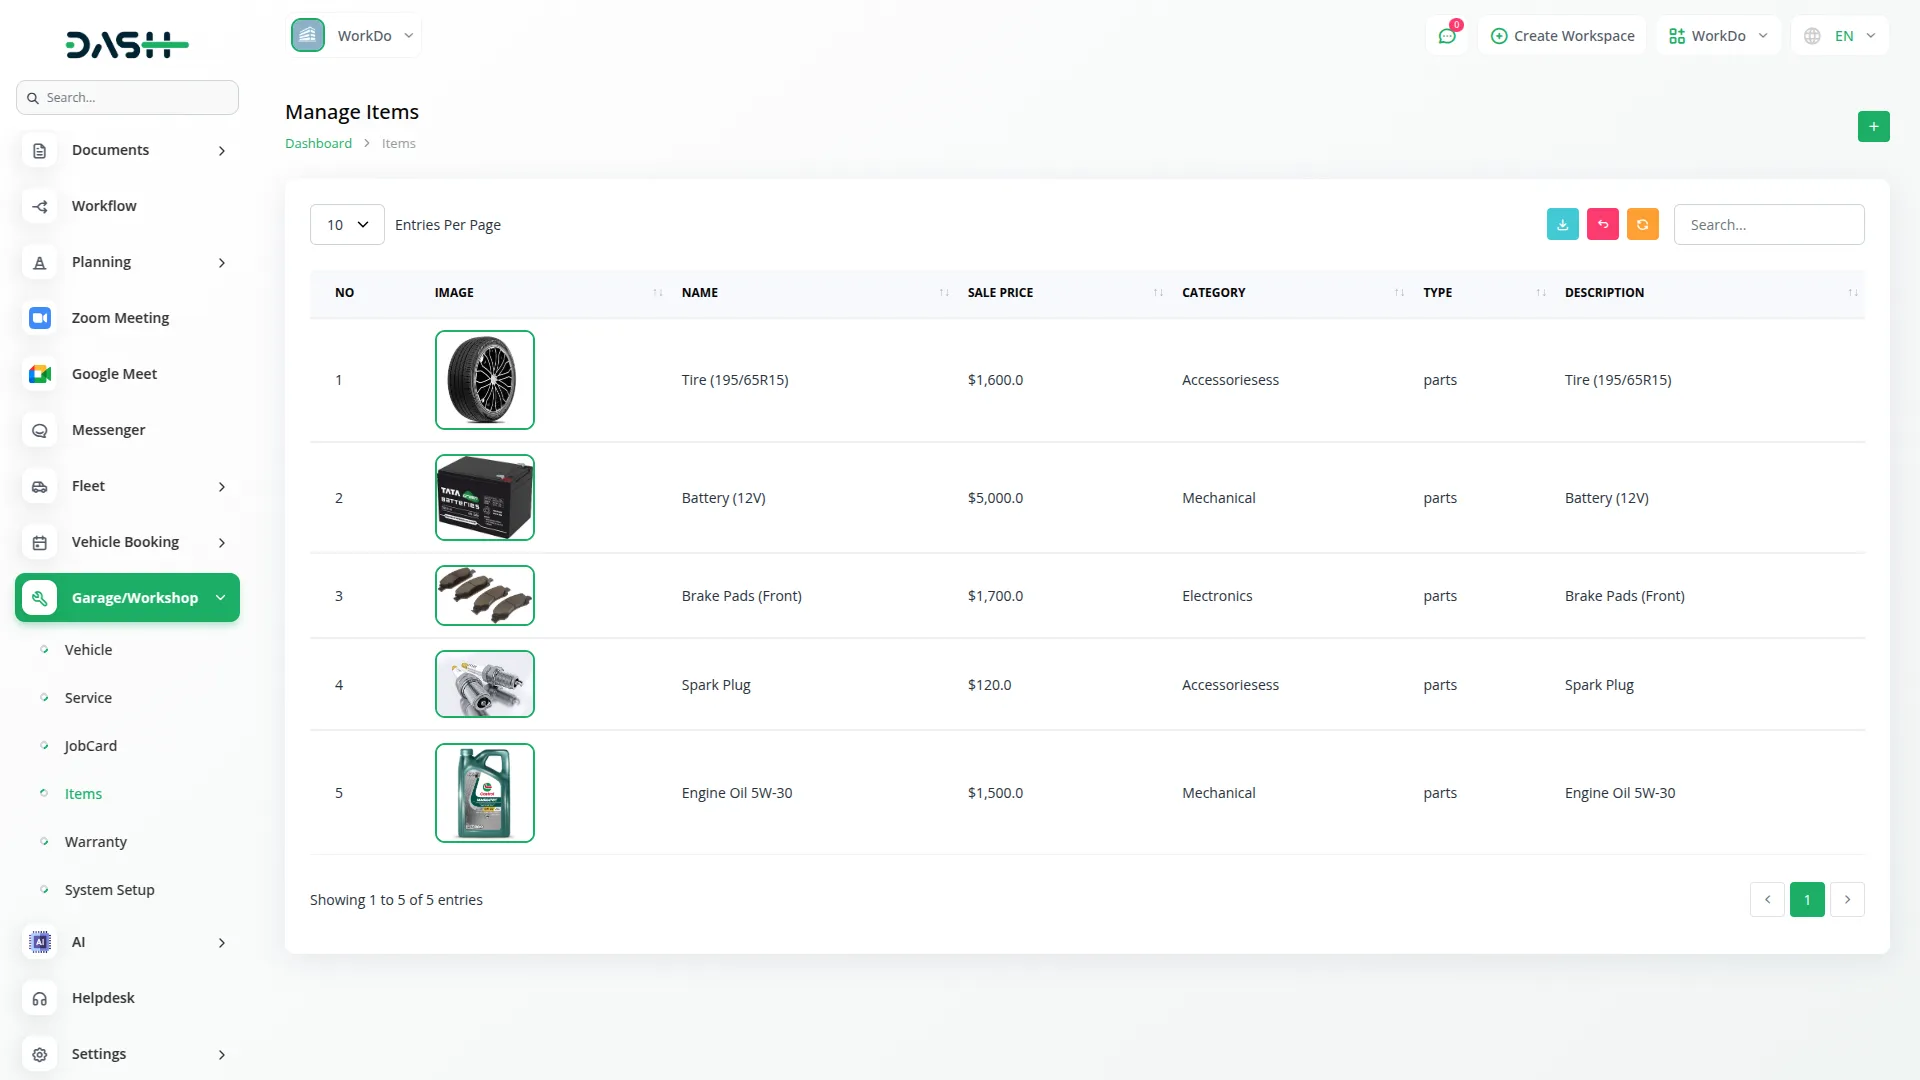
- To add a new Item, click the “Create” button on the items page. Enter the Name and Title of the item. Fill in the SKU number. Select the Tax option from the dropdown menu. Choose the Category from the dropdown list.
- Add a Description of the item. Enter the Sale Price and Purchase Price. Specify the Unit and Quantity available. Upload an Image of the item. Select the Warehouse from the dropdown menu.
- The list page shows all items with columns for Image, Name, Sale Price, Category, Type, and Description. Use the Search, Export, Reload, and Reset buttons to manage the items list.
Warranty Management
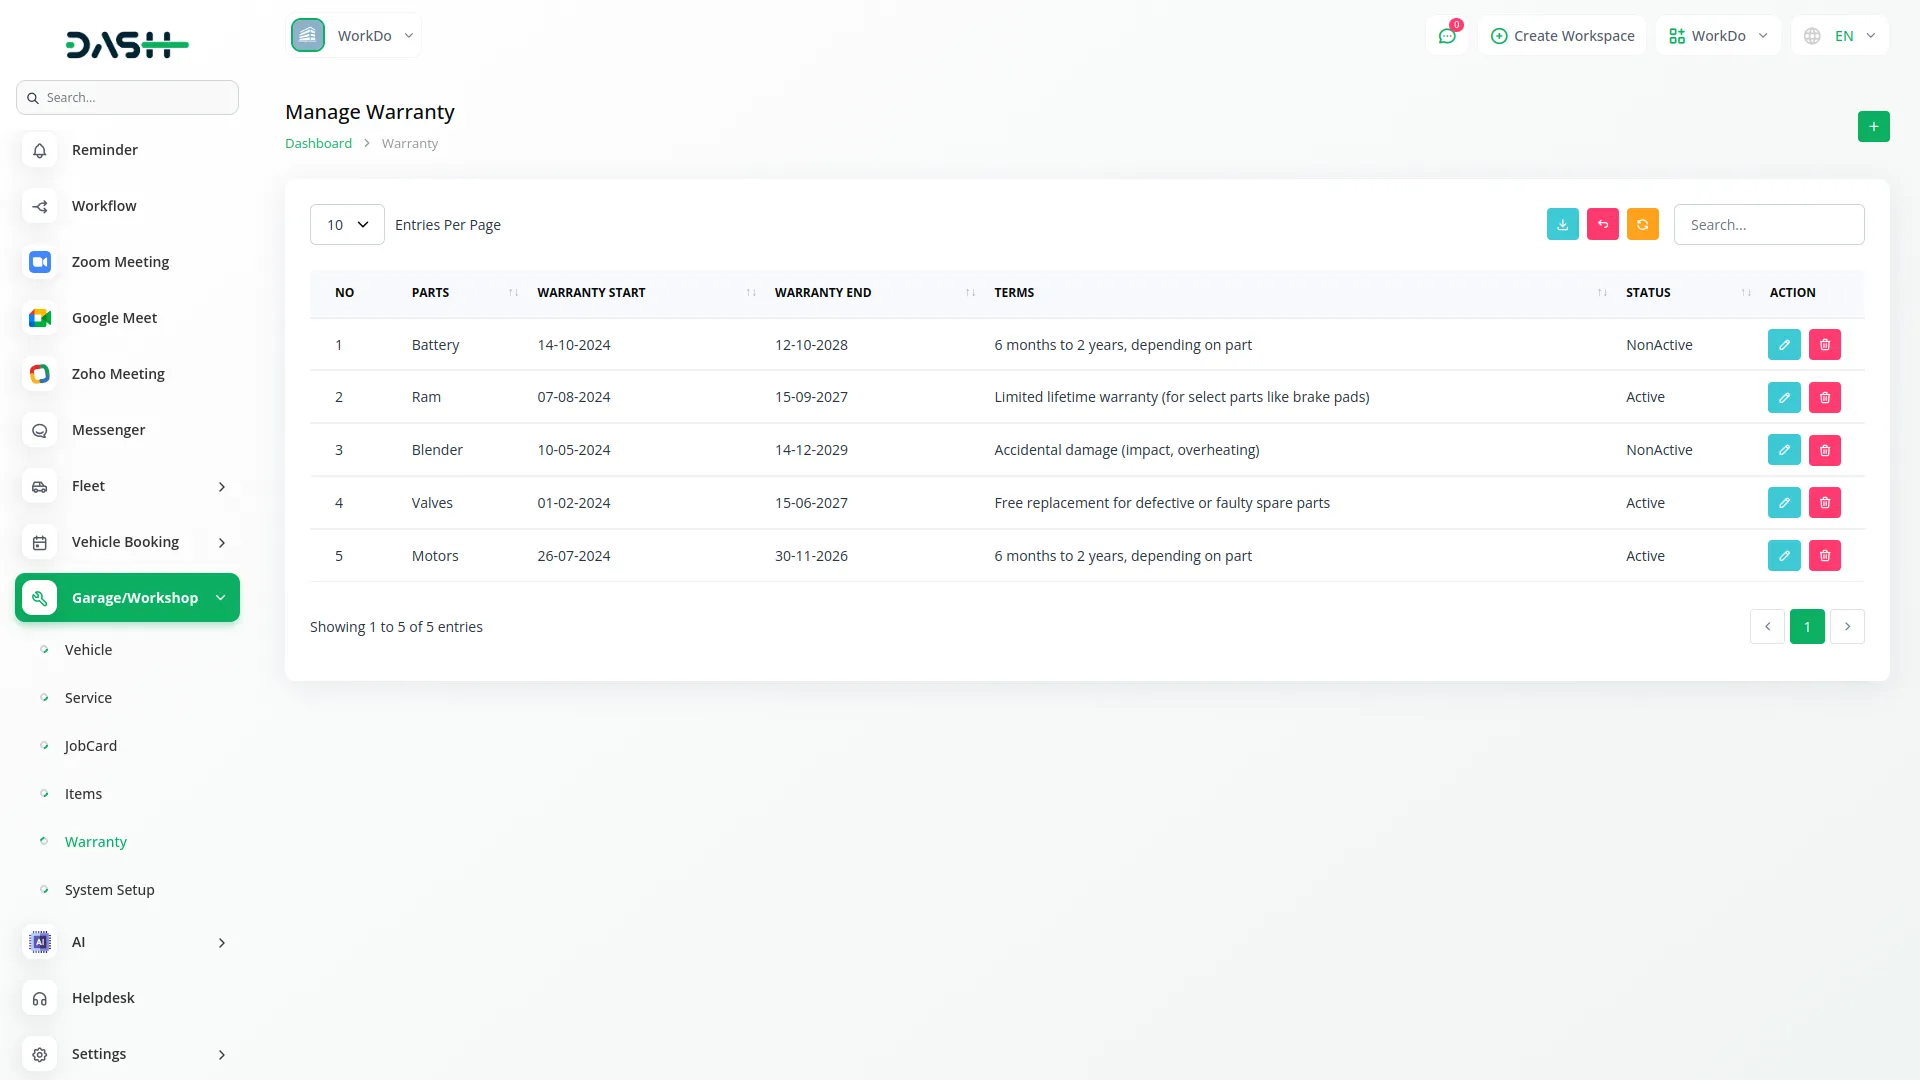
- To add a new Warranty record, click the “Create” button on the warranty page. Select the Parts from the Item dropdown (this comes from the Items section). Enter the Warranty Start date and Warranty End date. Fill in the Terms and Conditions. Set the Status of the warranty.
- The list page displays all warranty records with columns for No, Parts, Warranty Start, Warranty End, Terms, and Status. Use the Search, Export, Reload, and Reset buttons to manage the warranty list. Available actions include ‘Edit’ and ‘Delete’ for each warranty record.
Categories
Related articles
- API WorkDo Dash SaaS Add-On
- Movie & Tv Studio Integration in Dash SaaS
- Zoom Meeting Integration in Dash SaaS
- Childcare Management Integration in Dash SaaS
- Google Drive Integration in Dash SaaS
- PayU Payment Gateway Integration in Dash SaaS
- Freelancing Platform Integration in Dash SaaS
- Gym Management Integration in Dash SaaS
- Scholarship Detailed Documentation
- Mobile Service Management Integration in Dash SaaS
- Fast2SMS Add-On Integration in Dash SaaS
- Financial Goal Integration in Dash SaaS
Reach Out to Us
Have questions or need assistance? We're here to help! Reach out to our team for support, inquiries, or feedback. Your needs are important to us, and we’re ready to assist you!


Need more help?
If you’re still uncertain or need professional guidance, don’t hesitate to contact us. You can contact us via email or submit a ticket with a description of your issue. Our team of experts is always available to help you with any questions. Rest assured that we’ll respond to your inquiry promptly.
Love what you see?
Do you like the quality of our products, themes, and applications, or perhaps the design of our website caught your eye? You can have similarly outstanding designs for your website or apps. Contact us, and we’ll bring your ideas to life.
