Sales Agent Integration in Dash SaaS
The Sales Agent Add-on is a powerful tool designed to elevate your sales team’s performance and streamline sales operations.
Introduction
The Sales Agent Add-on is a powerful tool designed to elevate your sales team’s performance and streamline sales operations. With this comprehensive solution, you can effectively manage sales activities, nurture customer relationships, and achieve your performance goals. The SalesAgent Module simplifies program management by offering real-time tracking of sales programs and providing dedicated dashboards for sales agents to access performance insights. Moreover, it streamlines the order-to-invoice process, making purchase orders and invoice management effortless and ensuring smooth transactions.
How to Install the Add-On?
To Set Up the Sales Agent Add-On, you can follow this link: Setup Add-On
How to use the Sales Agent Add-on?
- Once you purchase and install the Add-On, go to the sidebar and search for the Sales Agent Add-On. You will get to see many pages over there. Which are discussed below.
Dashboard
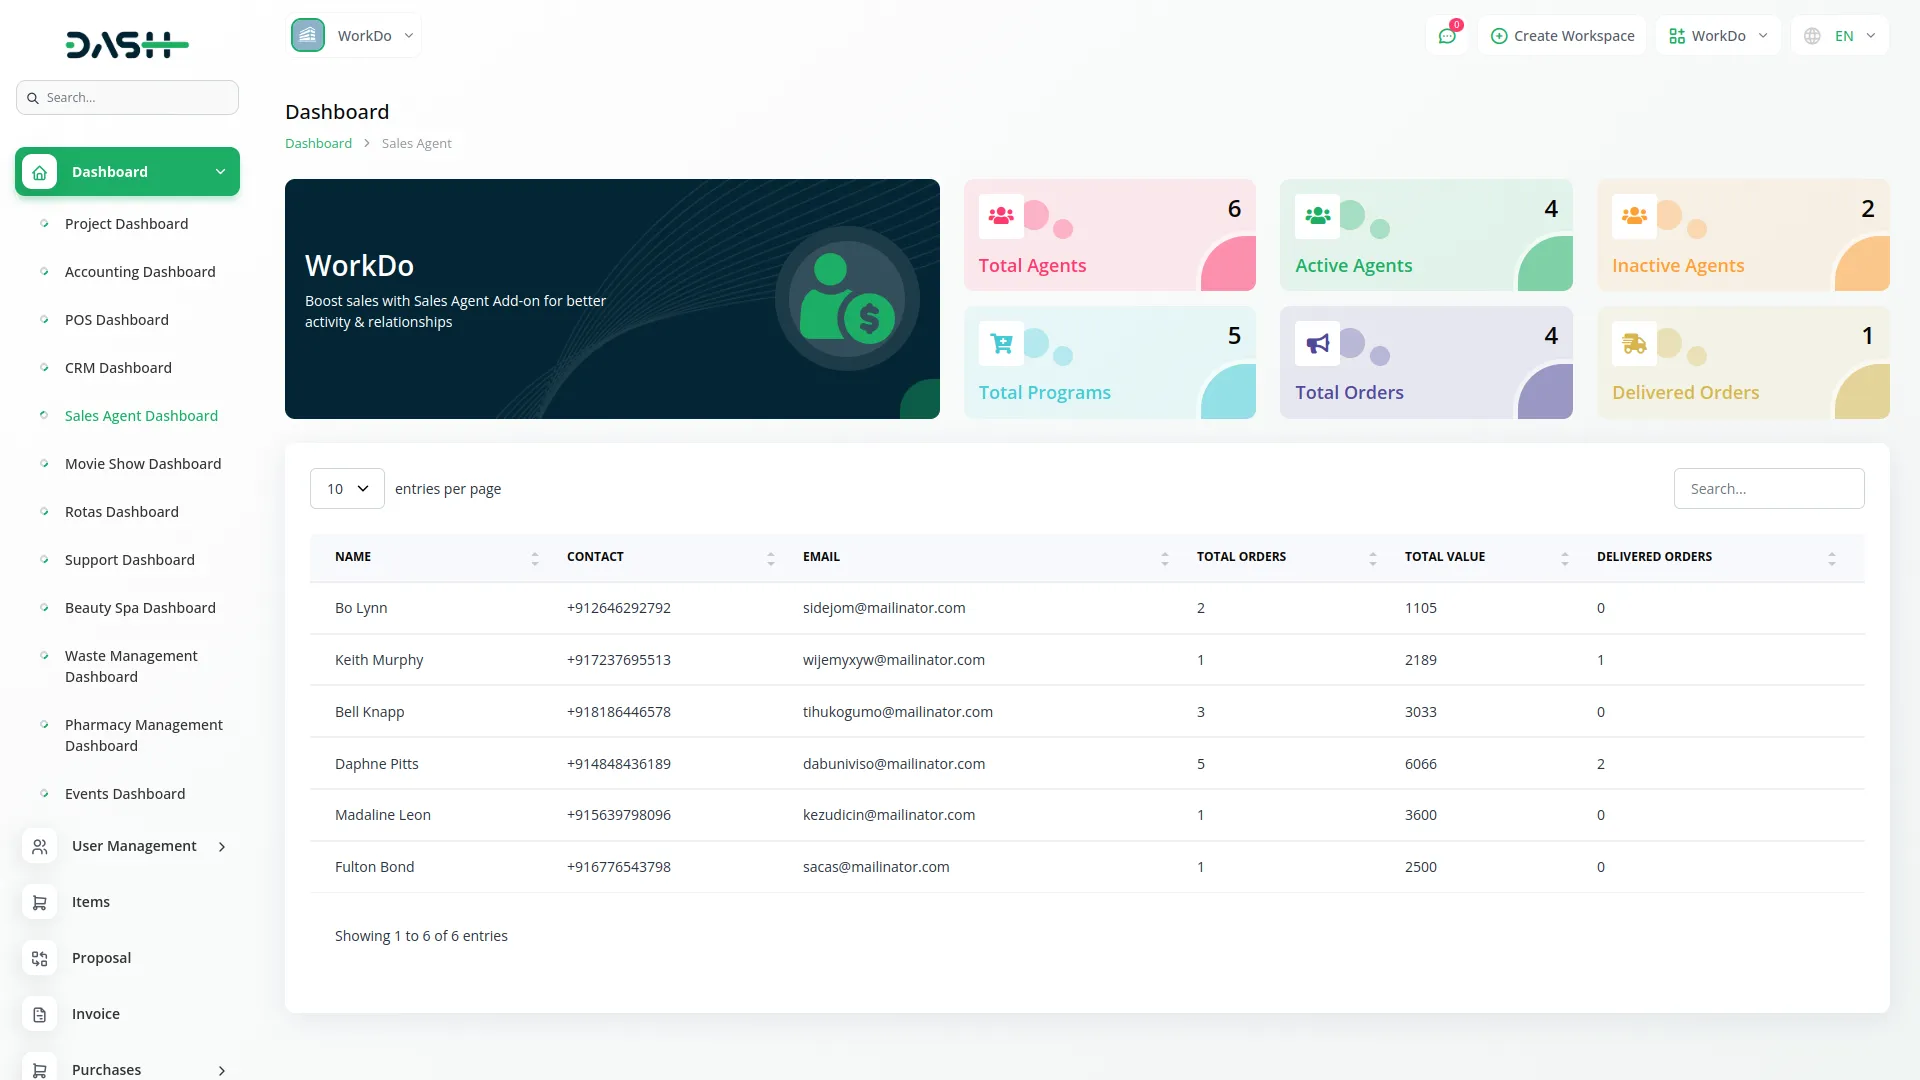
- The dashboard gives you a quick overview of all your sales activity, including the total number of sales agents in the system.
- You can instantly see how many agents are currently active and how many are inactive, helping you manage your team more effectively.
- It also displays the total number of programs created and the total number of orders handled through the platform.
- The number of delivered orders is shown as well, giving you real-time insights into how efficiently your orders are being fulfilled.
- Just below these key stats, there is a detailed list of all sales agents, showing information like their name, contact number, email address, total orders assigned, total order value, and number of delivered orders.
-
Sales Agents
- After the dashboard, go to the sidebar and search for a sales agent. Here you will see three sub pages.
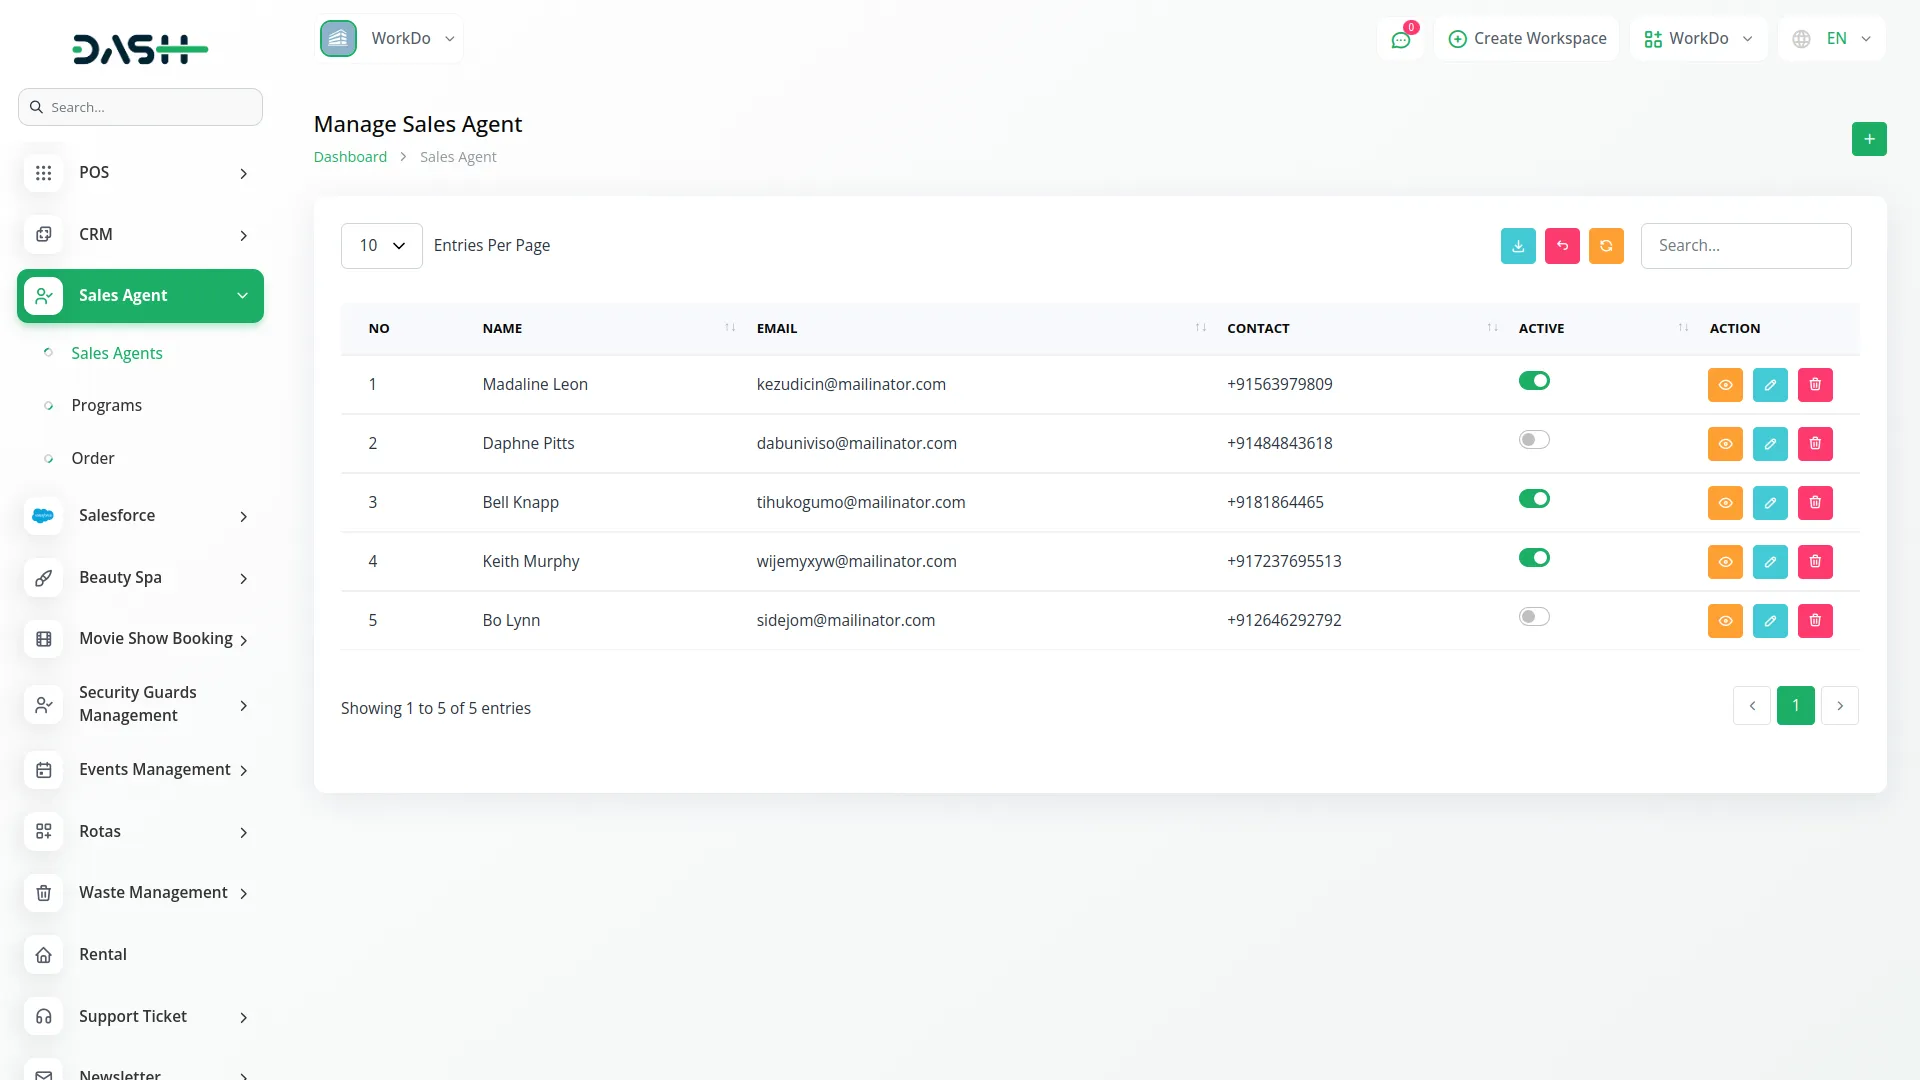
- The first page is for sales agents. Here you can create a new sales agent with the help of the create button given at the top. Just enter the name, contact, email, password, and tax number. After that, add the billing address, city from where the order is sent, shipping address, and the city where the order is going to be delivered.
- Once you do that, the entry of that agent will be recorded on the sales agent page including the necessary details like number, name, email, contact, active status (you can enable or disable it easily).
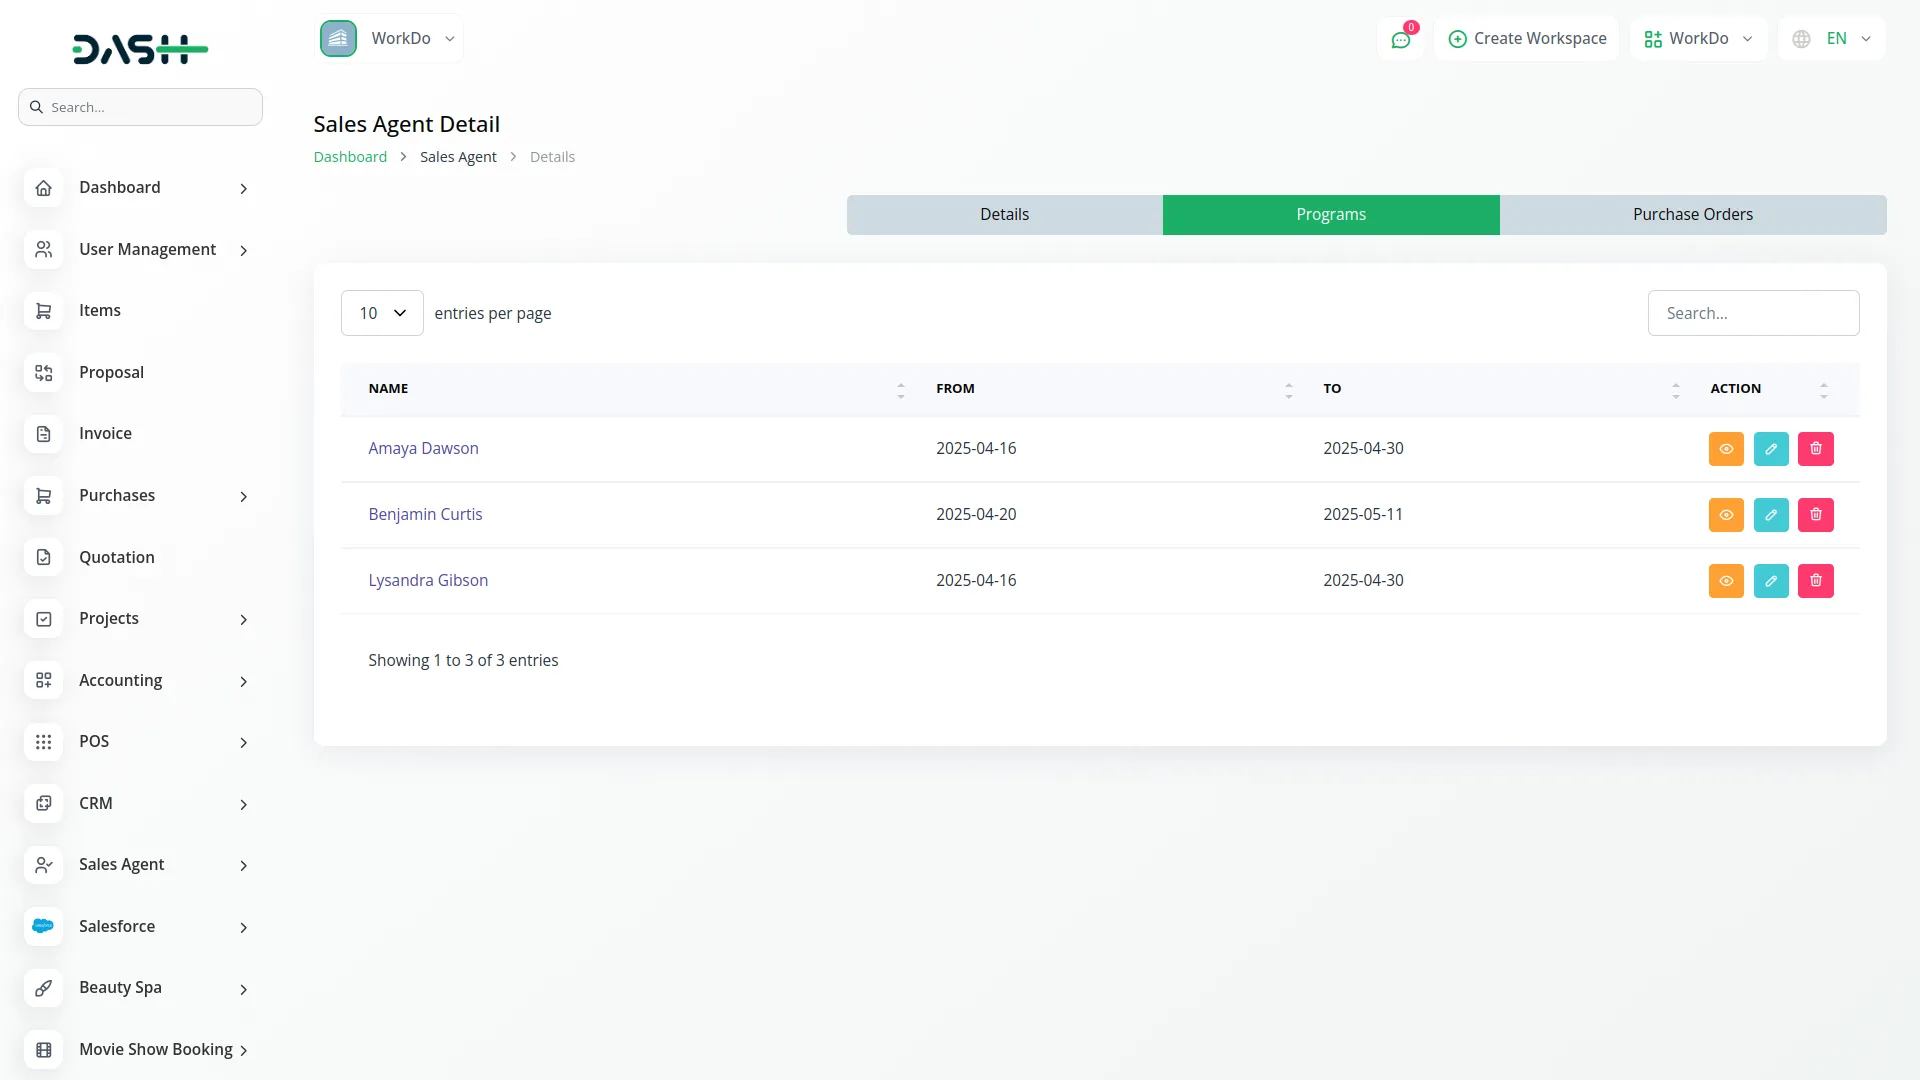
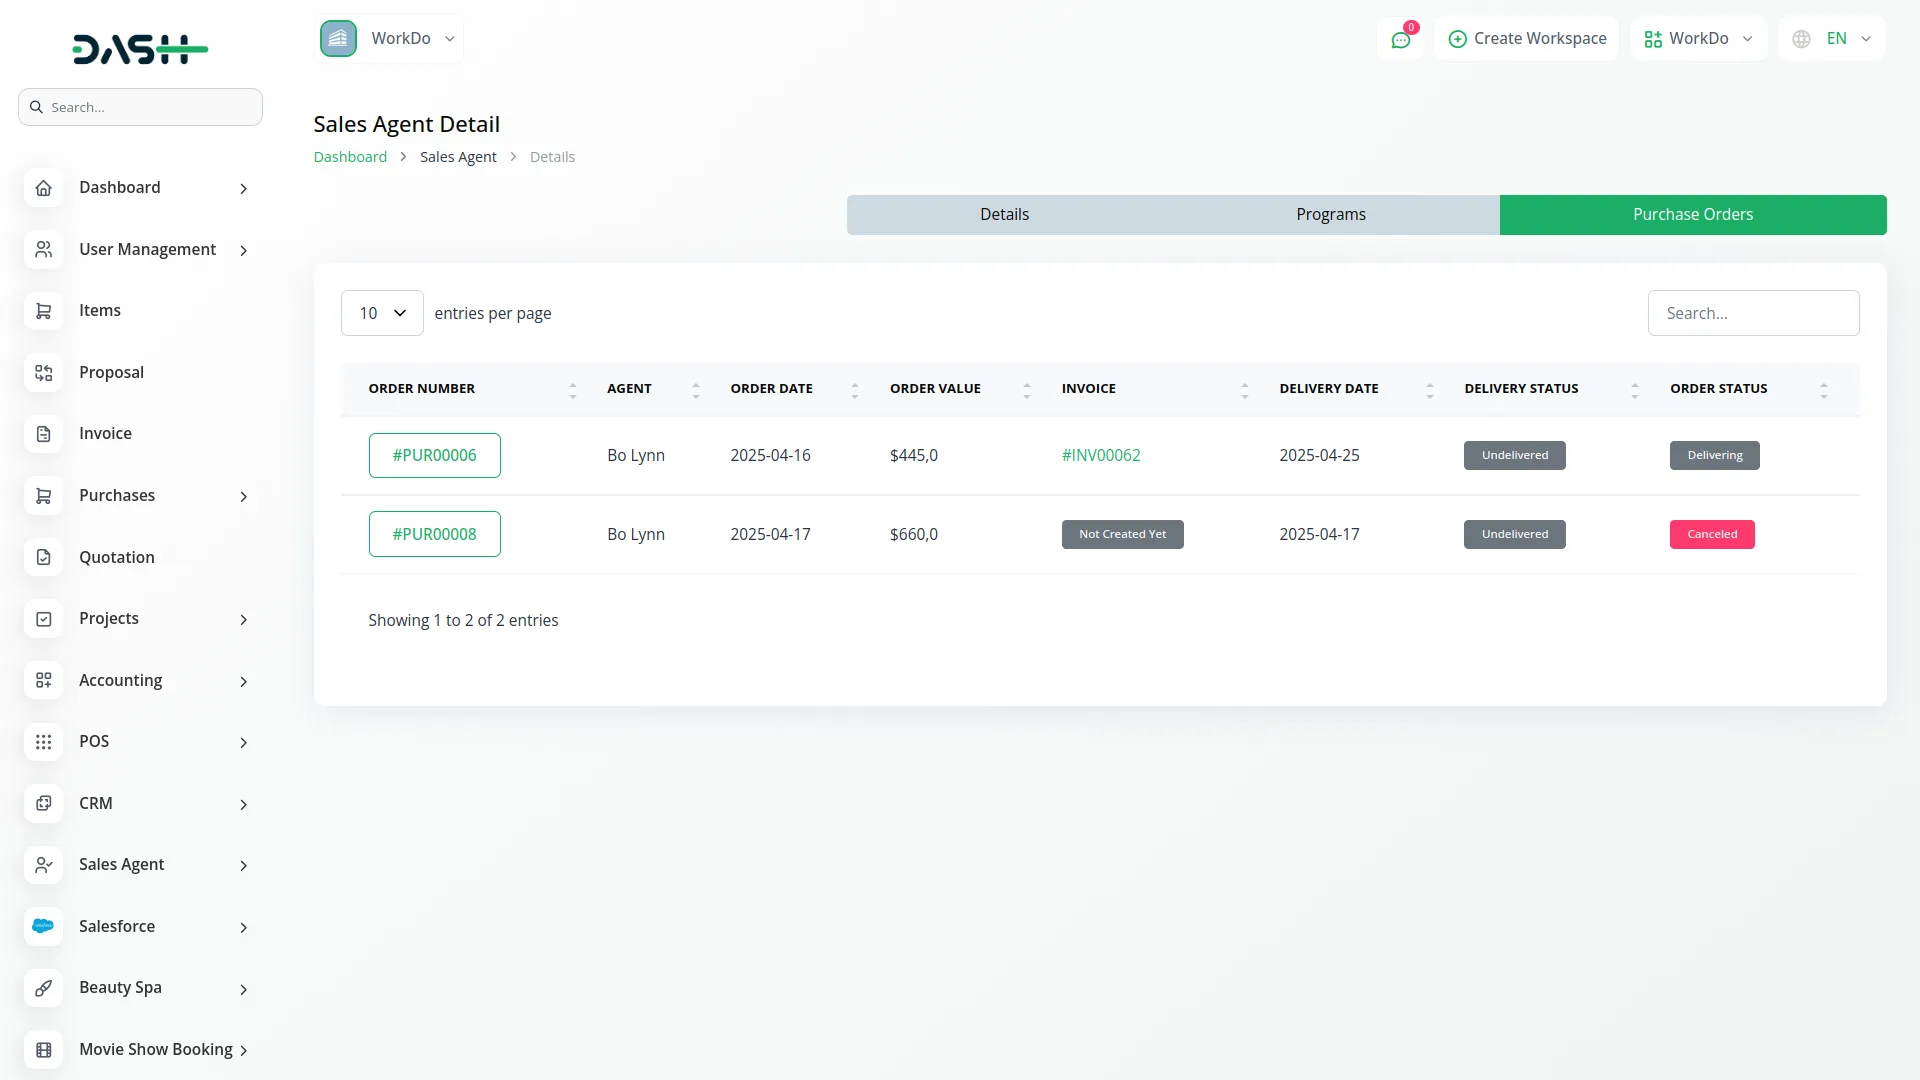
- Beside the details, you will see an action column where there are three buttons. First button is for view, upon clicking on the view button you can see the details of the sales agent, list of programs, you can view, edit or delete them, and you can also view the list of purchase orders, you can view, edit or delete them easily.
- Then the rest two buttons are for edit and delete, you can edit and delete the sales agent details with the help of these two buttons.
-
-
-
Programs
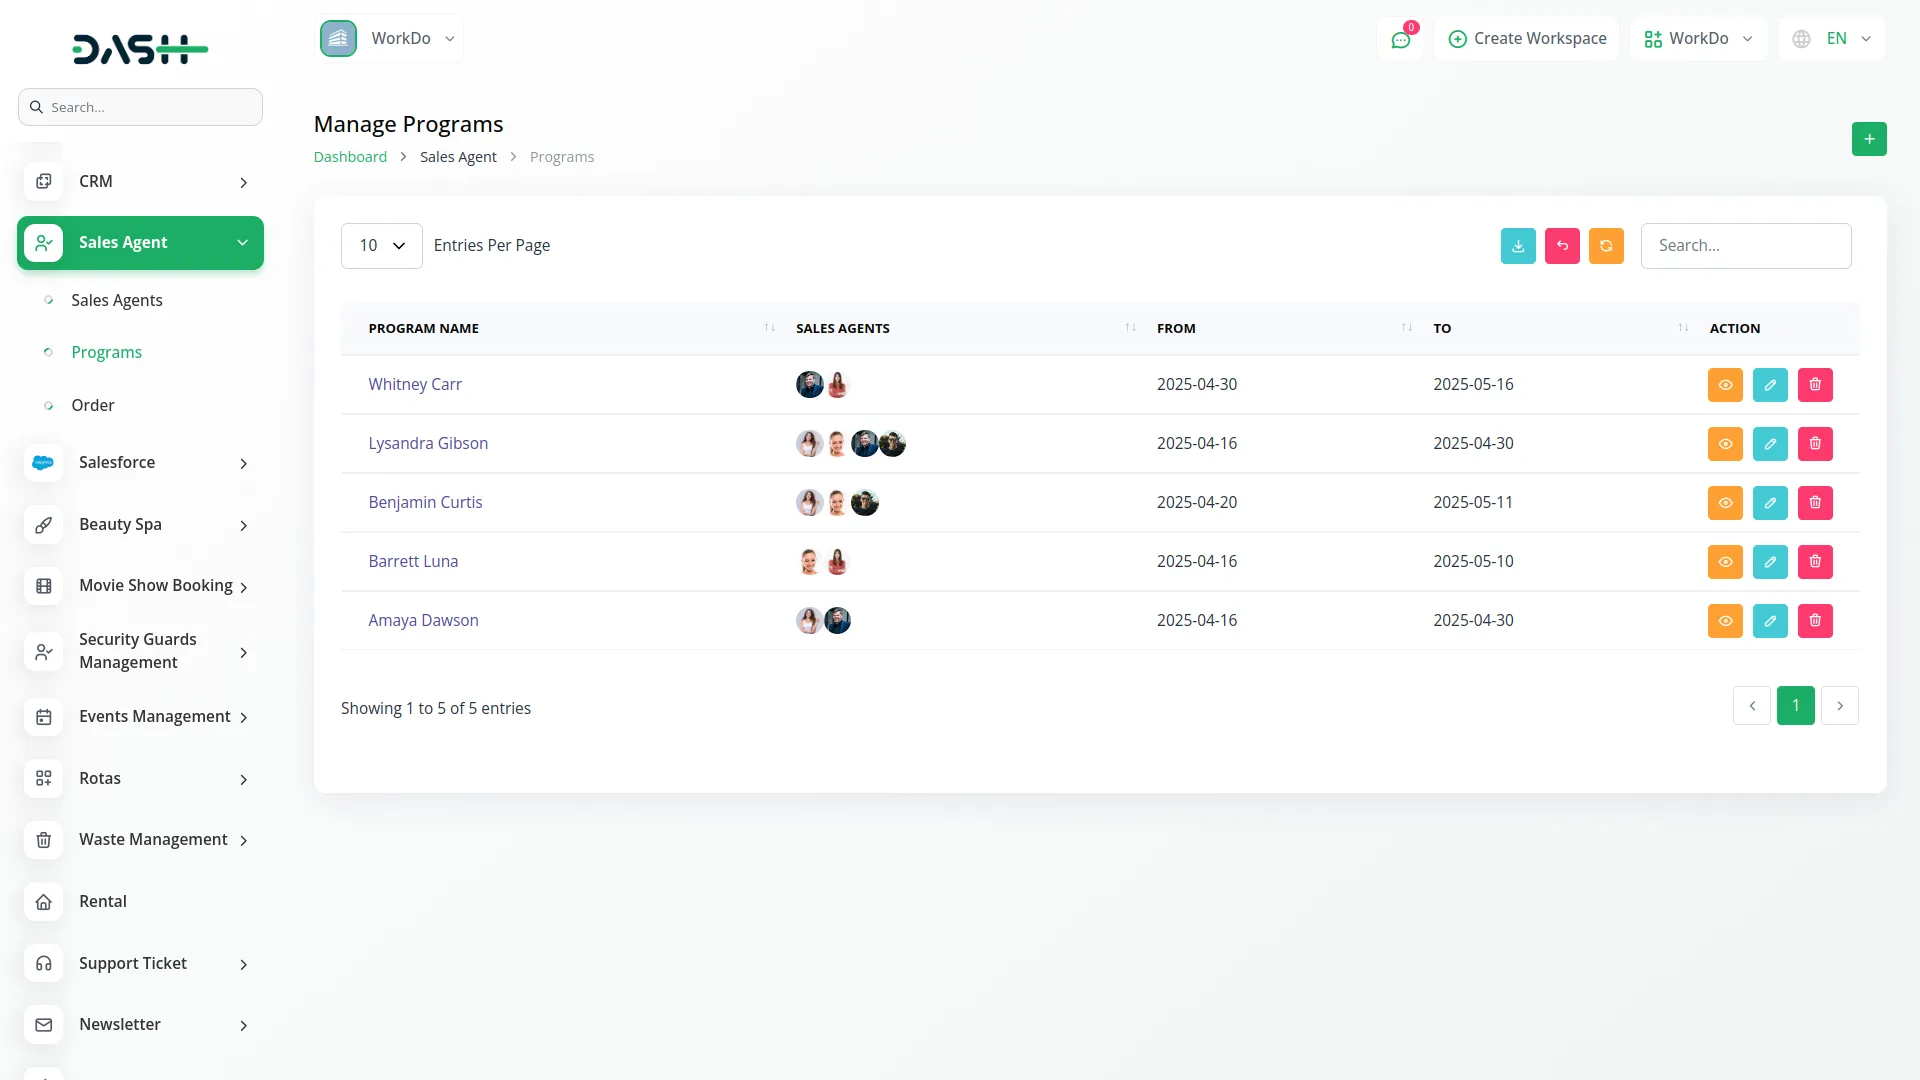
- After the sales agent page comes the page for programs. Here you can create new programs with the help of the create button given at the top. Add the program name, start date, end date, enable the discount type from percentage and fixed, select the approved program participants from the dropdown, select the can view & request join programs from the dropdown, at last add the details.
- Below the details column, you will see a list of items where you can create new items. Just select the products, items (you can also select multiple items), from amount to amount, and lastly add the discount.
- After you create a program, the entry will be recorded on the programs page. Here you can see all the details of the programs, such as program name, sales agents, from, and to. Beside which there is an action column, where there are three buttons.
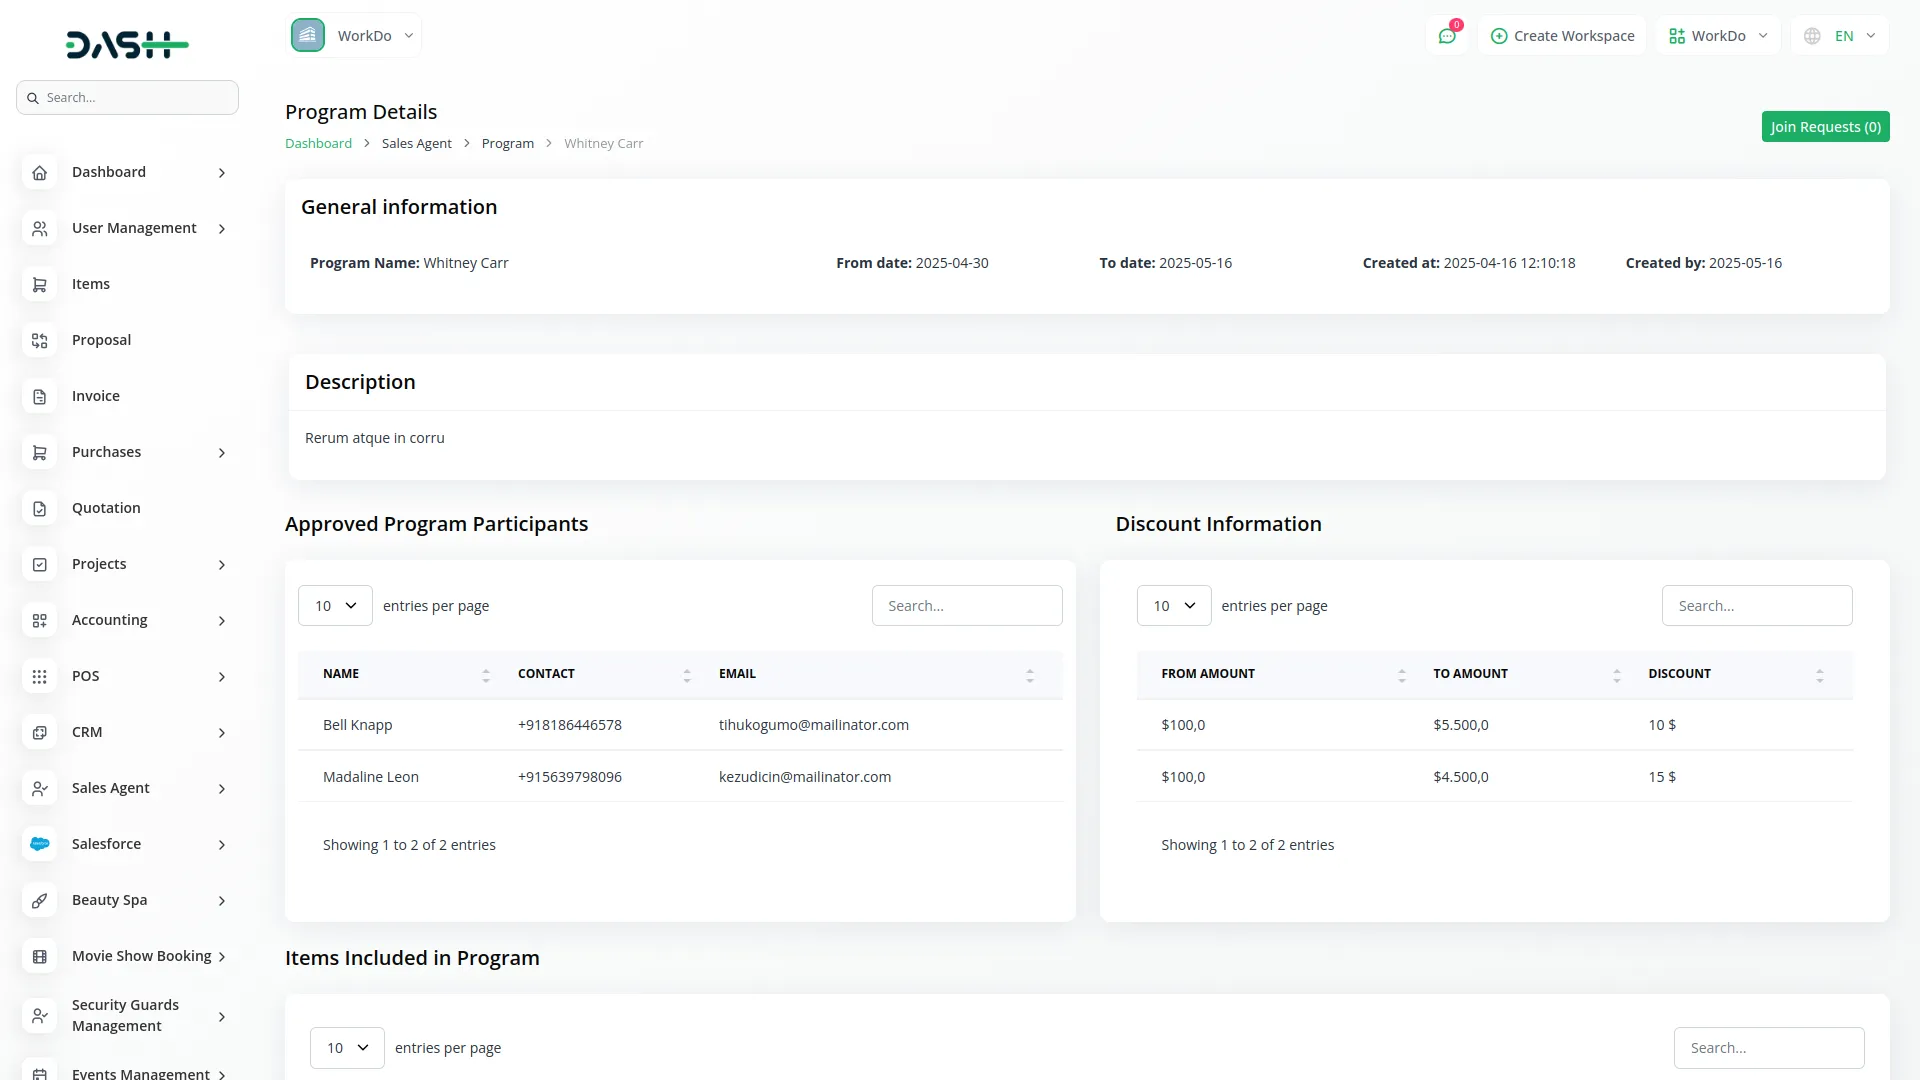
- First comes the view button, from where you can view the program details like general details, description, list of approved program participants, list of discount information, and last comes the list of items. At the top of that page, you will see a button for join requests through which you can see the list of join requests.
- The next two buttons are for edit and delete through which you can edit or delete the program details.
-
-
Orders
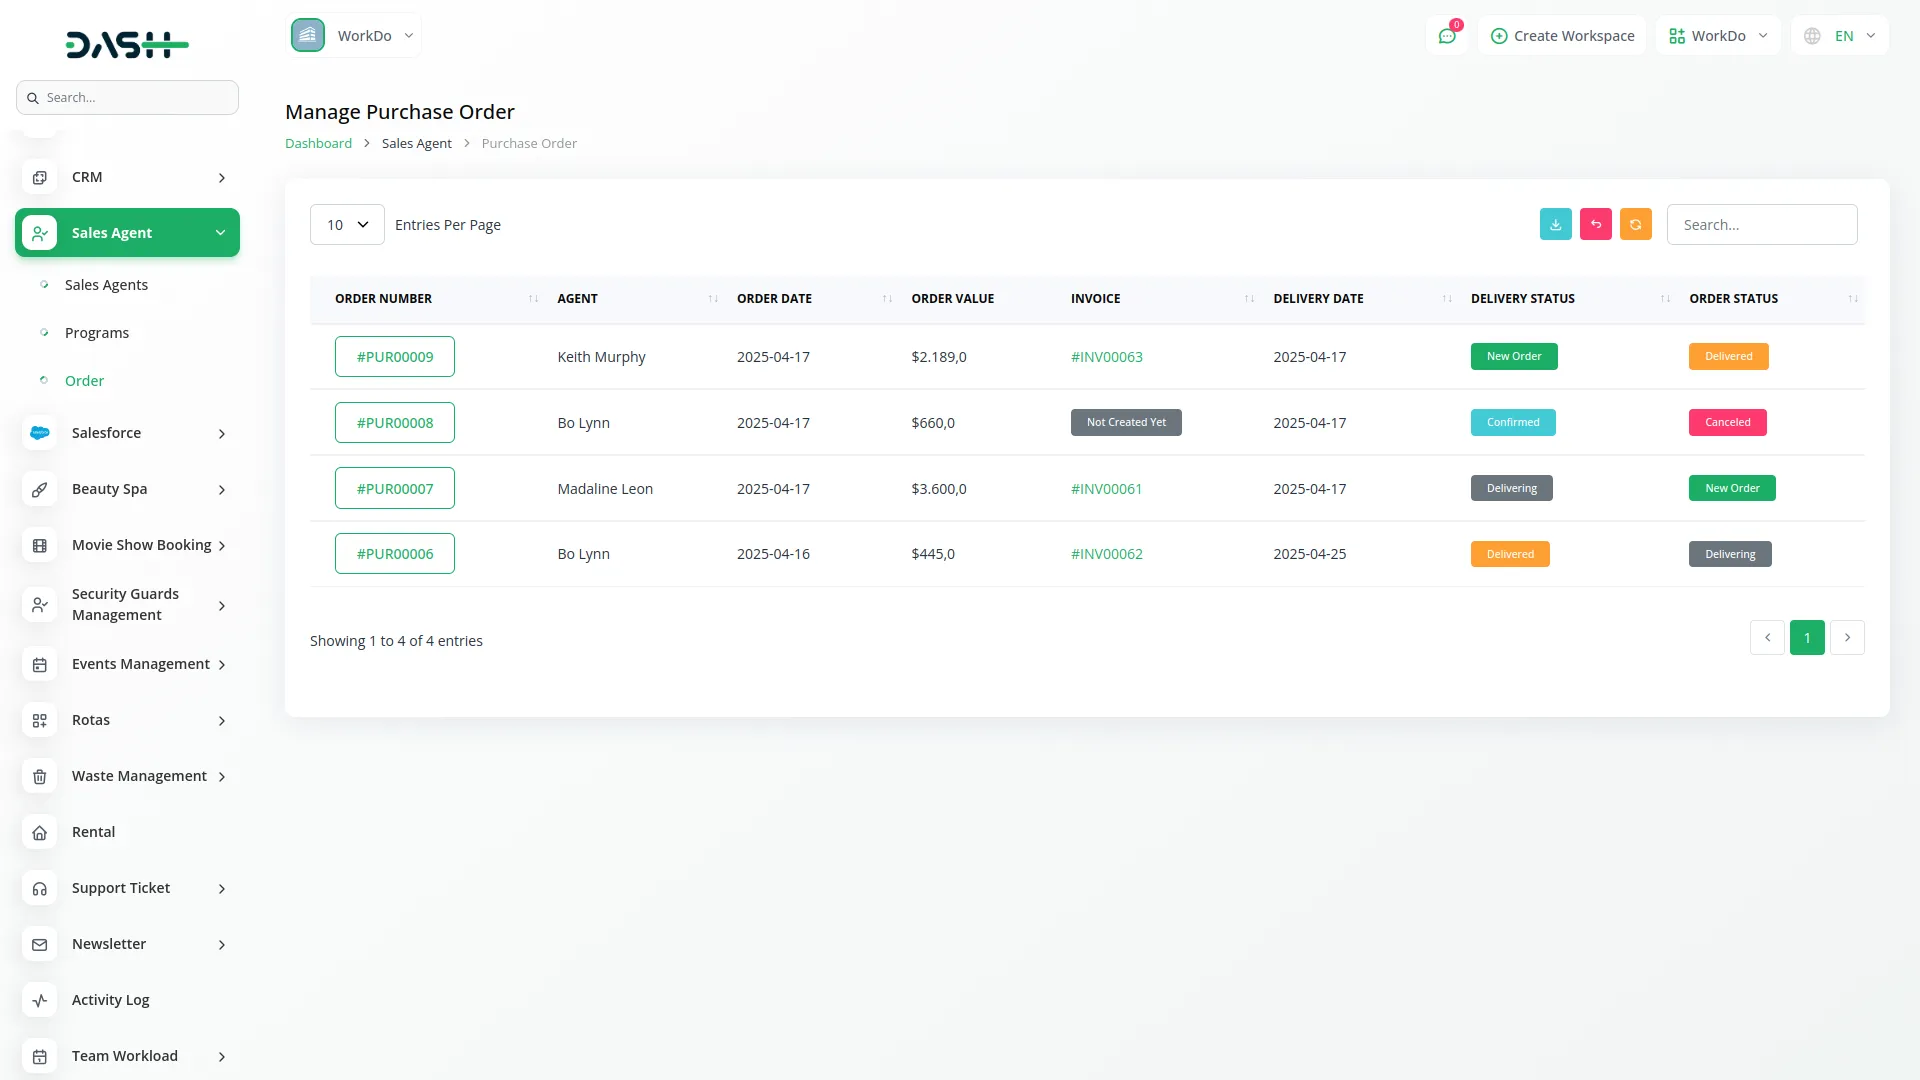
- Go to the Orders tab to view a full list of sales orders.
- Each order entry displays important information like order number, agent name, order value, date, invoice number, delivery date, and current status.
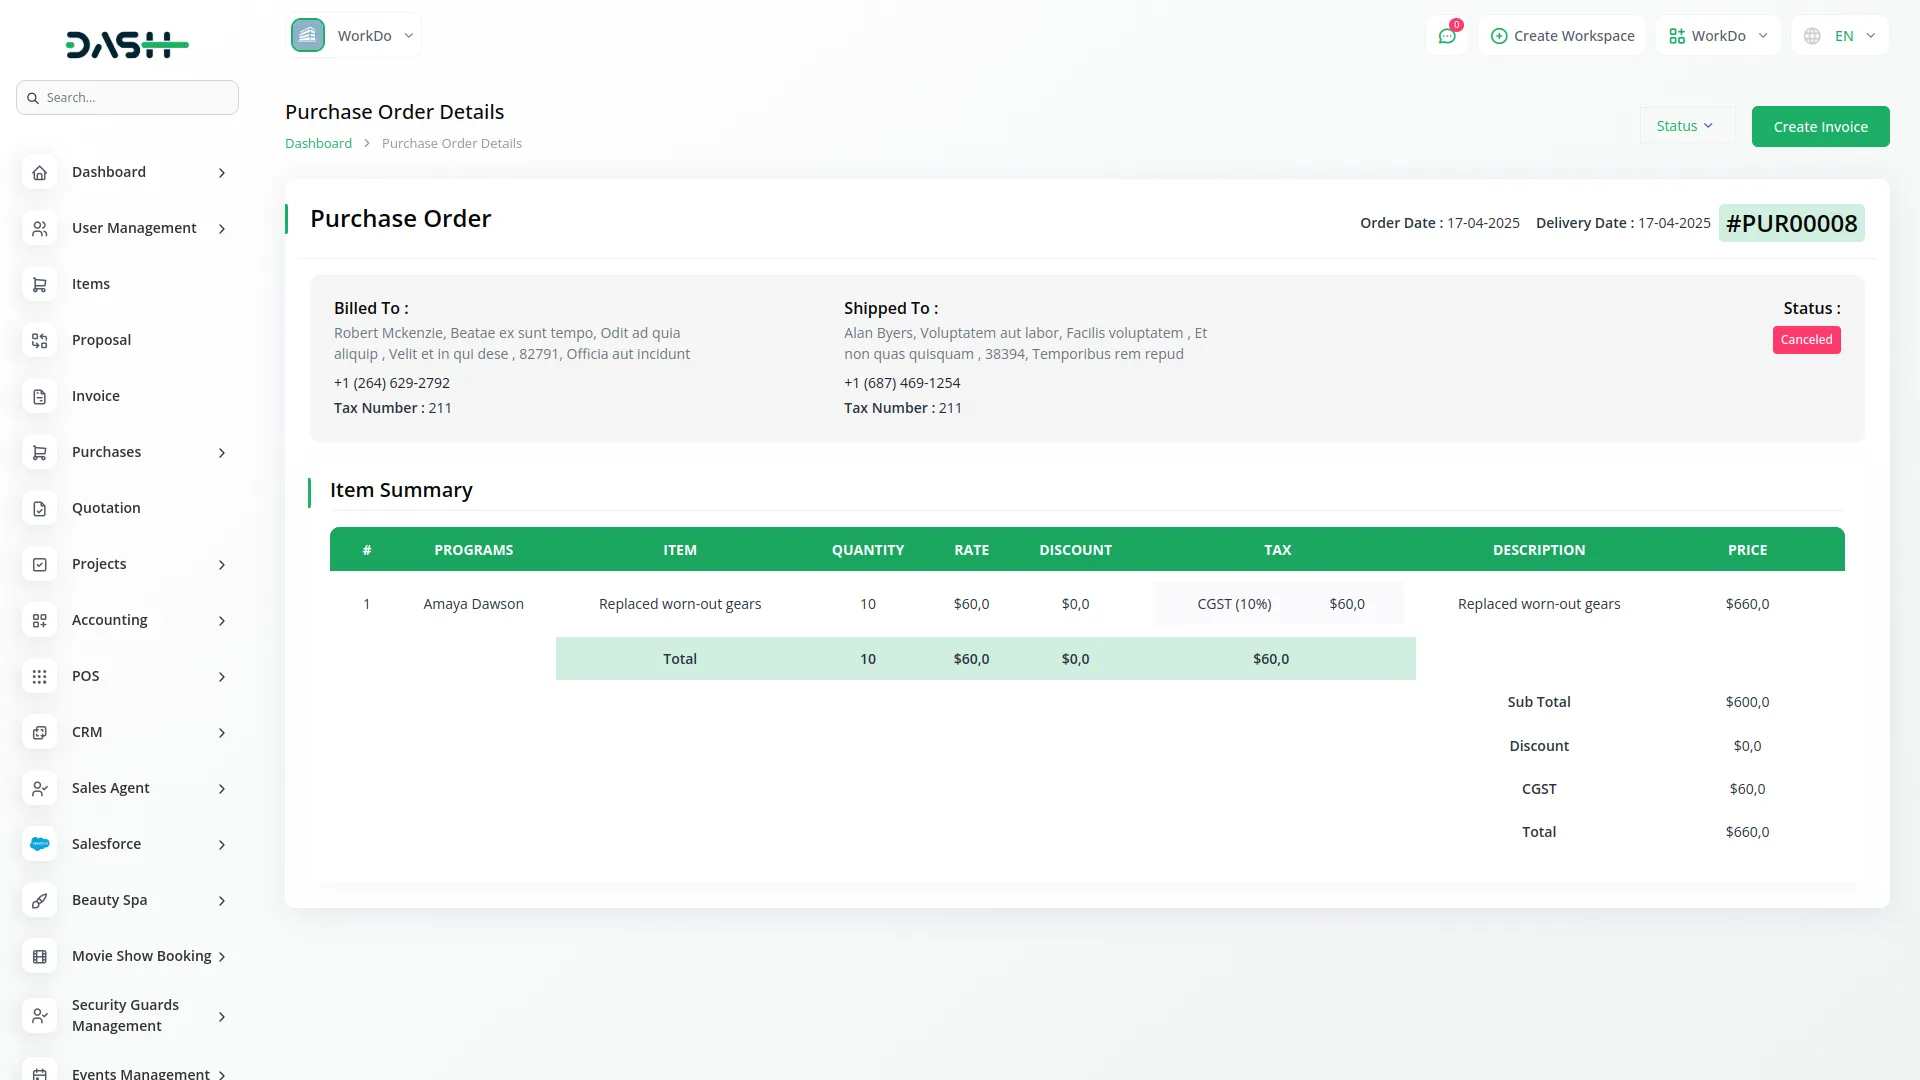
- To explore further, click on the Order Number to access full order details.
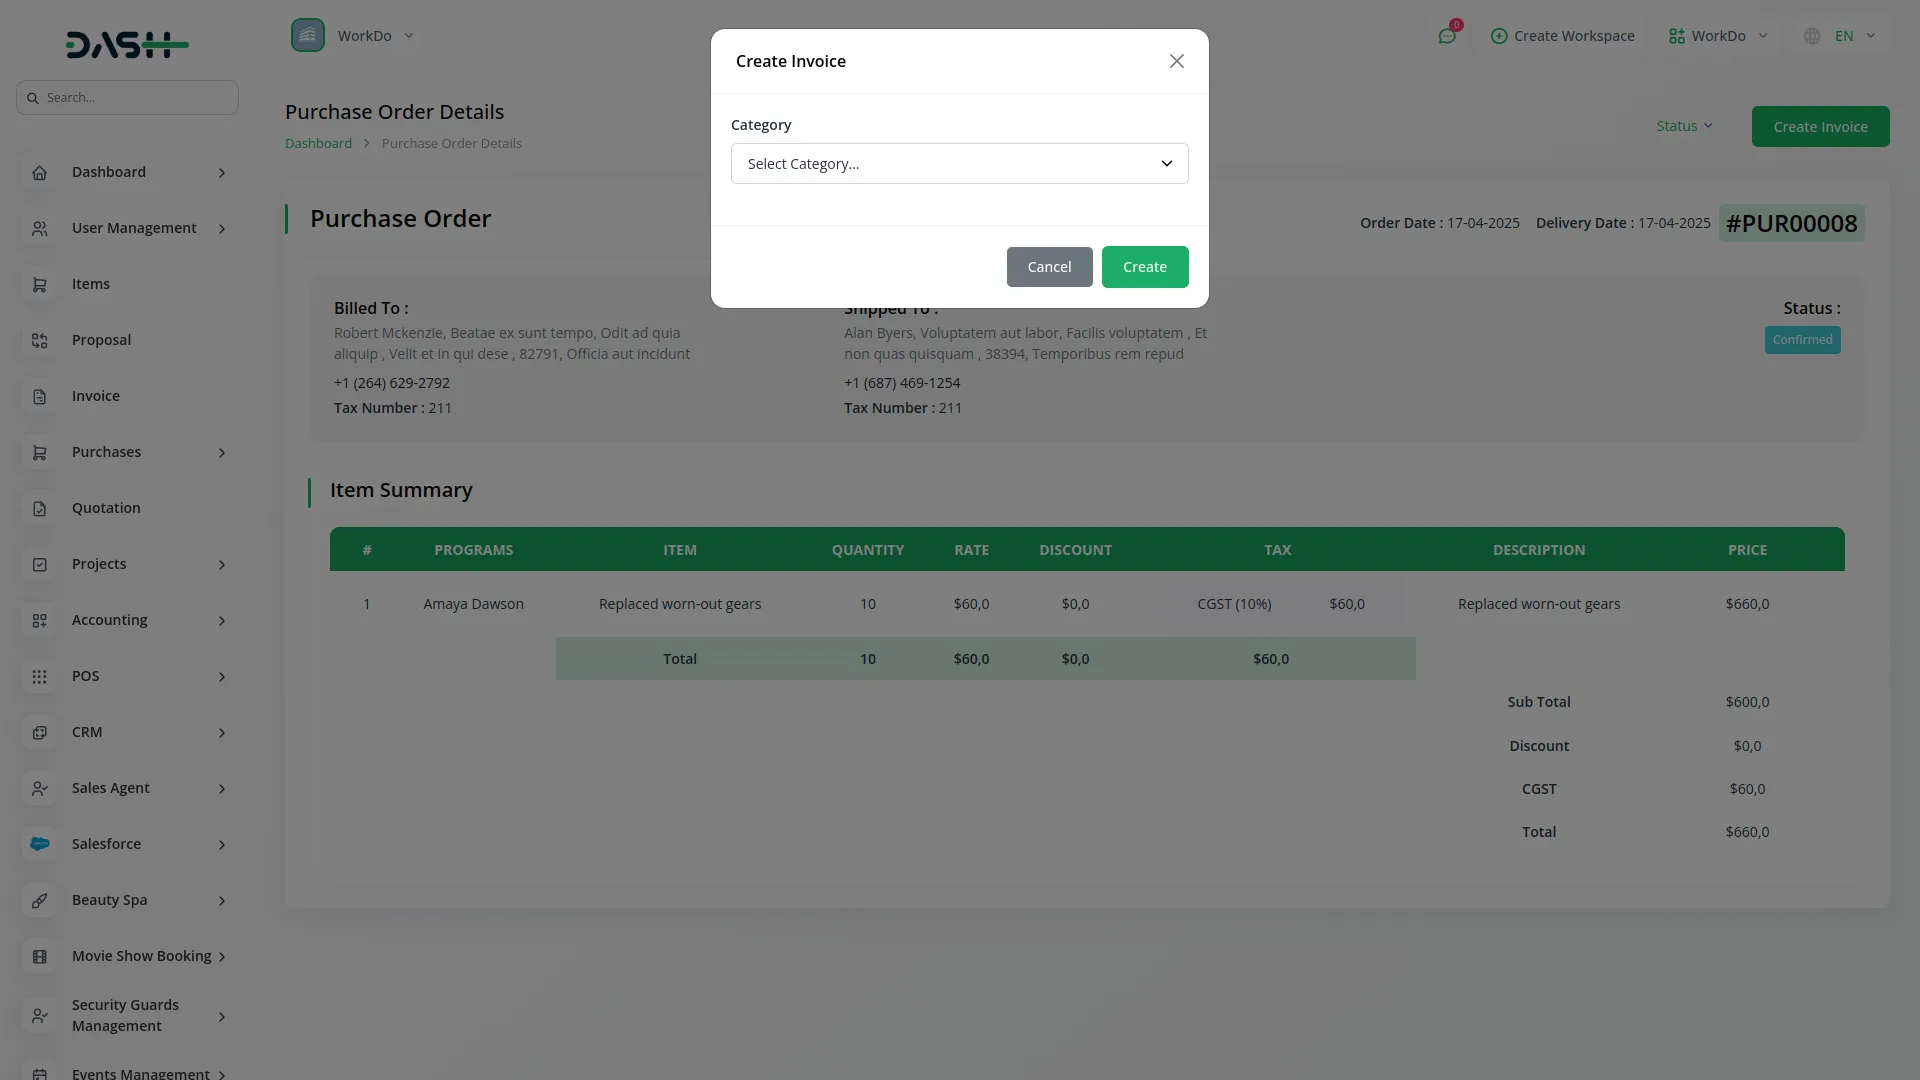
- From there, you’ll be able to review the linked purchase order, view the associated program, and take any necessary action, such as verifying items or making updates.
-
-
-
Sales Agent Login
- The sales agents can also login with the help of their credentials as a sales agent.
- Once they login, they will see a dashboard, where they can see programs participated, total items, total purchase orders, and total purchase orders value.
- Below these details you will get to see a bar graph of purchase orders by delivery status.
-

- Below the dashboard, you will see the list of programs assigned to you by the company, including the necessary details like program name, sales agents assigned to that program, from date, and to date. You can view the program details with the help of the view button given in the action column.
-

-

- Similarly you can also see the product list below the programs, including all the necessary details like product image, name, SKU, difference, and time.
-

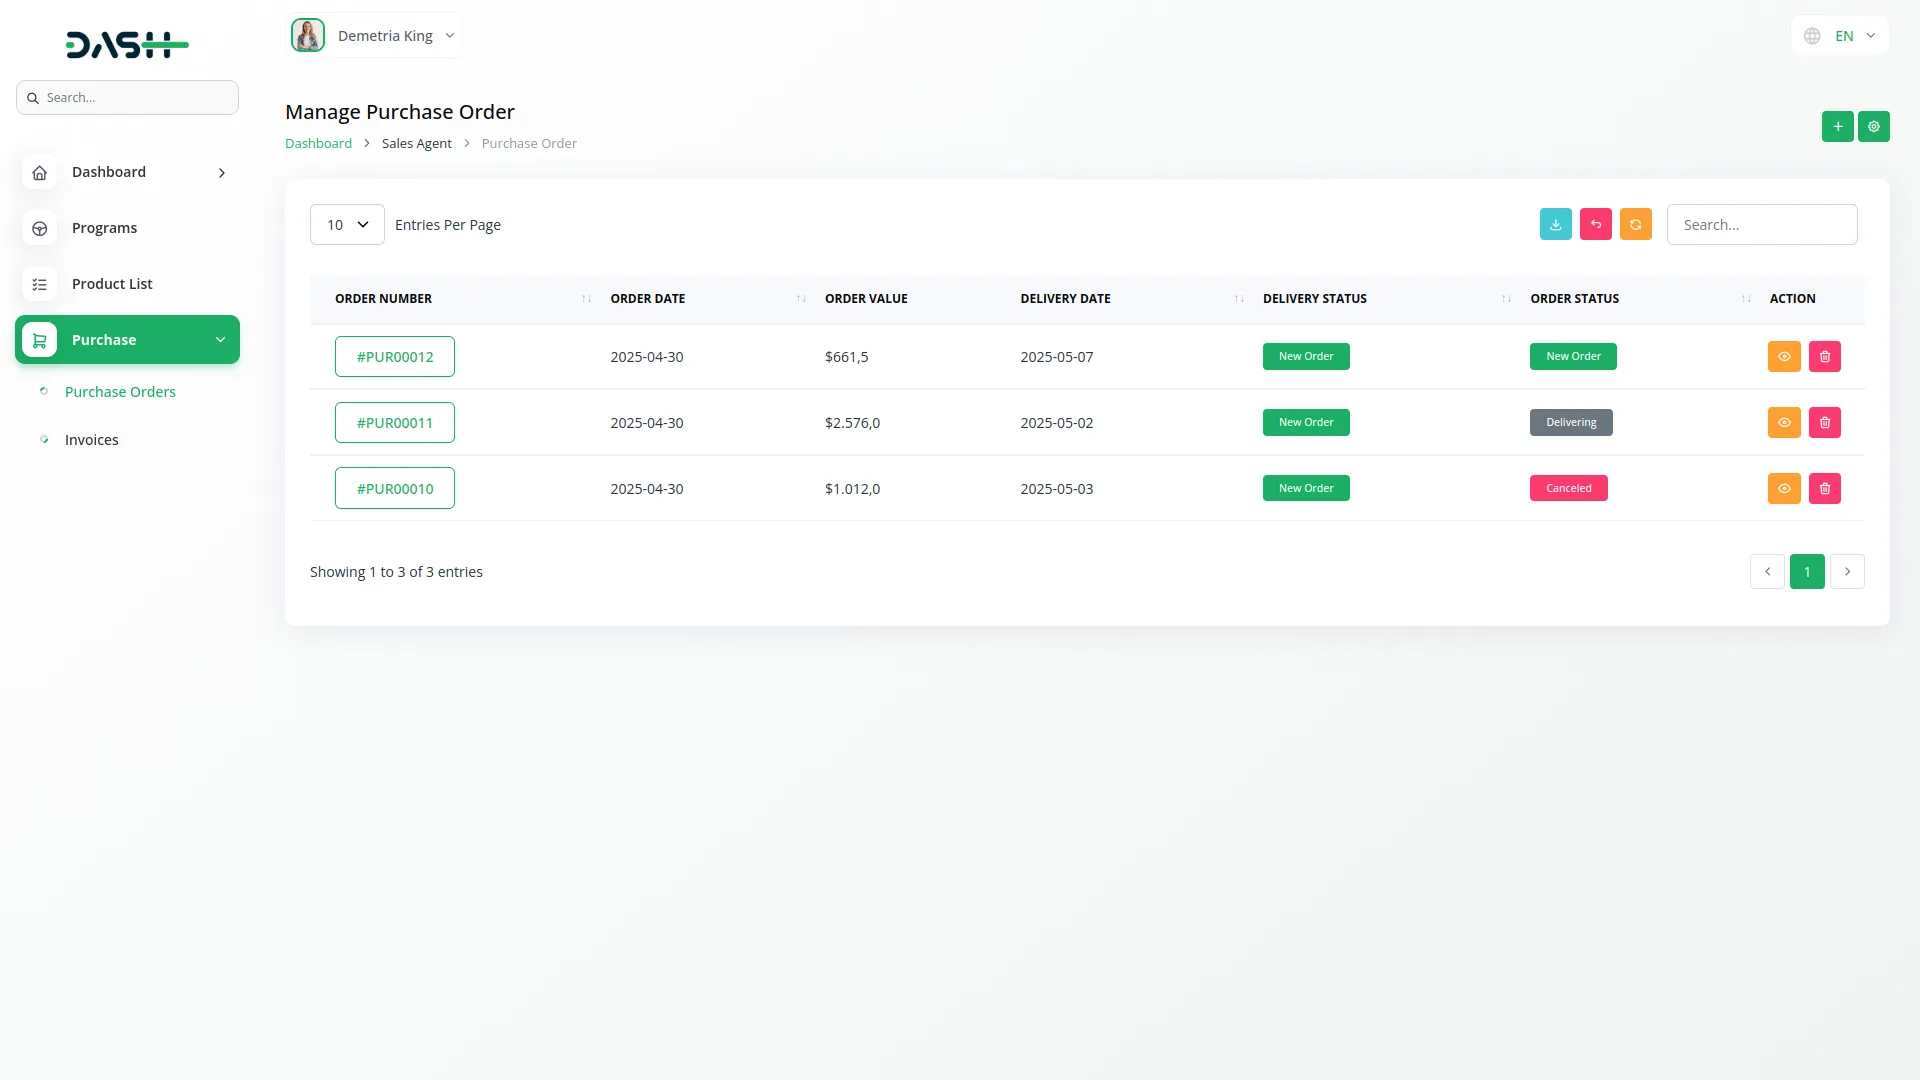
- At last, you can see the purchase details in which there are two sub pages. First page is for purchase orders, where you can see the list of purchase orders including the necessary details like order number, expiry date, order value, delivery date, delivery status, and an action column from where you can edit or delete the purchase orders easily.
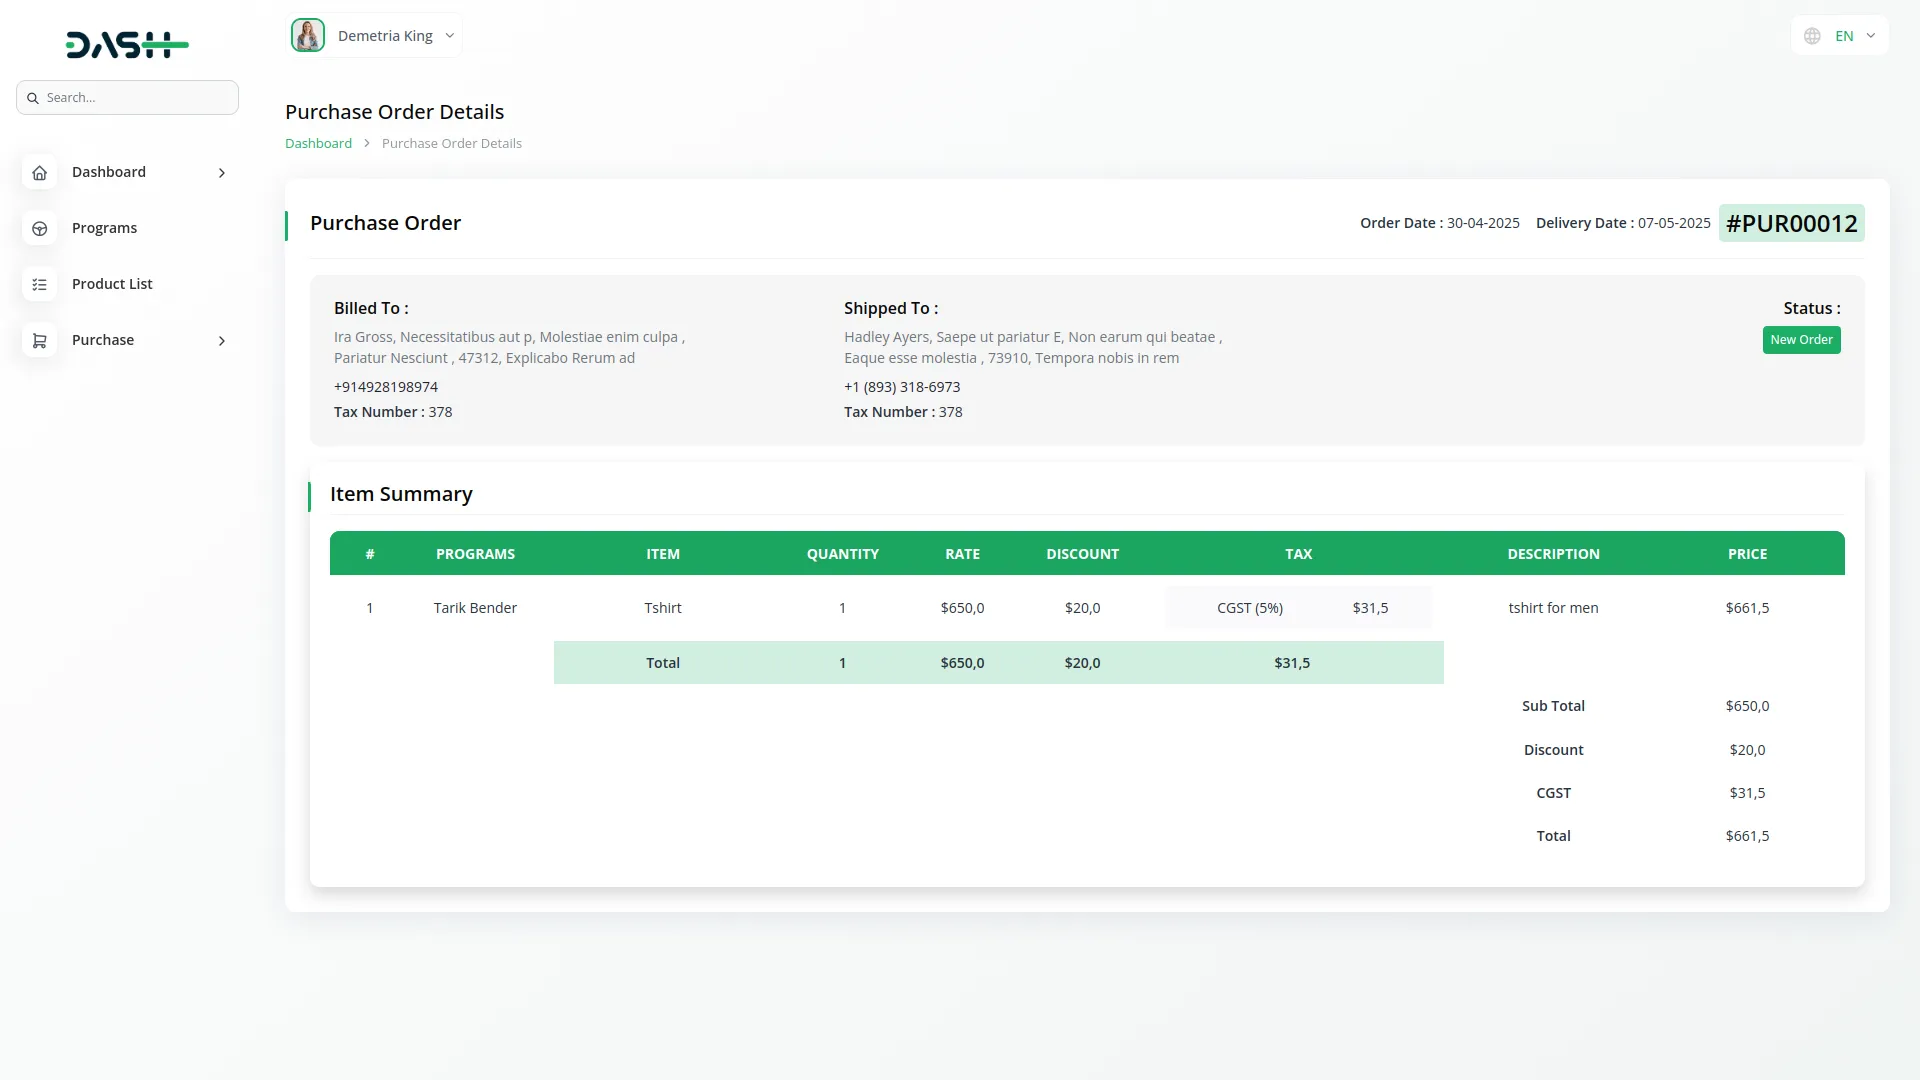
- You can also create a new purchase order with the help of the create button given at the top, just add the necessary details like order number, order date, and delivery date. Below this you will see a section of items where you can easily create new items. Click on the create button at last, to save the purchase order details.
- Beside the create button, there is a button for purchase order prefix, where you can add the purchase order prefix easily.
-
-

-
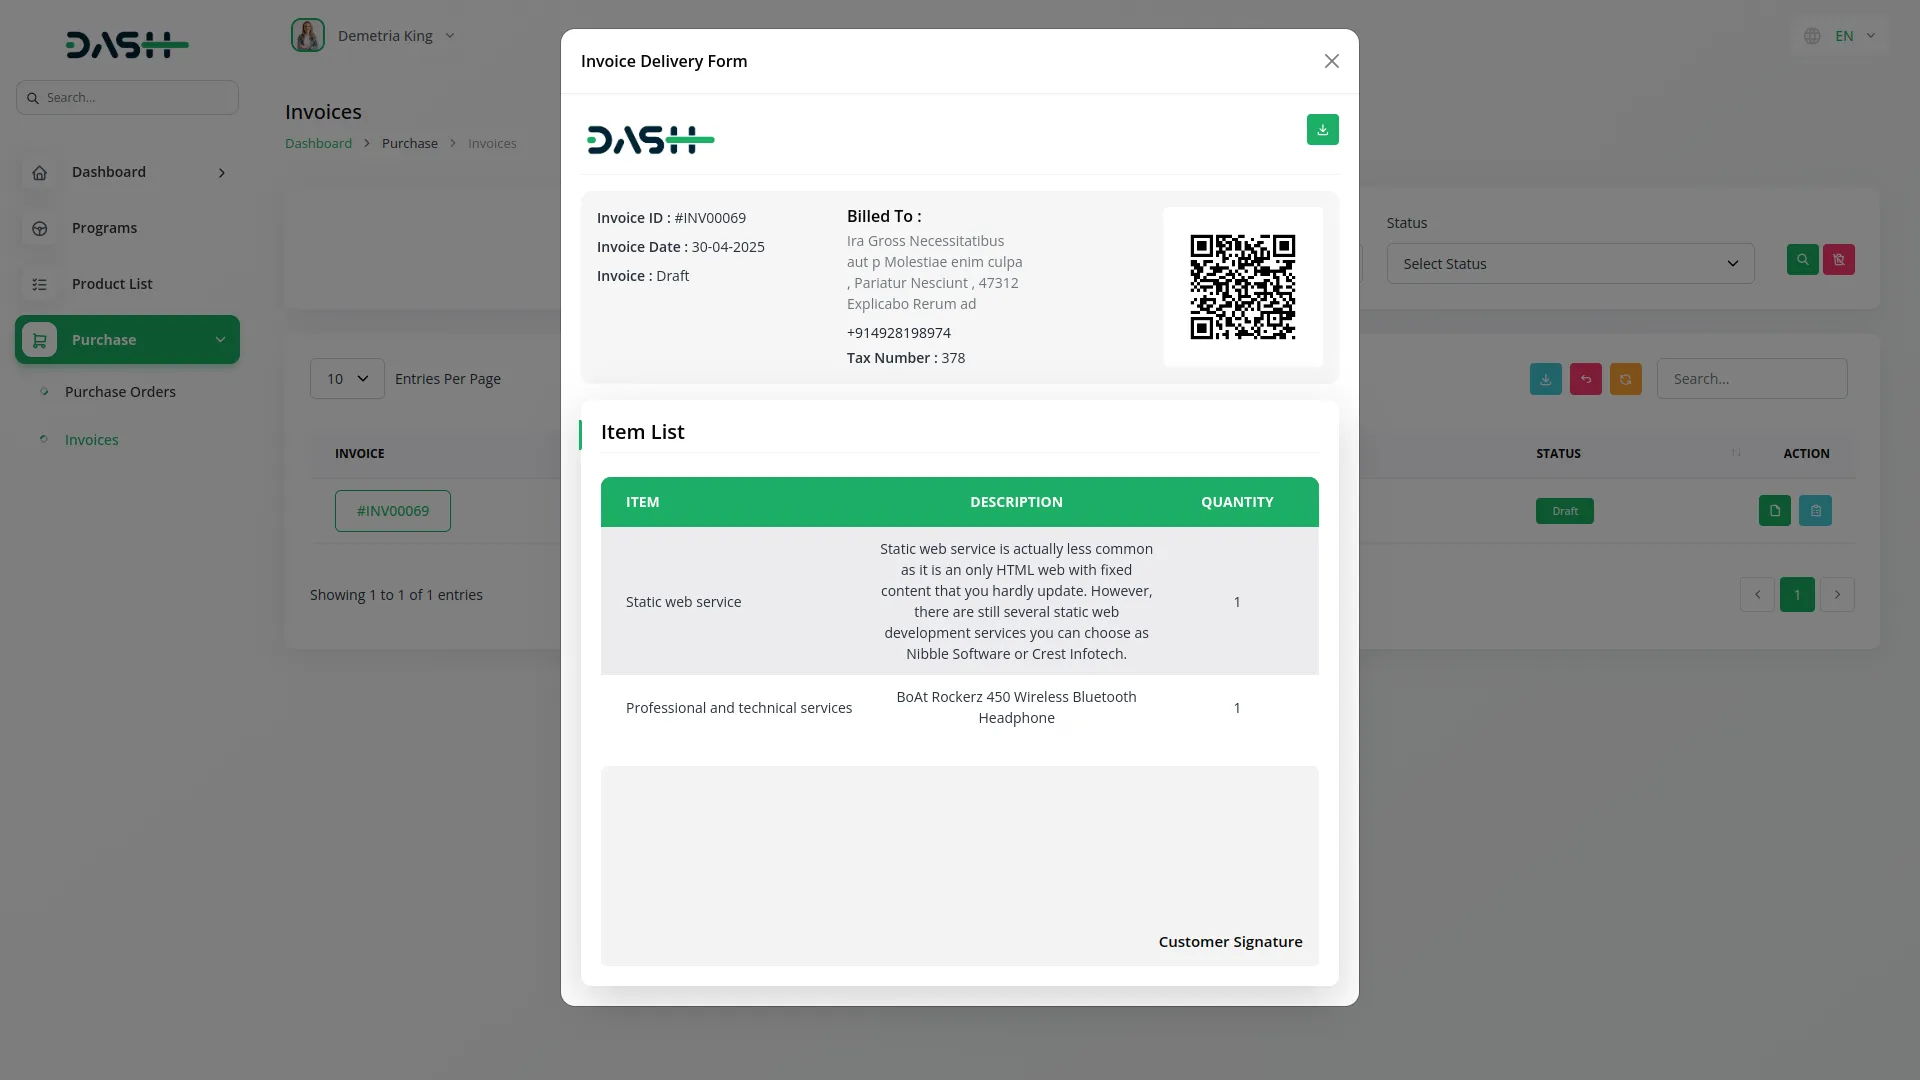
- After that comes the page for invoice where you can see the invoice details like, invoice ID, through which you can view all the invoice details easily, the comes issue date, due date, due amount, status, and an action column from where you can copy the link of invoice, and second button is for invoice delivery form, from where you can see the details, and also download the invoice if you want.
-

-
Categories
Related articles
- Google Sheet Integration in Dash SaaS
- Google Slides Detailed Documentation
- SalesForce Integration in Dash SaaS
- Custom Alert Detailed Documentation
- Porter’s Five Model Integration in Dash SaaS
- Box.com Integration in Dash SaaS
- Tawk.to Messenger Integration in Dash SaaS
- Sofort Integration in Dash SaaS
- Appointment integration in Dash SaaS
- Zendesk Integration in Dash SaaS
- Legal Case Management Integration in Dash SaaS
- Pabbly Connect Integration in Dash SaaS
Reach Out to Us
Have questions or need assistance? We're here to help! Reach out to our team for support, inquiries, or feedback. Your needs are important to us, and we’re ready to assist you!


Need more help?
If you’re still uncertain or need professional guidance, don’t hesitate to contact us. You can contact us via email or submit a ticket with a description of your issue. Our team of experts is always available to help you with any questions. Rest assured that we’ll respond to your inquiry promptly.
Love what you see?
Do you like the quality of our products, themes, and applications, or perhaps the design of our website caught your eye? You can have similarly outstanding designs for your website or apps. Contact us, and we’ll bring your ideas to life.
