OneNote Integration in Dash SaaS
Introduction This Add-On integrates seamlessly with Microsoft OneNote, enabling users to create and manage multiple […]
Introduction
This Add-On integrates seamlessly with Microsoft OneNote, enabling users to create and manage multiple notebooks within the platform. It helps organize personal notes and collaborative documents efficiently, ensuring structured information storage. With real-time synchronization, updates are instantly reflected across devices. The integration enhances accessibility, allowing users to stay productive anywhere.
How to Install the Add-On?
To Set Up the OneNote Add-On you can follow this link: Setup Add-On
How to use the OneNote Add-On?
- Once you purchase the OneNote Add-On, go to the settings page, find OneNote, and enter the credentials like, Client ID, Client Secret, Email, and Access Token.
-
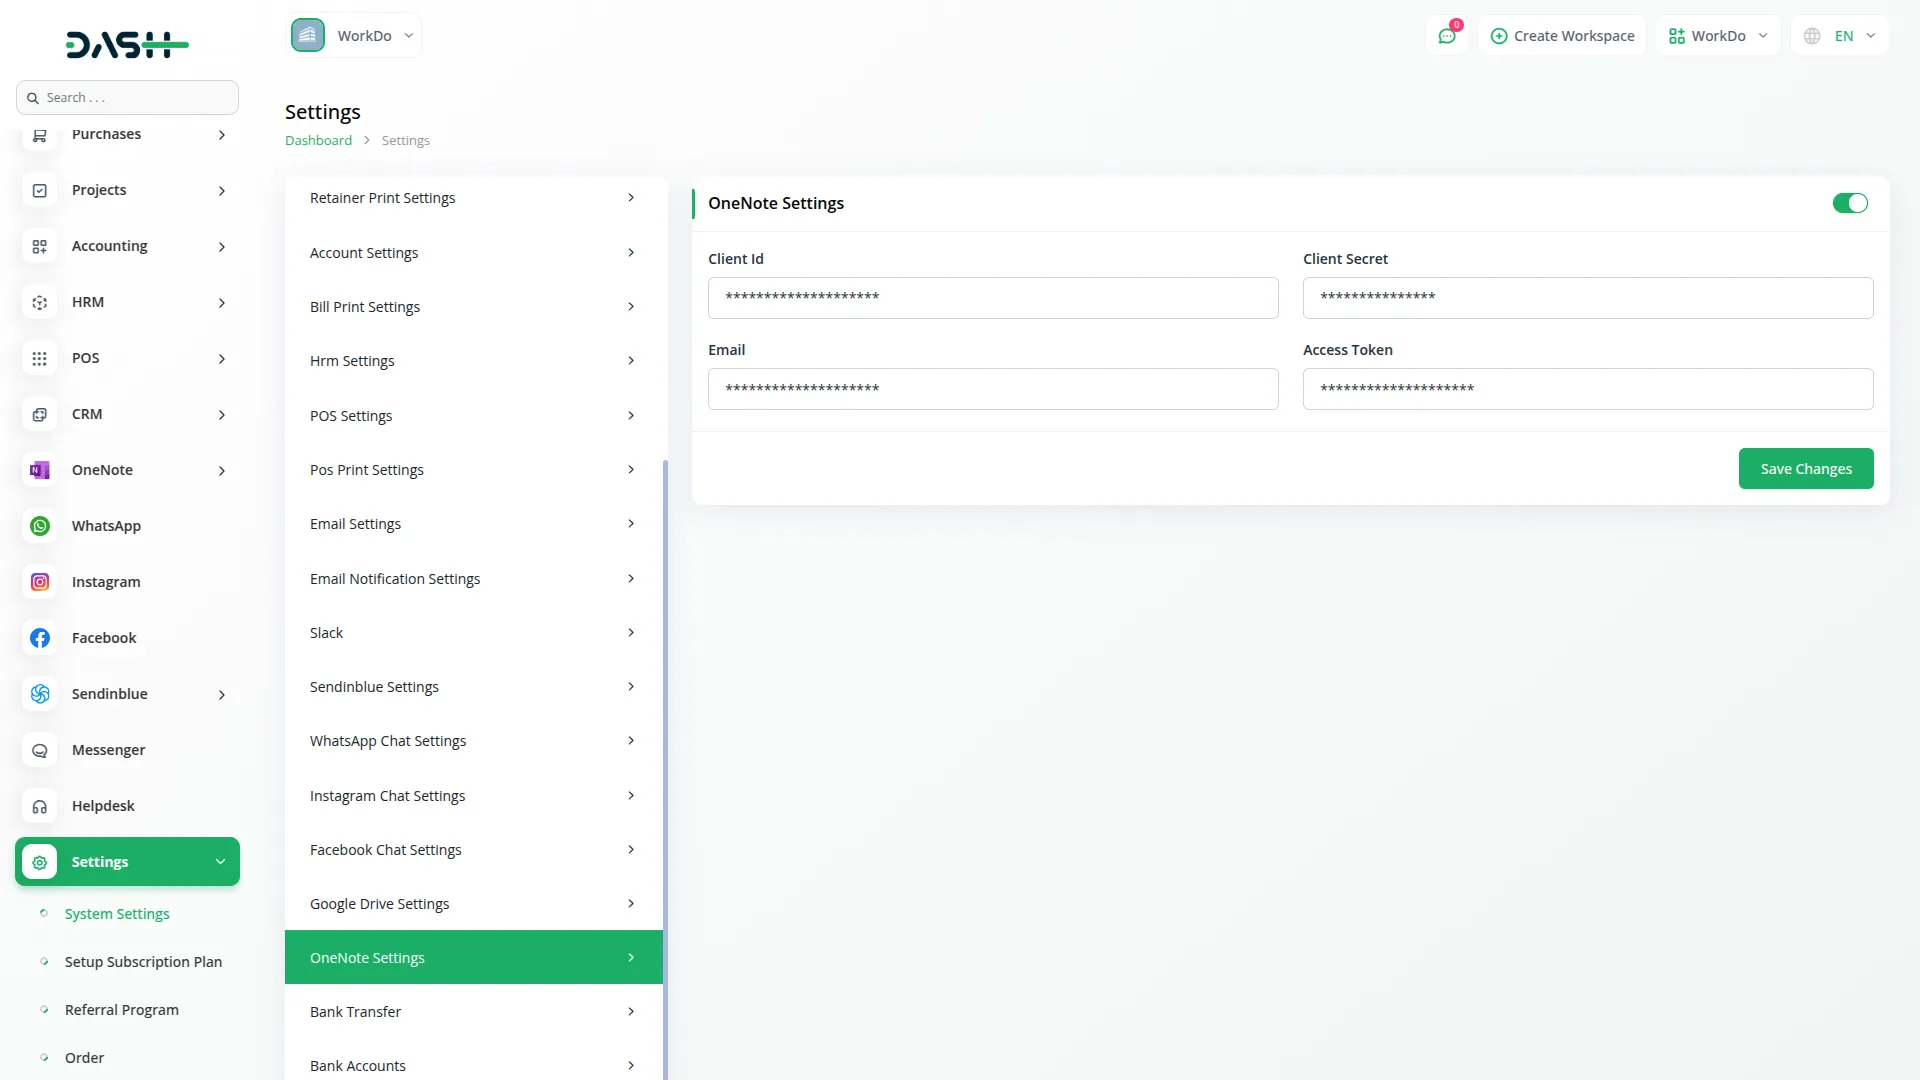
- Once you do that, go to the sidebar and search for the OneNote.
- First of all, you can add new notebooks here, just go to the notebooks page, click on the create button, and enter the title of the notebook.
-
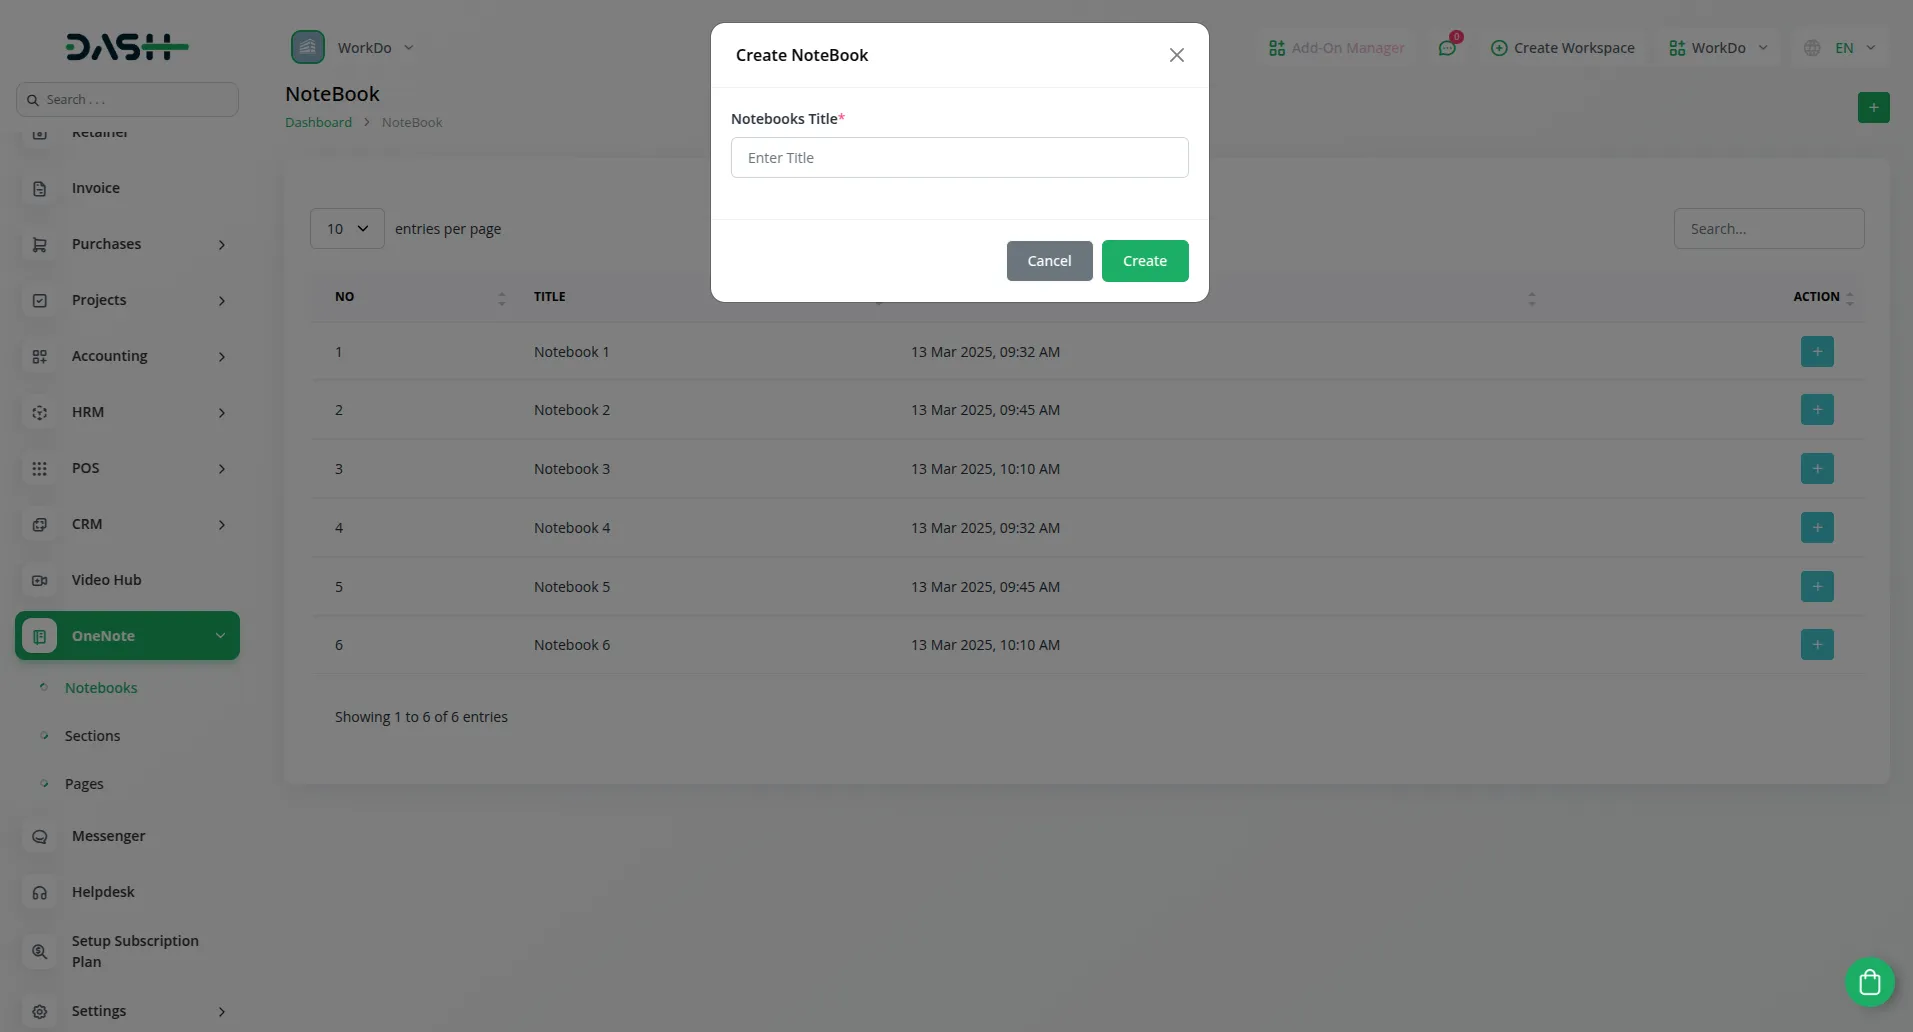
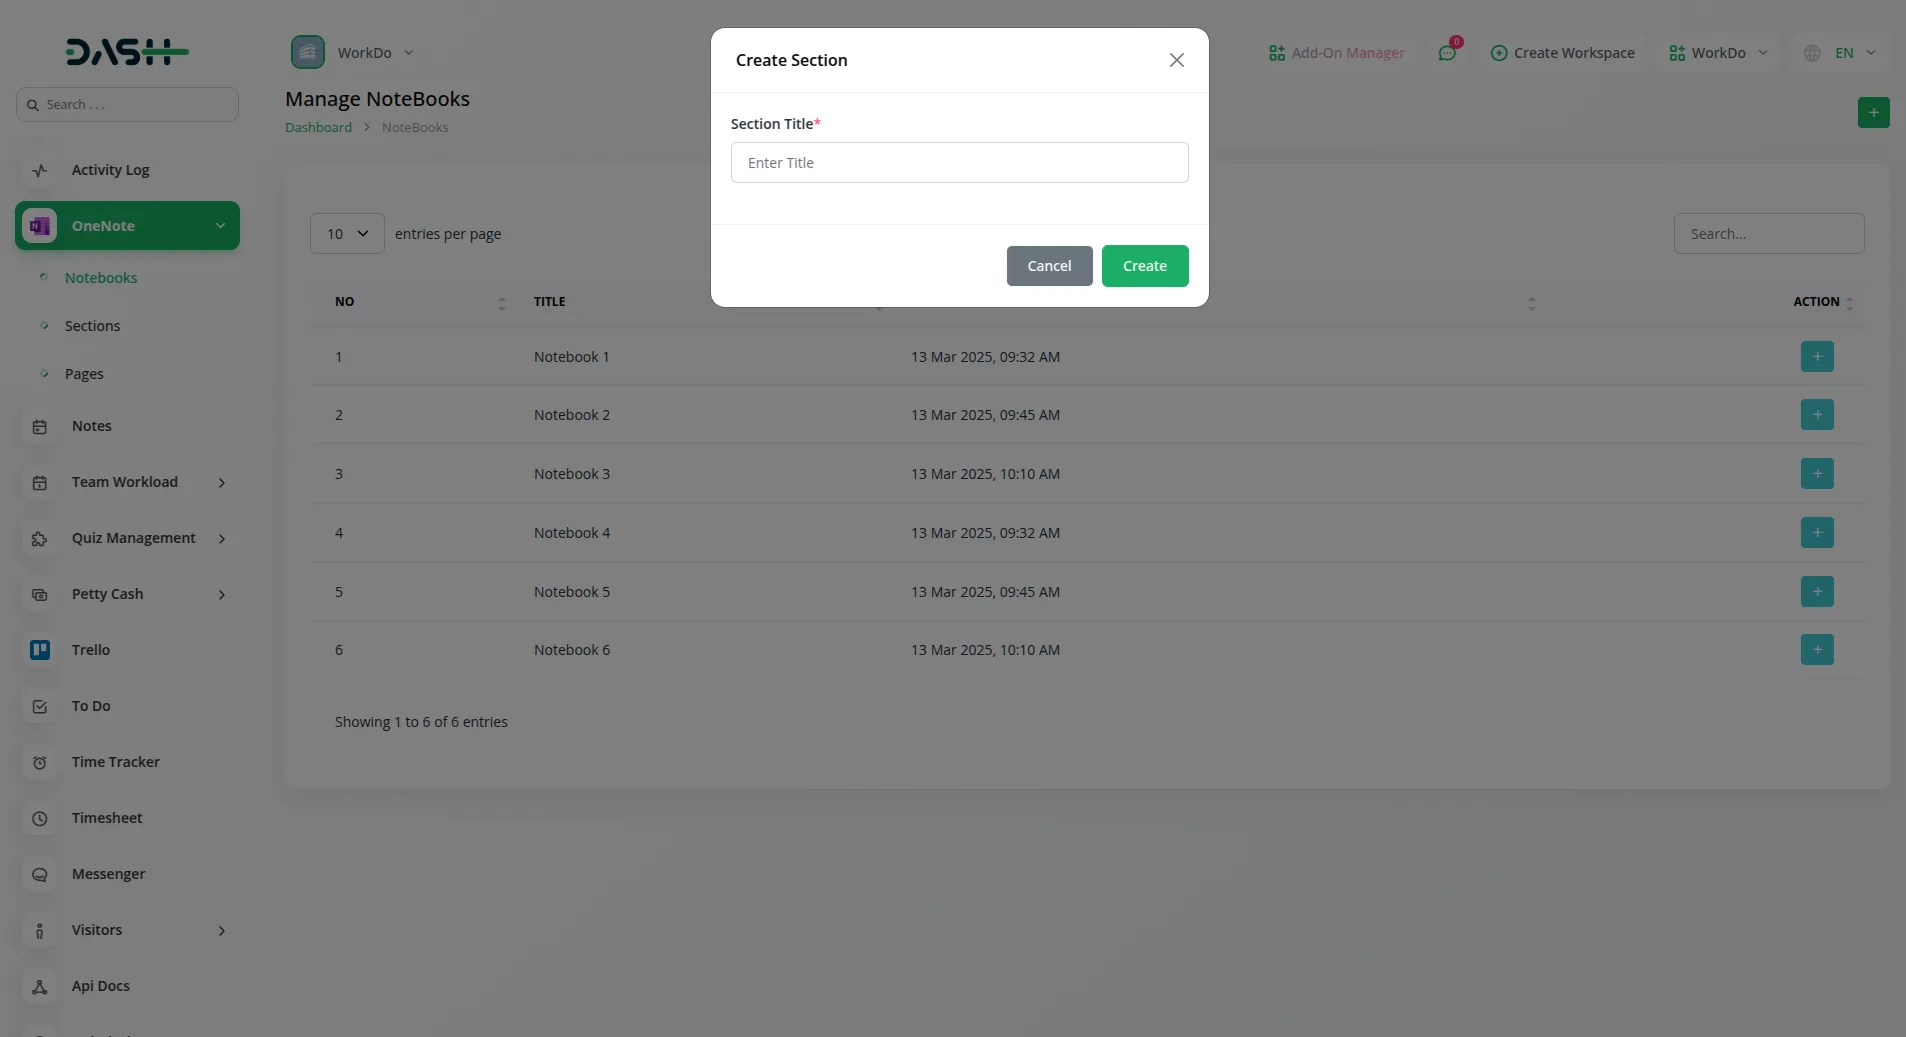
- Once you do this, you can also create new sections from the notebooks page with the help of the “Create” button given in the action column.
-
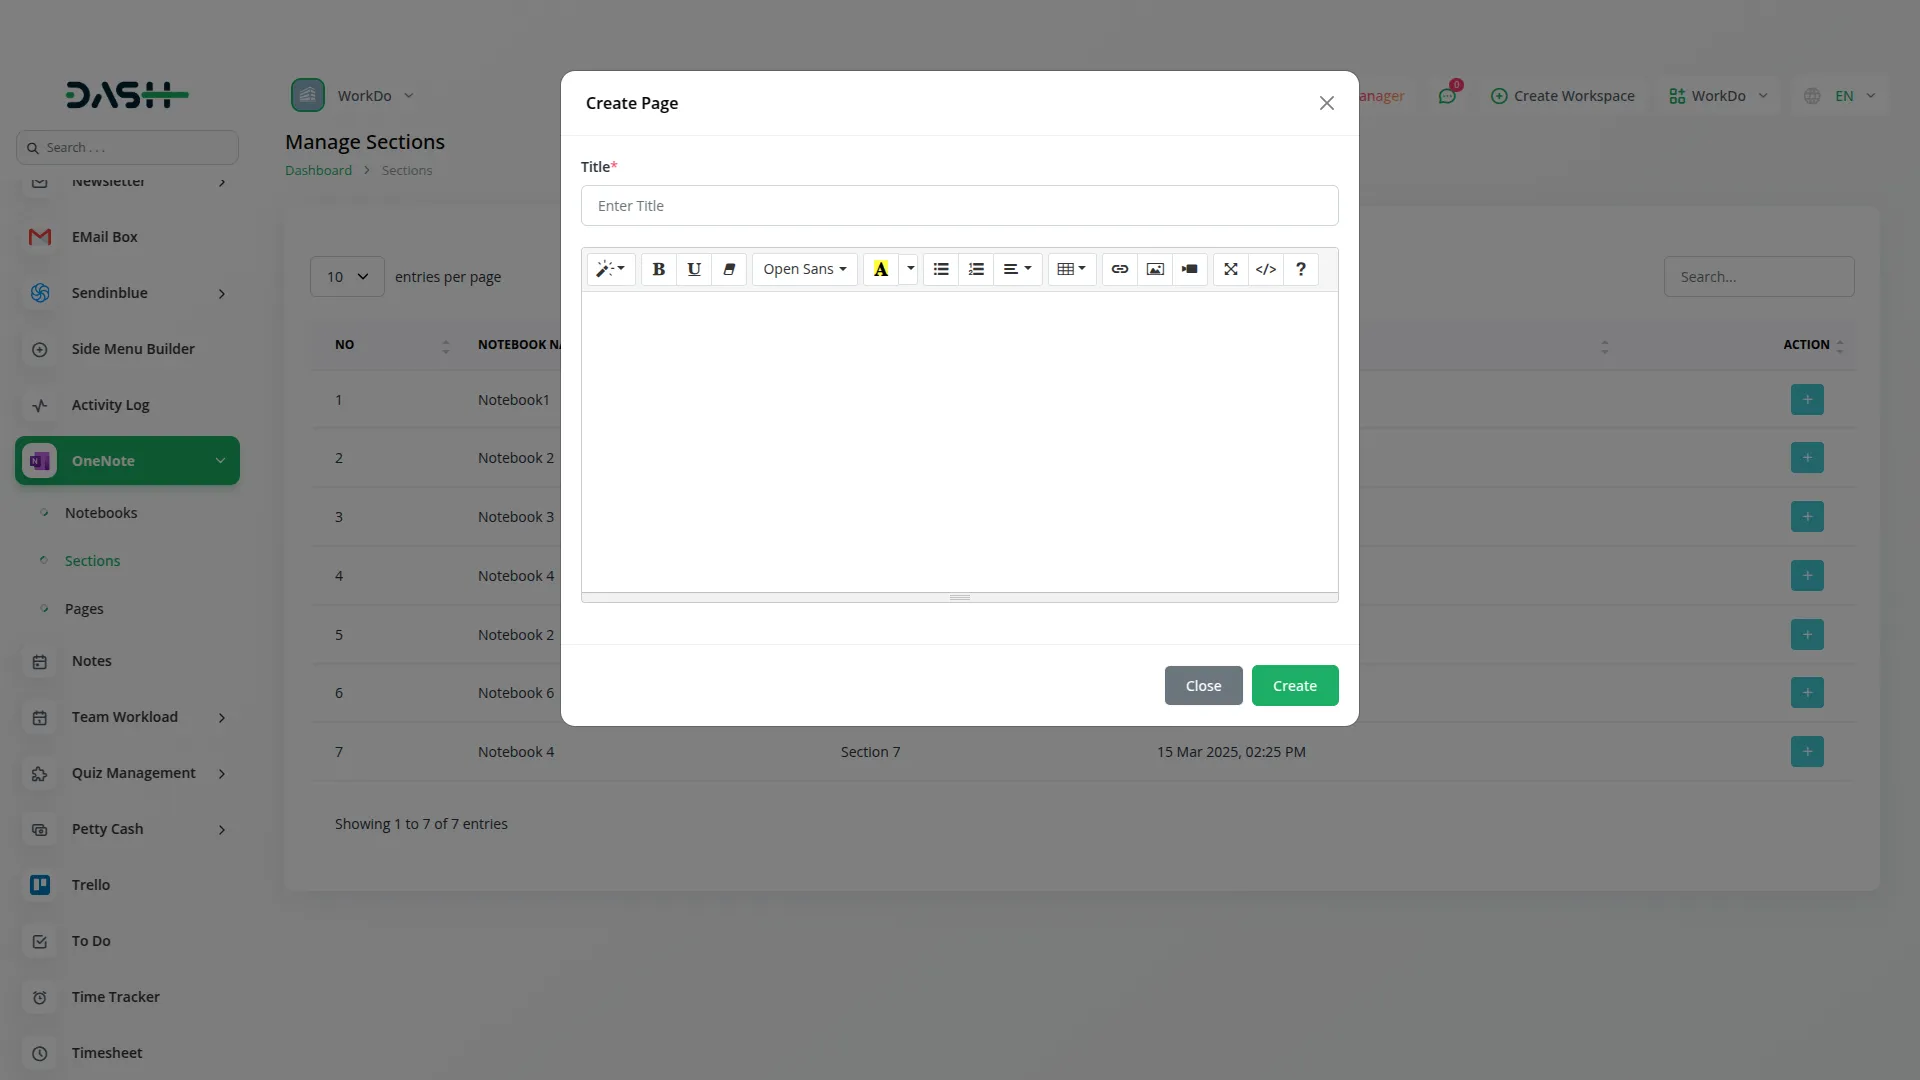
- Then comes the page for sections from where you can see the list of sections you have added from the notebooks page. You can add new pages in that particular section with the help of the “Create” button given in the action column.
-
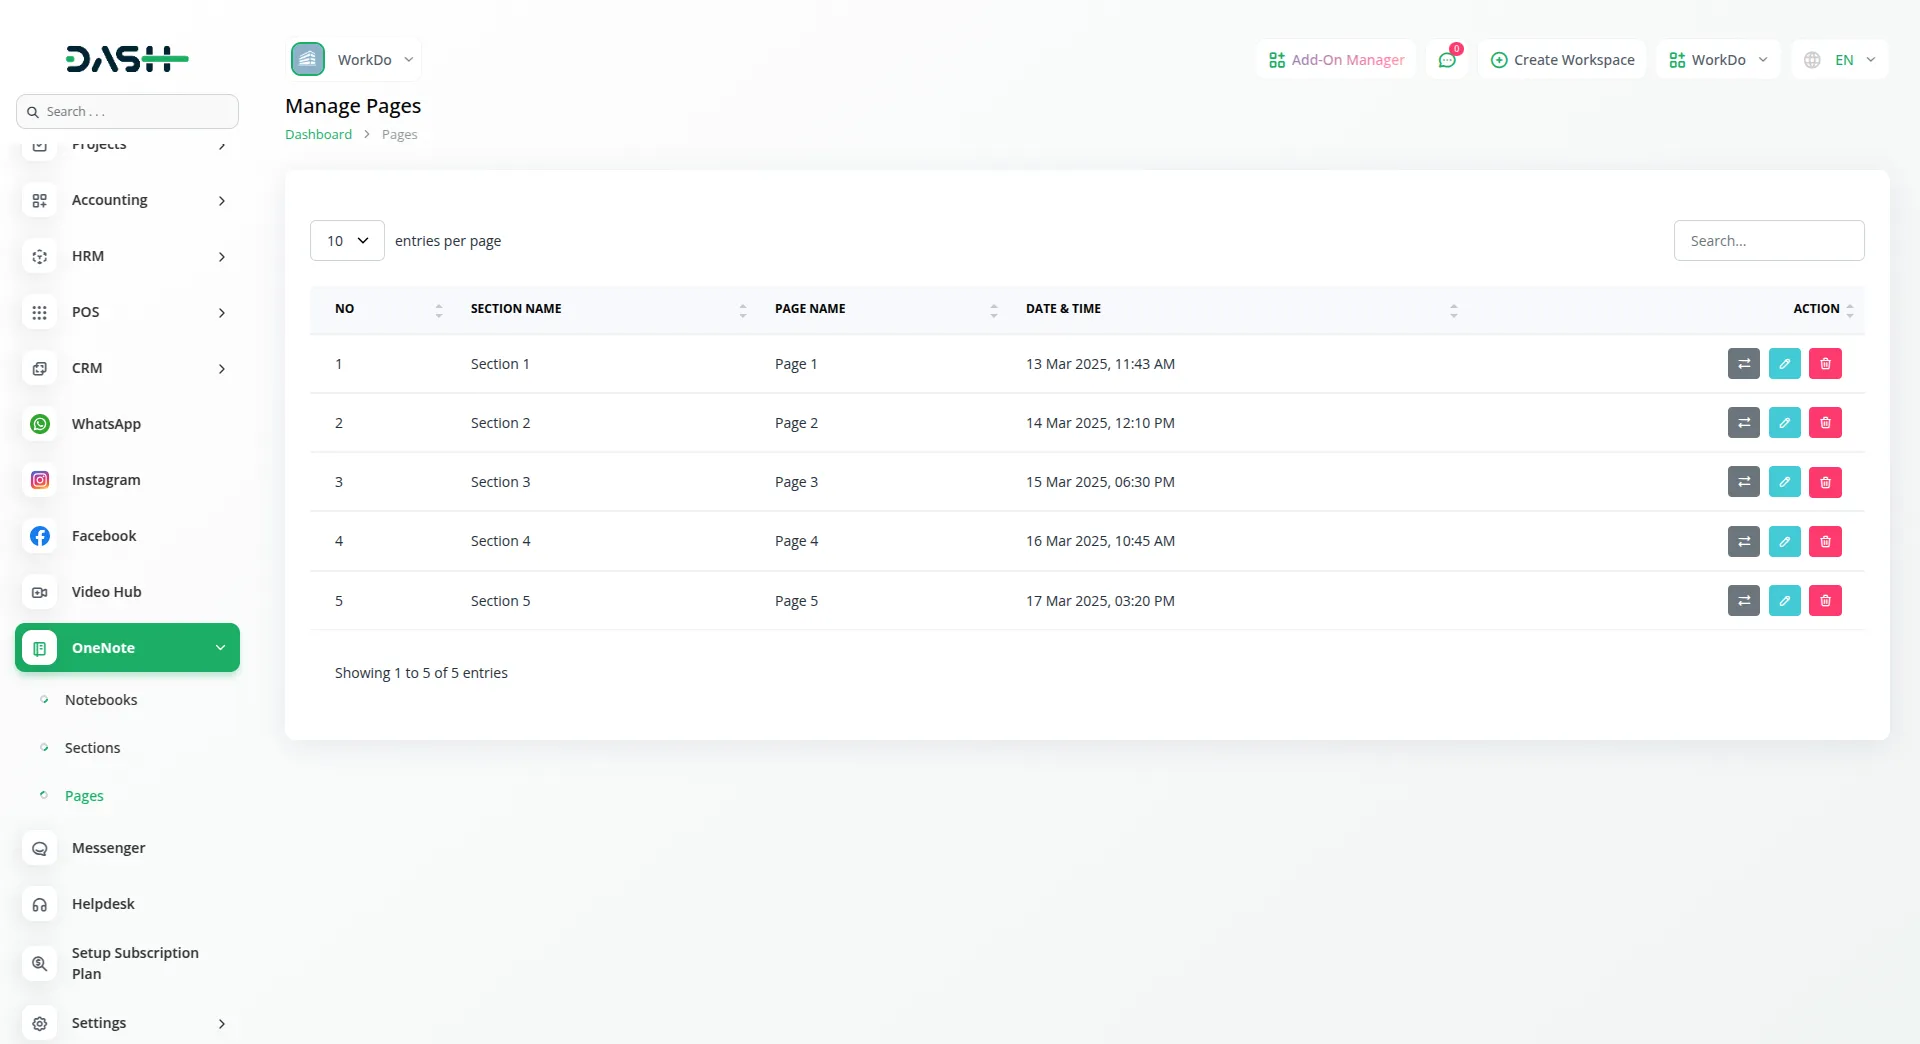
- At last, there comes the column for pages. Here you can view the list of pages that you have added in the sections. You can move that page to OneNote by clicking on the button given in the action column, and edit or delete the pages from the action column.
- So, this is how you can have access and use the OneNote Add-On easily, but first you will need to generate credentials, so following are the steps with the help of which you can generate the credentials of OneNote.
-
- Once you add the credentials of OneNote in Dash, the notebooks, pages, and sections created in OneNote will be visible in the portal.
How to Generate the API Credentials:
1. Register your Application in Azure AD:
Purpose: This step is crucial for creating an application that can access OneNote’s resources.
Process:
- Navigate to the Azure Active Directory portal (search for “Azure Active Directory” in the Azure portal).
- Click on “App registrations.”
- Click on “New registration.”
- Provide a name for your application.
- Choose the account type (e.g., “Accounts in this organizational directory only”).
- Set the redirect URI (e.g., “Web” and a URL where your application will receive the authentication response).
- Click “Register.”
- Note down the Application (client) ID and Directory (tenant) ID: as you will need them later.
2. Obtain Client ID and Secret:
Client ID: This is the unique identifier for your application, obtained during the registration process.
Client Secret: This is a secret key that your application uses to authenticate with Azure AD.
- Go back to the app registration in the Azure portal.
- Click on “Certificates & secrets.”
- Click on “New client secret.”
- Provide a description for the secret.
- Choose an expiration period.
- Click “Add.”
- Note down the value of the client secret immediately: as it will not be displayed again.
3. Choose OneNote Permissions:
Purpose: Determine which OneNote resources your application needs access to.
Process:
- Go back to the app registration in the Azure portal.
- Click on “API permissions.”
- Click on “Add a permission.”
- Select “Microsoft Graph.”
- Choose “Delegated permissions” (if your application will be acting on behalf of a user) or “Application permissions” (if your application will be acting on its own behalf).
- Select the specific OneNote permissions your application needs (e.g., “User.Read”, “Notes.Read”).
- Click “Add permissions.”
- Note: You might need to obtain administrator consent for certain permissions.
4. Sign Users In and Get an Access Token:
Purpose: Authenticate users and obtain an access token that allows your application to access OneNote on their behalf.
Process:
- Use the client ID and client secret to obtain an access token from the Azure AD token endpoint.
- Use the access token to make API calls to the OneNote Graph API.
Categories
Related articles
- Freight Management System Integration in Dash SaaS
- Sendinblue Integration in Dash SaaS
- AI Image Integration in Dash SaaS
- Beverages Production System Integration in Dash SaaS
- Digital Certificate integration in dash saas
- Elderly Care Detailed Documentation
- Medical Lab Management Integration in Dash SaaS
- Visitor Management Integration in Dash SaaS
- Fix Equipment Integration in Dash SaaS
- Catering Management Integration in Dash SaaS
- Africa’s Talking Detailed Documentation
- How to Generate the Credentials from Rocket.Chat
Reach Out to Us
Have questions or need assistance? We're here to help! Reach out to our team for support, inquiries, or feedback. Your needs are important to us, and we’re ready to assist you!


Need more help?
If you’re still uncertain or need professional guidance, don’t hesitate to contact us. You can contact us via email or submit a ticket with a description of your issue. Our team of experts is always available to help you with any questions. Rest assured that we’ll respond to your inquiry promptly.
Love what you see?
Do you like the quality of our products, themes, and applications, or perhaps the design of our website caught your eye? You can have similarly outstanding designs for your website or apps. Contact us, and we’ll bring your ideas to life.
