Construction Management Integration in Dash SaaS
This documentation provides a comprehensive guide to integrating Construction Management features, enabling efficient handling of materials, inspections, compliance, pickings, internal pickings, and scraps.
Introduction
This documentation provides a comprehensive guide to integrating Construction Management features, enabling efficient handling of materials, inspections, compliance, pickings, internal pickings, and scraps. It covers key functionalities such as project creation, resource allocation, task management, and reporting. Whether you are setting up the system for the first time or optimizing an existing workflow, this guide serves as a complete resource to streamline construction operations and enhance overall project efficiency.
How to Install the Add-On?
To Set Up the Construction Management Add-On you can follow this link Setup Add-On
How to Use the Construction Management Add-On?
- After purchasing the Construction Management Add-On, go to the sidebar of your dashboard, where you’ll find the Construction Management page. This is where you will begin using the Add-On and managing all the construction-related tasks.
Dashboard Overview
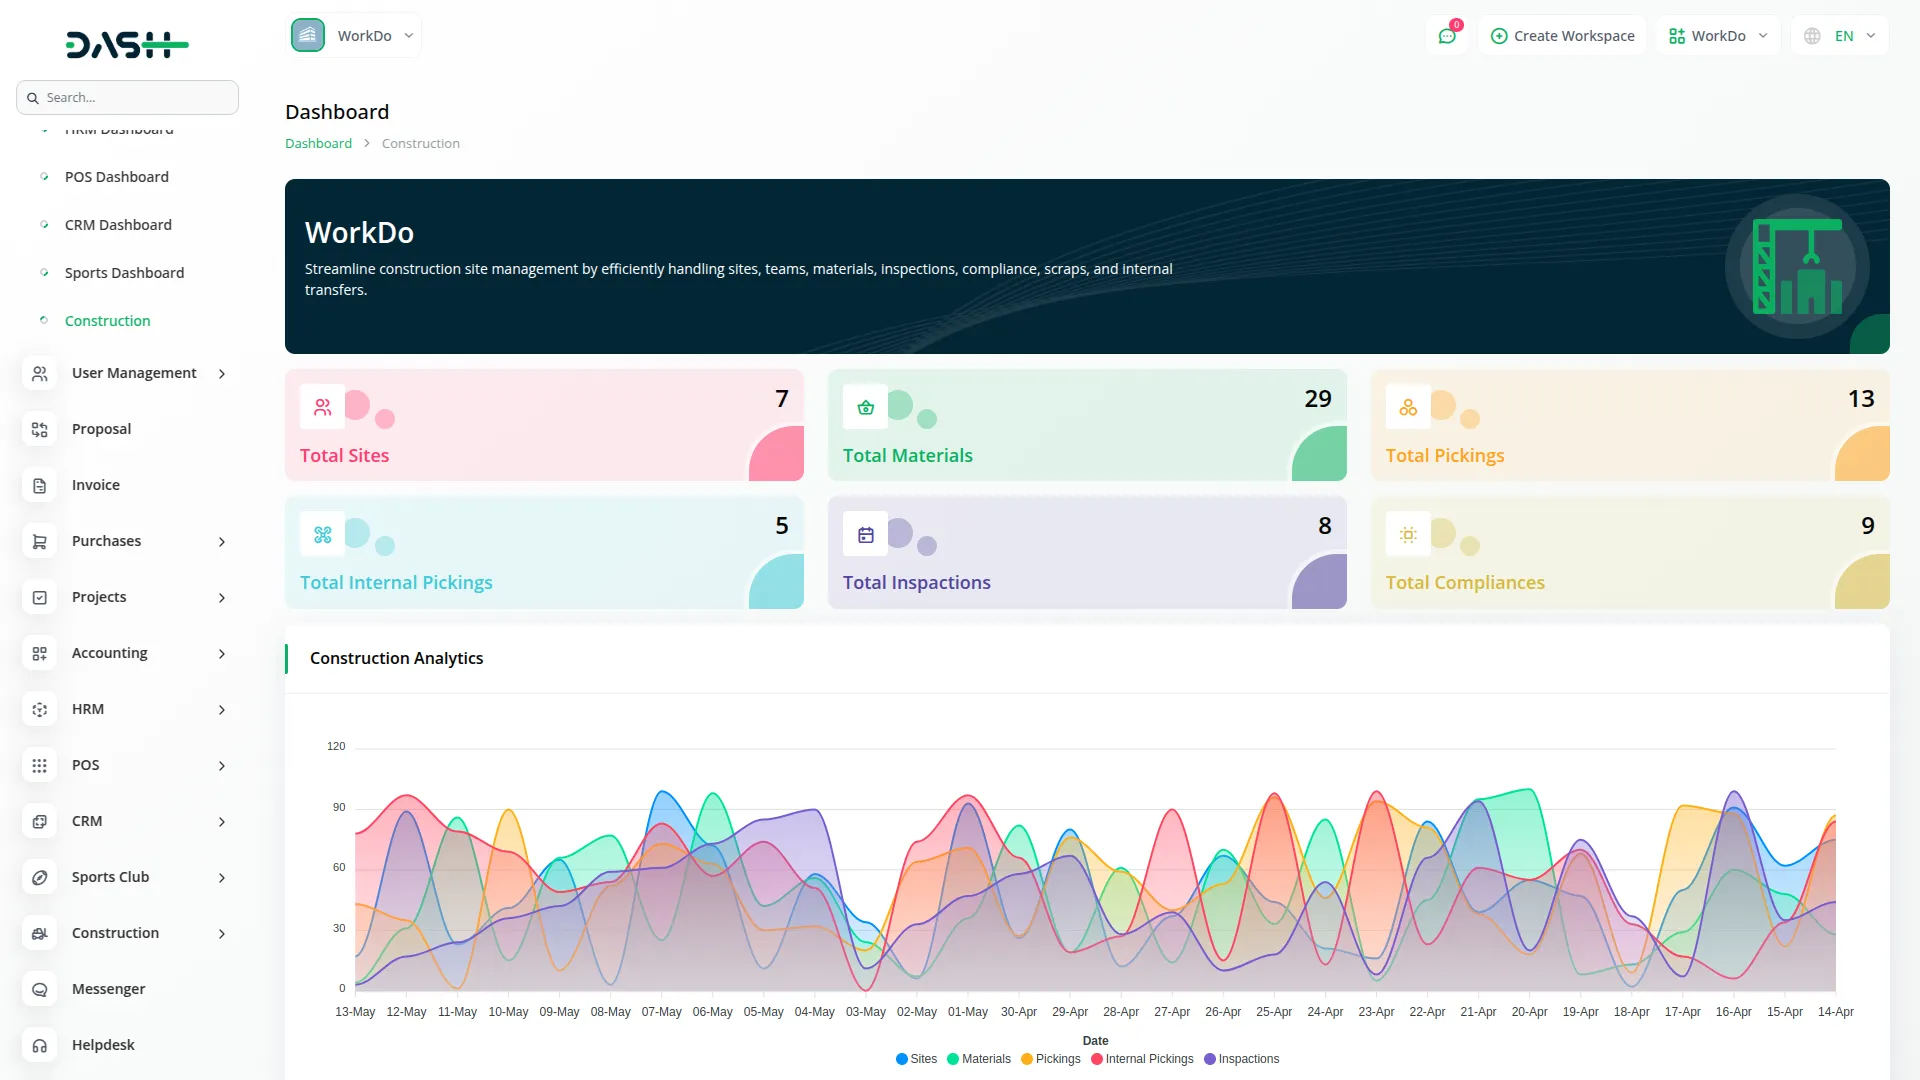
When you first open the Construction Management Add-On, you’ll land on the dashboard, which provides a summarized view of your ongoing construction operations.
- At the top of the dashboard, you will see quick-glance boxes showing:
- Total Construction Sites
- Total Materials
- Total Pickings
- Total Internal Pickings
- Total Inspections
- Total Compliances
- Below the summary boxes, you will find Construction Analytics Charts that provide visual insights into:
- Total Construction Sites
- Total Materials
- Total Pickings.
- Total Internal Pickings
- Total Inspections.
Below the analytics section, there is a list of recent inspections, including:
This dashboard helps you quickly monitor project progress, material movement, inspection performance, and compliance health, so you can take timely actions wherever required.
Creating a Construction Site
- On the Construction Management page, the first task is to create a construction site, which can be done by clicking the “Create” button at the top of the site page.
- You will need to fill in necessary details such as the name of the construction site, the status of the site (which can be “Planned,” “In Progress,” or “Completed”, the start and end date for the construction, the construction partner’s name, and a description of the construction site.
- Once you’ve filled in all the details and saved the record, the construction site will be successfully added and stored for future reference on the site page.
- You can also view, edit, or delete the construction sites whenever you want.
-

View a Construction Site
- If you click on the view button, you will see all the details regarding that construction site. First of all you will see the name of that site, start date, due date, number of construction partners, and the status. You can also edit or delete these details whenever you want.
- Beside these details, you will see the number of days left, number of total materials, total inspections, and total compliances.
- Below that, you will see the name of construction partners, you can also remove them whenever you want. Beside which there is a list of construction inspections, you can add new construction inspections with the help of the create button given at the top of the list, and also view, edit, and delete the inspections from the action column.
- After that, you will get to see the list of inspection compliances, at the top of which there is a create button through which you can create new inspection compliances, and you can also view, edit, or delete the inspection compliances easily. Beside this you will see the list of construction materials, you can easily create, edit, or delete the materials with the help of their respective buttons.
- Below these lists, you will also see the lists of construction pickings, construction scraps, and internal pickings. You can create, view, edit, or delete these things very easily from here.
-

Managing Construction Materials
- After setting up a construction site, the next step is to maintain a record of the materials used for the construction, which you can do by going to the Materials page.
- On the Materials page, click the create button to create a new material record, and provide the necessary material details such as the material name, the construction site it belongs to, the material unit (e.g., kilograms, pieces), the material quantity, the cost per unit, the total cost of the material, and its status.
- Once you create the construction materials, they will be visible on the materials page, and you can edit or delete them easily.
- When you create a picking with this material, the quantity of that material will decrease.
- If you edit or delete a picking and its status is not “delivered”, the quantity will increase or decrease automatically.
- Once saved, the material will be listed on the Materials page, where you can view its details, make edits, or delete it as needed.
-

Managing the Picking Process
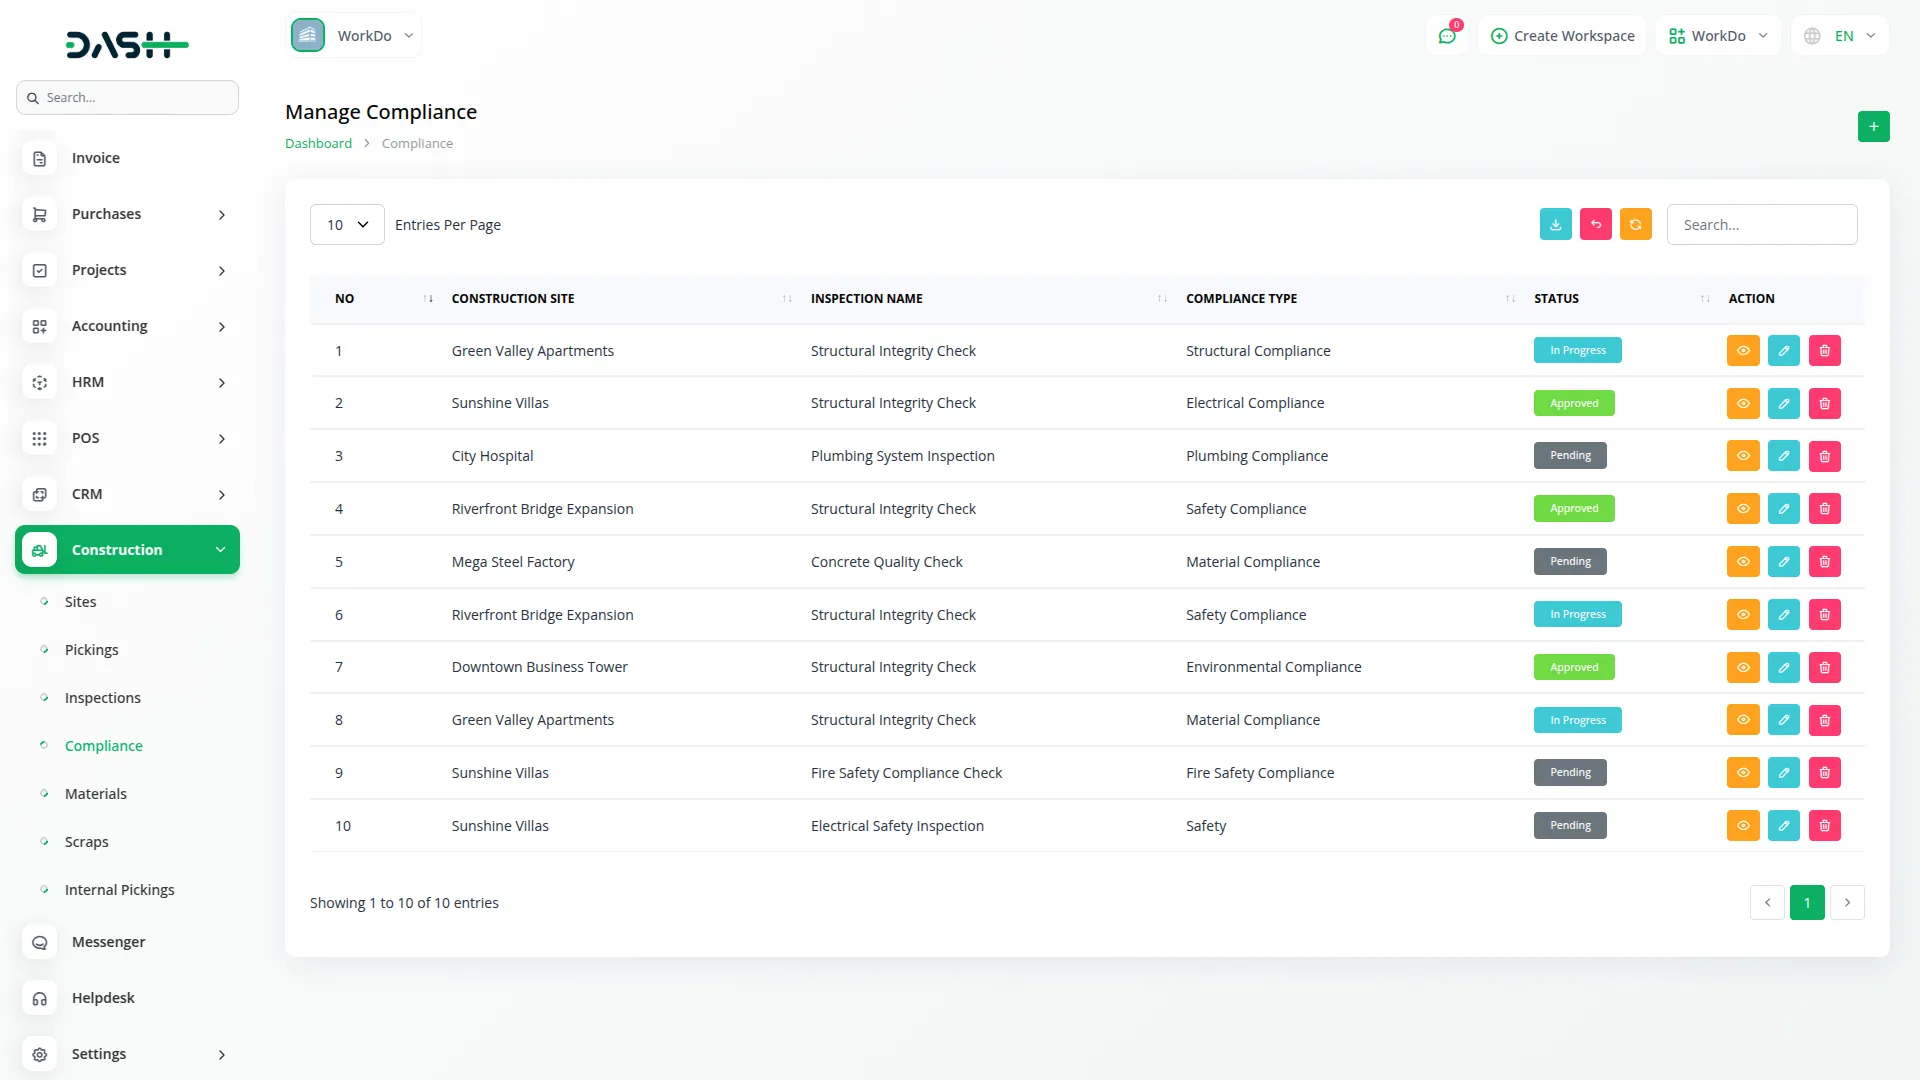
- After you’ve created the materials, you can move on to the picking process, which involves selecting and gathering the materials or tools required for a specific task or project.
- To initiate a picking process, go to the Picking page and click on the “Create” button to create a new picking record.
- You will need to enter details such as the picking name, the construction site where the materials will be used, the material unit and quantity, the name of the supplier, the supplier’s email ID, phone number, and the expected delivery date of the materials.
- Once you create the picking, you can view its detail on the pickings page, and edit or delete it whenever you want.
- The picking quantity decreases when internal picking is created using the selected picking.
- If the internal picking status is not “Delivered” and it is later edited or deleted, the picking quantity will automatically increase or decrease.
-
Internal Picking
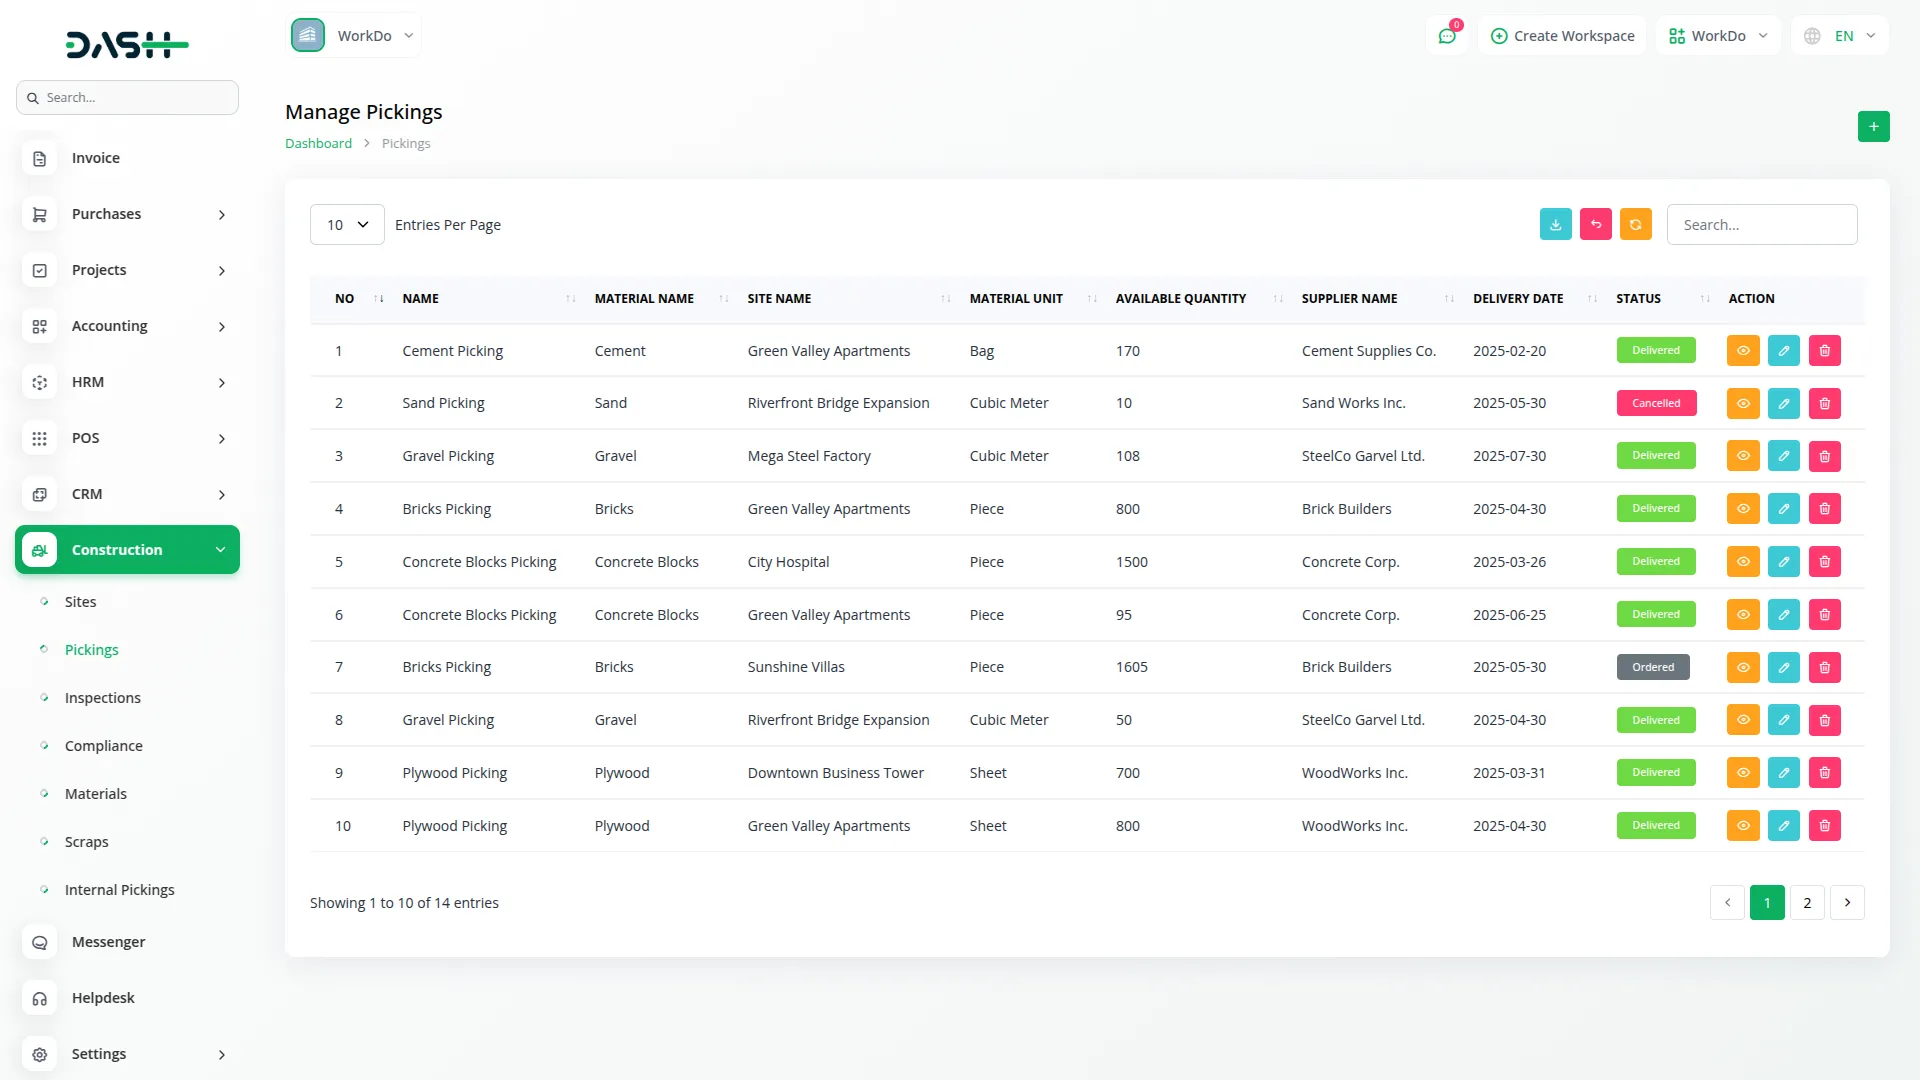
- In addition to standard picking, you can also manage internal picking if you need to transfer materials from one construction site to another.
- To create an internal picking record, navigate to the Internal Picking page and click on the “Create” button. Here, you will need to enter details similar to normal picking, ensuring materials are correctly assigned between the two sites involved.
- After creating the internal picking, you can view its details on the internal picking page, and also view, edit or delete it whenever you want.
- The quantity in internal picking decreases when scraps are created using a selected internal picking.
- If scraps are edited or deleted, the internal picking quantity will automatically increase or decrease.
-
Recording Inspections
- After the picking process, you may need to conduct inspections to ensure construction quality and adherence to standards.
- To record an inspection, go to the Inspection page, click on the “Create” button, and enter essential inspection details, including the inspection name, the site being inspected, the inspector’s name, email ID, and phone number, the date and time of the inspection, as well as a brief description of the inspection.
- After saving the details, the inspection will be listed on the Inspection page for easy tracking and review, you can also view, edit or delete the inspections whenever you want.
-

Managing Compliance
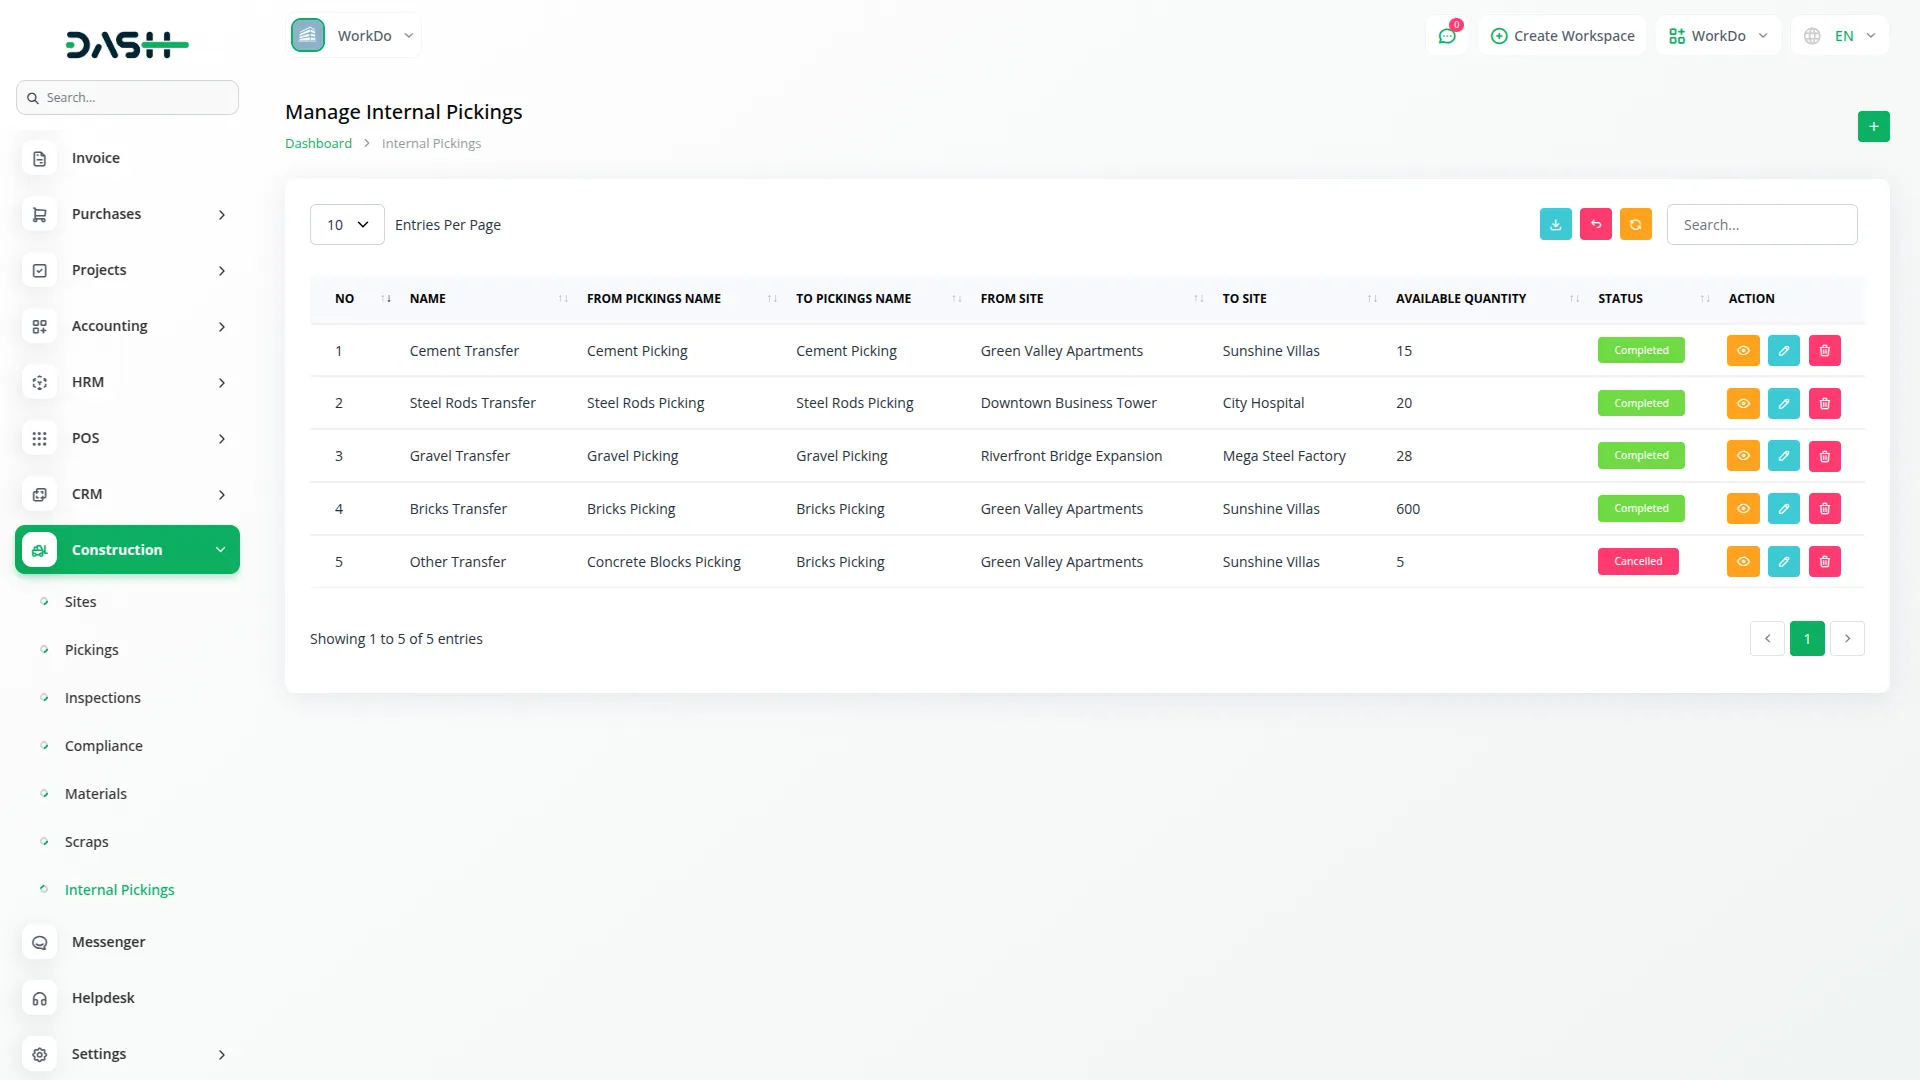
- Once inspections are completed, navigate to the Compliance page to add the necessary compliance records based on the inspector’s findings.
- To create a new compliance, click on the create button given at the top, add the necessary details like compliance name, compliance type, select the construction site form the dropdown, select the construction inspections from the dropdown, and add the compliance description at last.
- Once you create the compliance, it will be visible on the compliance page including all the necessary details like construction site, inspection name, compliance type, status, and an action column from which you can view, edit or delete the compliance whenever you want. You can change the status of compliance with the help of the edit button.
- On this page, you can also monitor the current status of the compliance, which can be either “Approved,” “Pending,” or “In Progress,” depending on the stage of each compliance resolution.
-
Managing Scraps
- The final step in the construction management process is managing scraps, which are leftover materials or items from construction, pickings, or internal pickings.
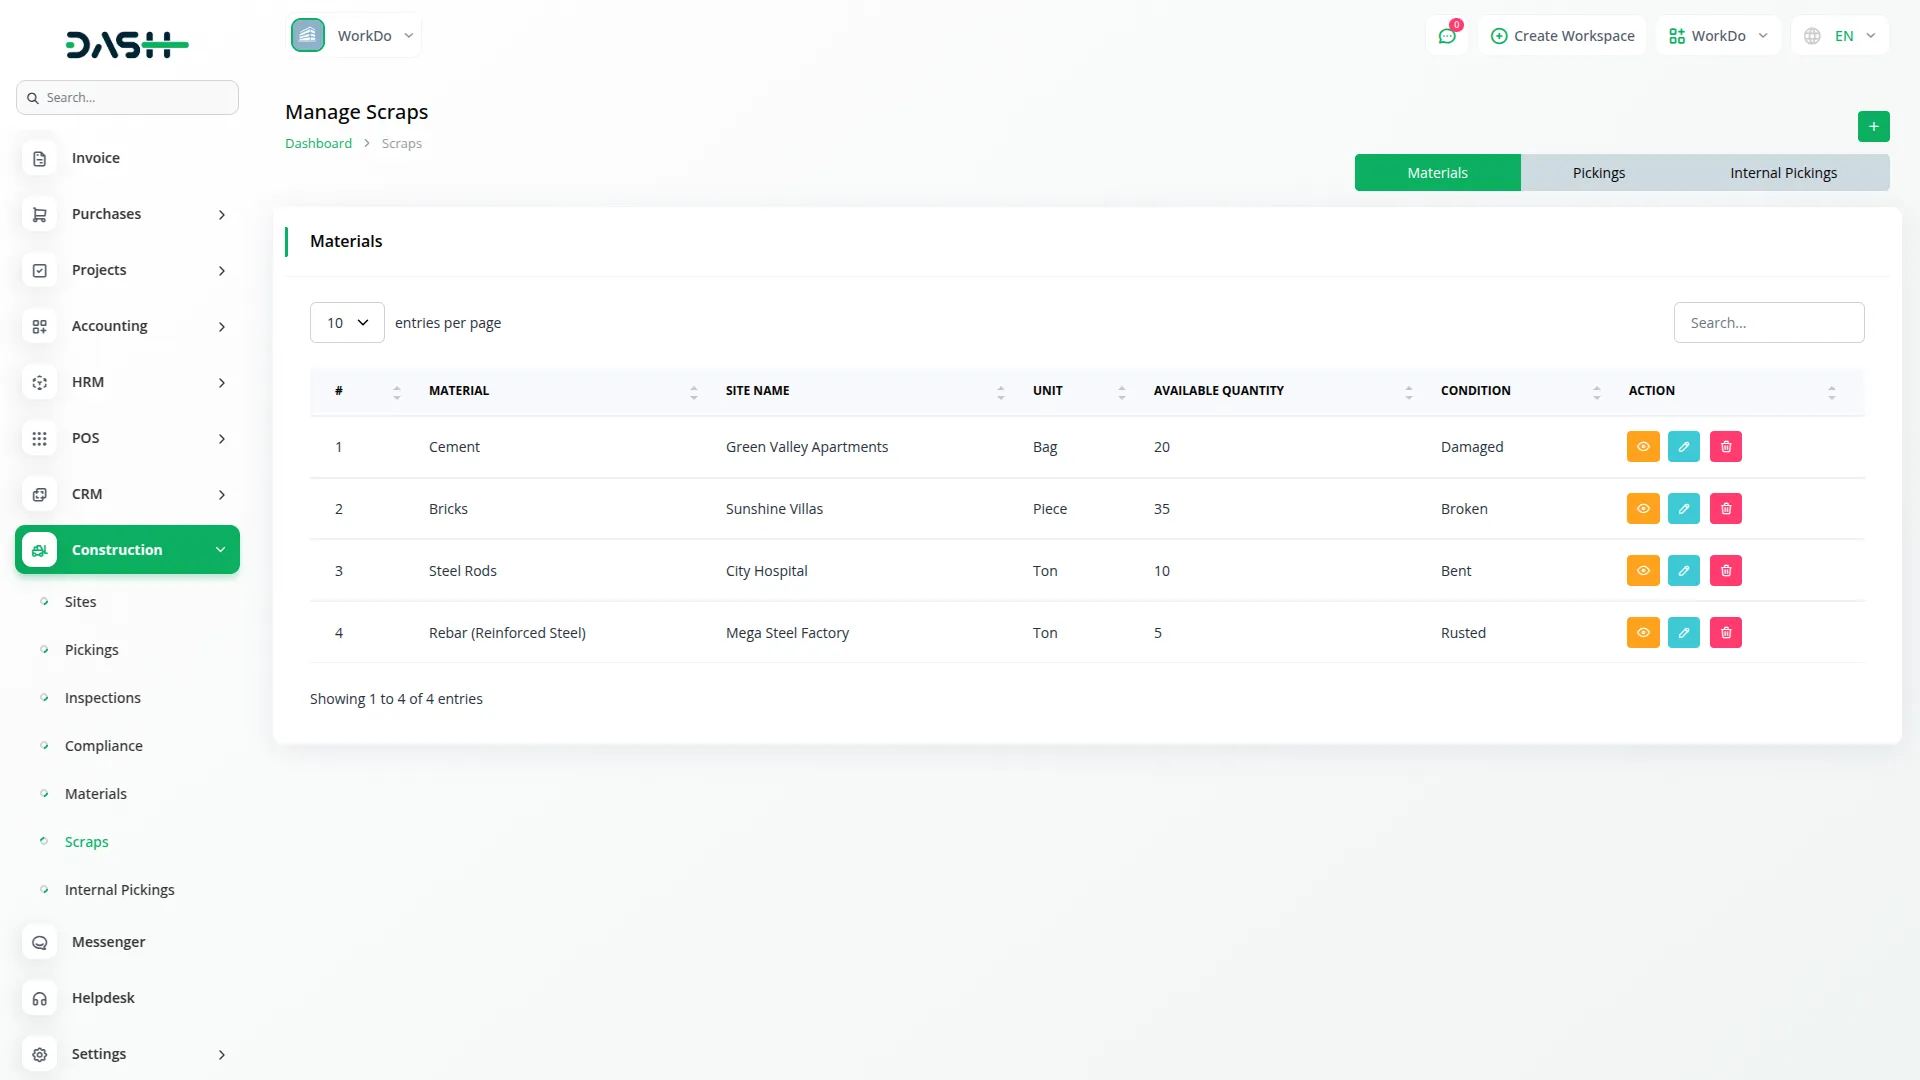
- You can create the scraps with the help of create button given at the top, just select the construction site from the dropdown, select the type of scrap from the dropdown, select the scrap materials from the dropdown, after which the material unit will be generated automatically, enter the material quantity, material condition, and add the description at last.
- After creating the scraps, the entry of it will be recorded on the scraps page including all the necessary details, you can view, edit, or delete the scraps easily.
- On the Scraps page, you will see separate columns for each category of scrap. You can add scraps to the appropriate category based on the source of the scrap; for example, if the scrap is leftover material, you will add it under the “Material” column.
- When scraps are created using selected internal picking, the internal picking quantity decreases.
- If a scrap record is edited or deleted, the quantity of both used material types will automatically adjust (increase or decrease).
-
Categories
Related articles
- AI Document Integration in Dash SaaS
- MyFatoorah Payment Gateway in Dash SaaS
- Insurance Management Integration in Dash SaaS
- Tattoo Studio Management Detailed Documentation
- Facebook Post Integration in Dash SaaS
- Outlook Calendar Integration in Dash SaaS
- Fire Safety Detailed Documentation
- Square Payment Gateway in Dash SaaS
- e-Invoice Integration in Dash SaaS
- Google Calendar Integration in Dash SaaS
- Tawk.to Messenger Integration in Dash SaaS
- Job Search Detailed Documentation
Reach Out to Us
Have questions or need assistance? We're here to help! Reach out to our team for support, inquiries, or feedback. Your needs are important to us, and we’re ready to assist you!


Need more help?
If you’re still uncertain or need professional guidance, don’t hesitate to contact us. You can contact us via email or submit a ticket with a description of your issue. Our team of experts is always available to help you with any questions. Rest assured that we’ll respond to your inquiry promptly.
Love what you see?
Do you like the quality of our products, themes, and applications, or perhaps the design of our website caught your eye? You can have similarly outstanding designs for your website or apps. Contact us, and we’ll bring your ideas to life.
