How to Set up Add-On in WorkDo
Walkthrough to configure and purchase Add-Ons in WorkDo. Make the most of additional features with these easy steps.
Note: The stable version of Node & npm must be installed on your server. Additionally, running the command `npm run build` run build is required on your server.
Node.js: >= 20. x These version must be important for the inatall Add-On.
On your server terminal access is significant for the run command.
In this guide, we’ll walk you through the steps to set up and purchase Add-Ons effortlessly. Follow these easy steps to configure and make the most of the additional features:
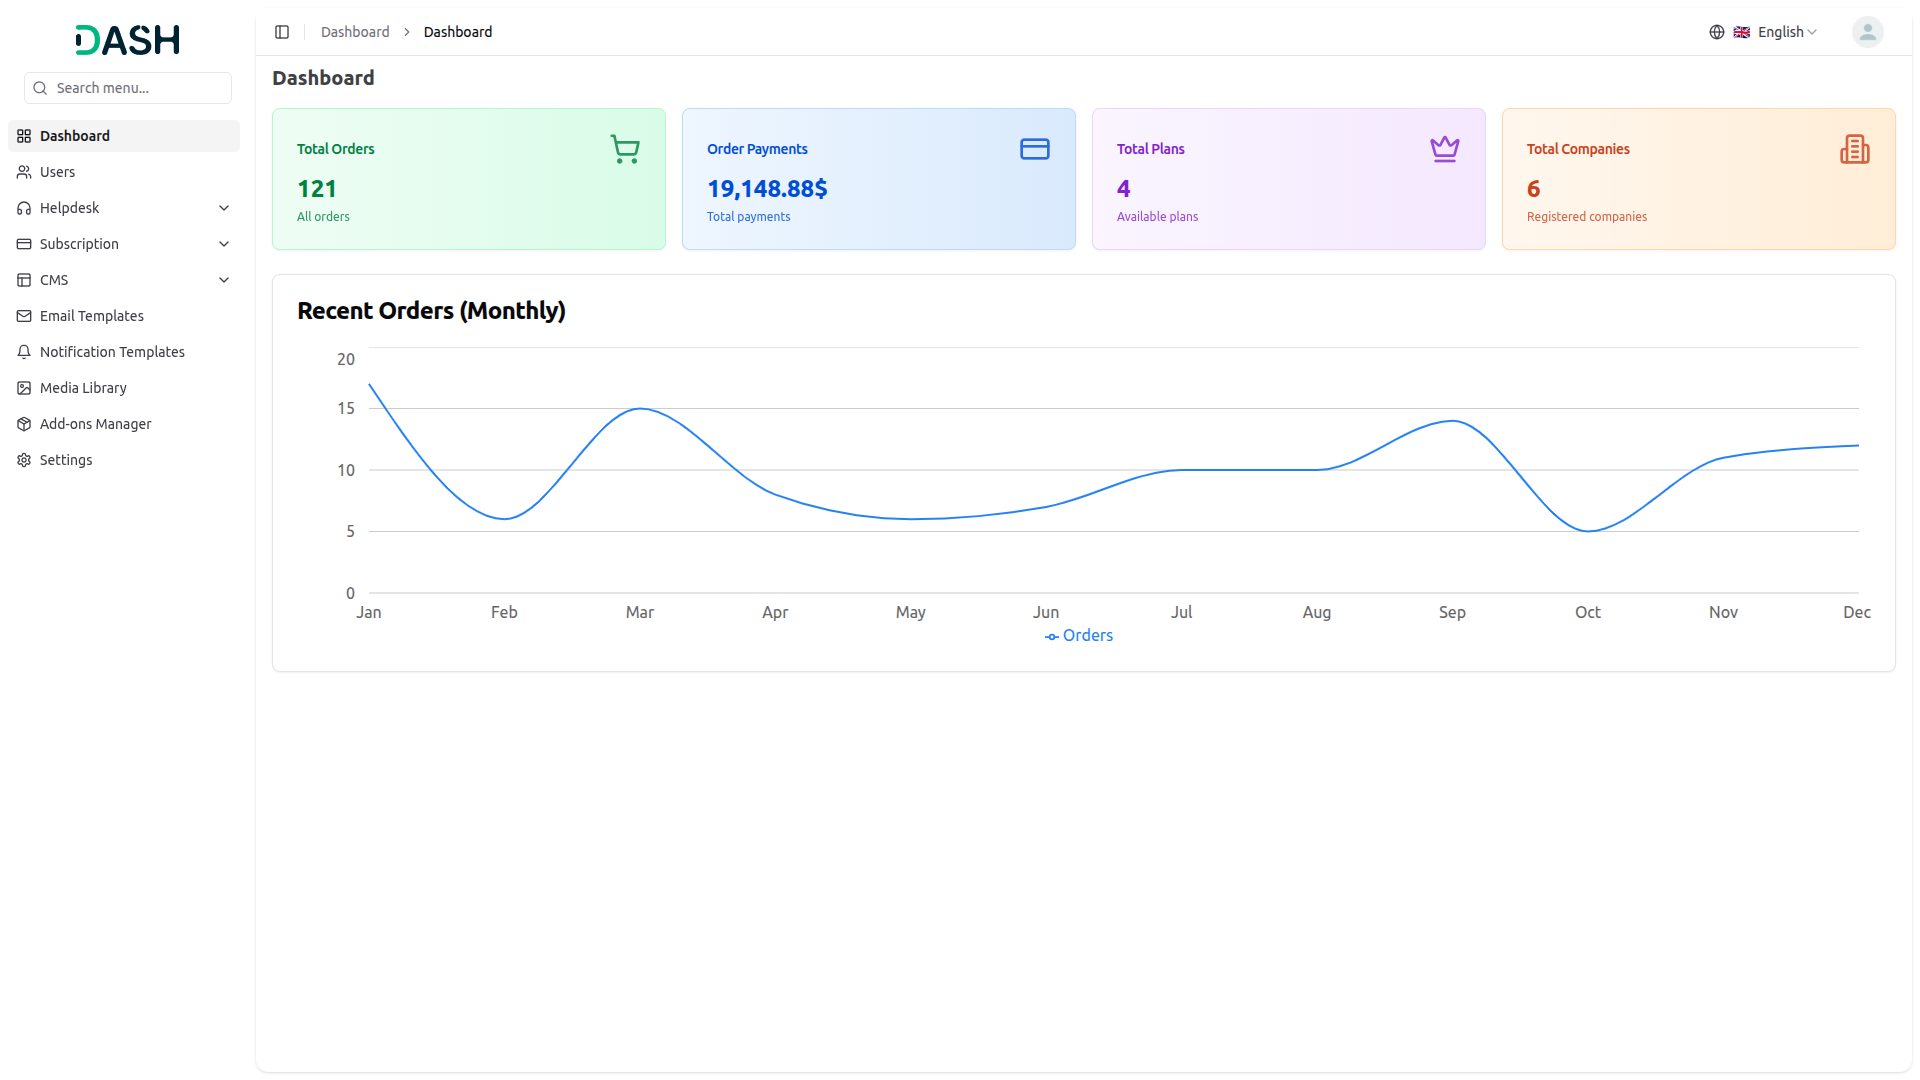
Step 1: Log in to the Super Admin Page and click on “Add-On Manager”.
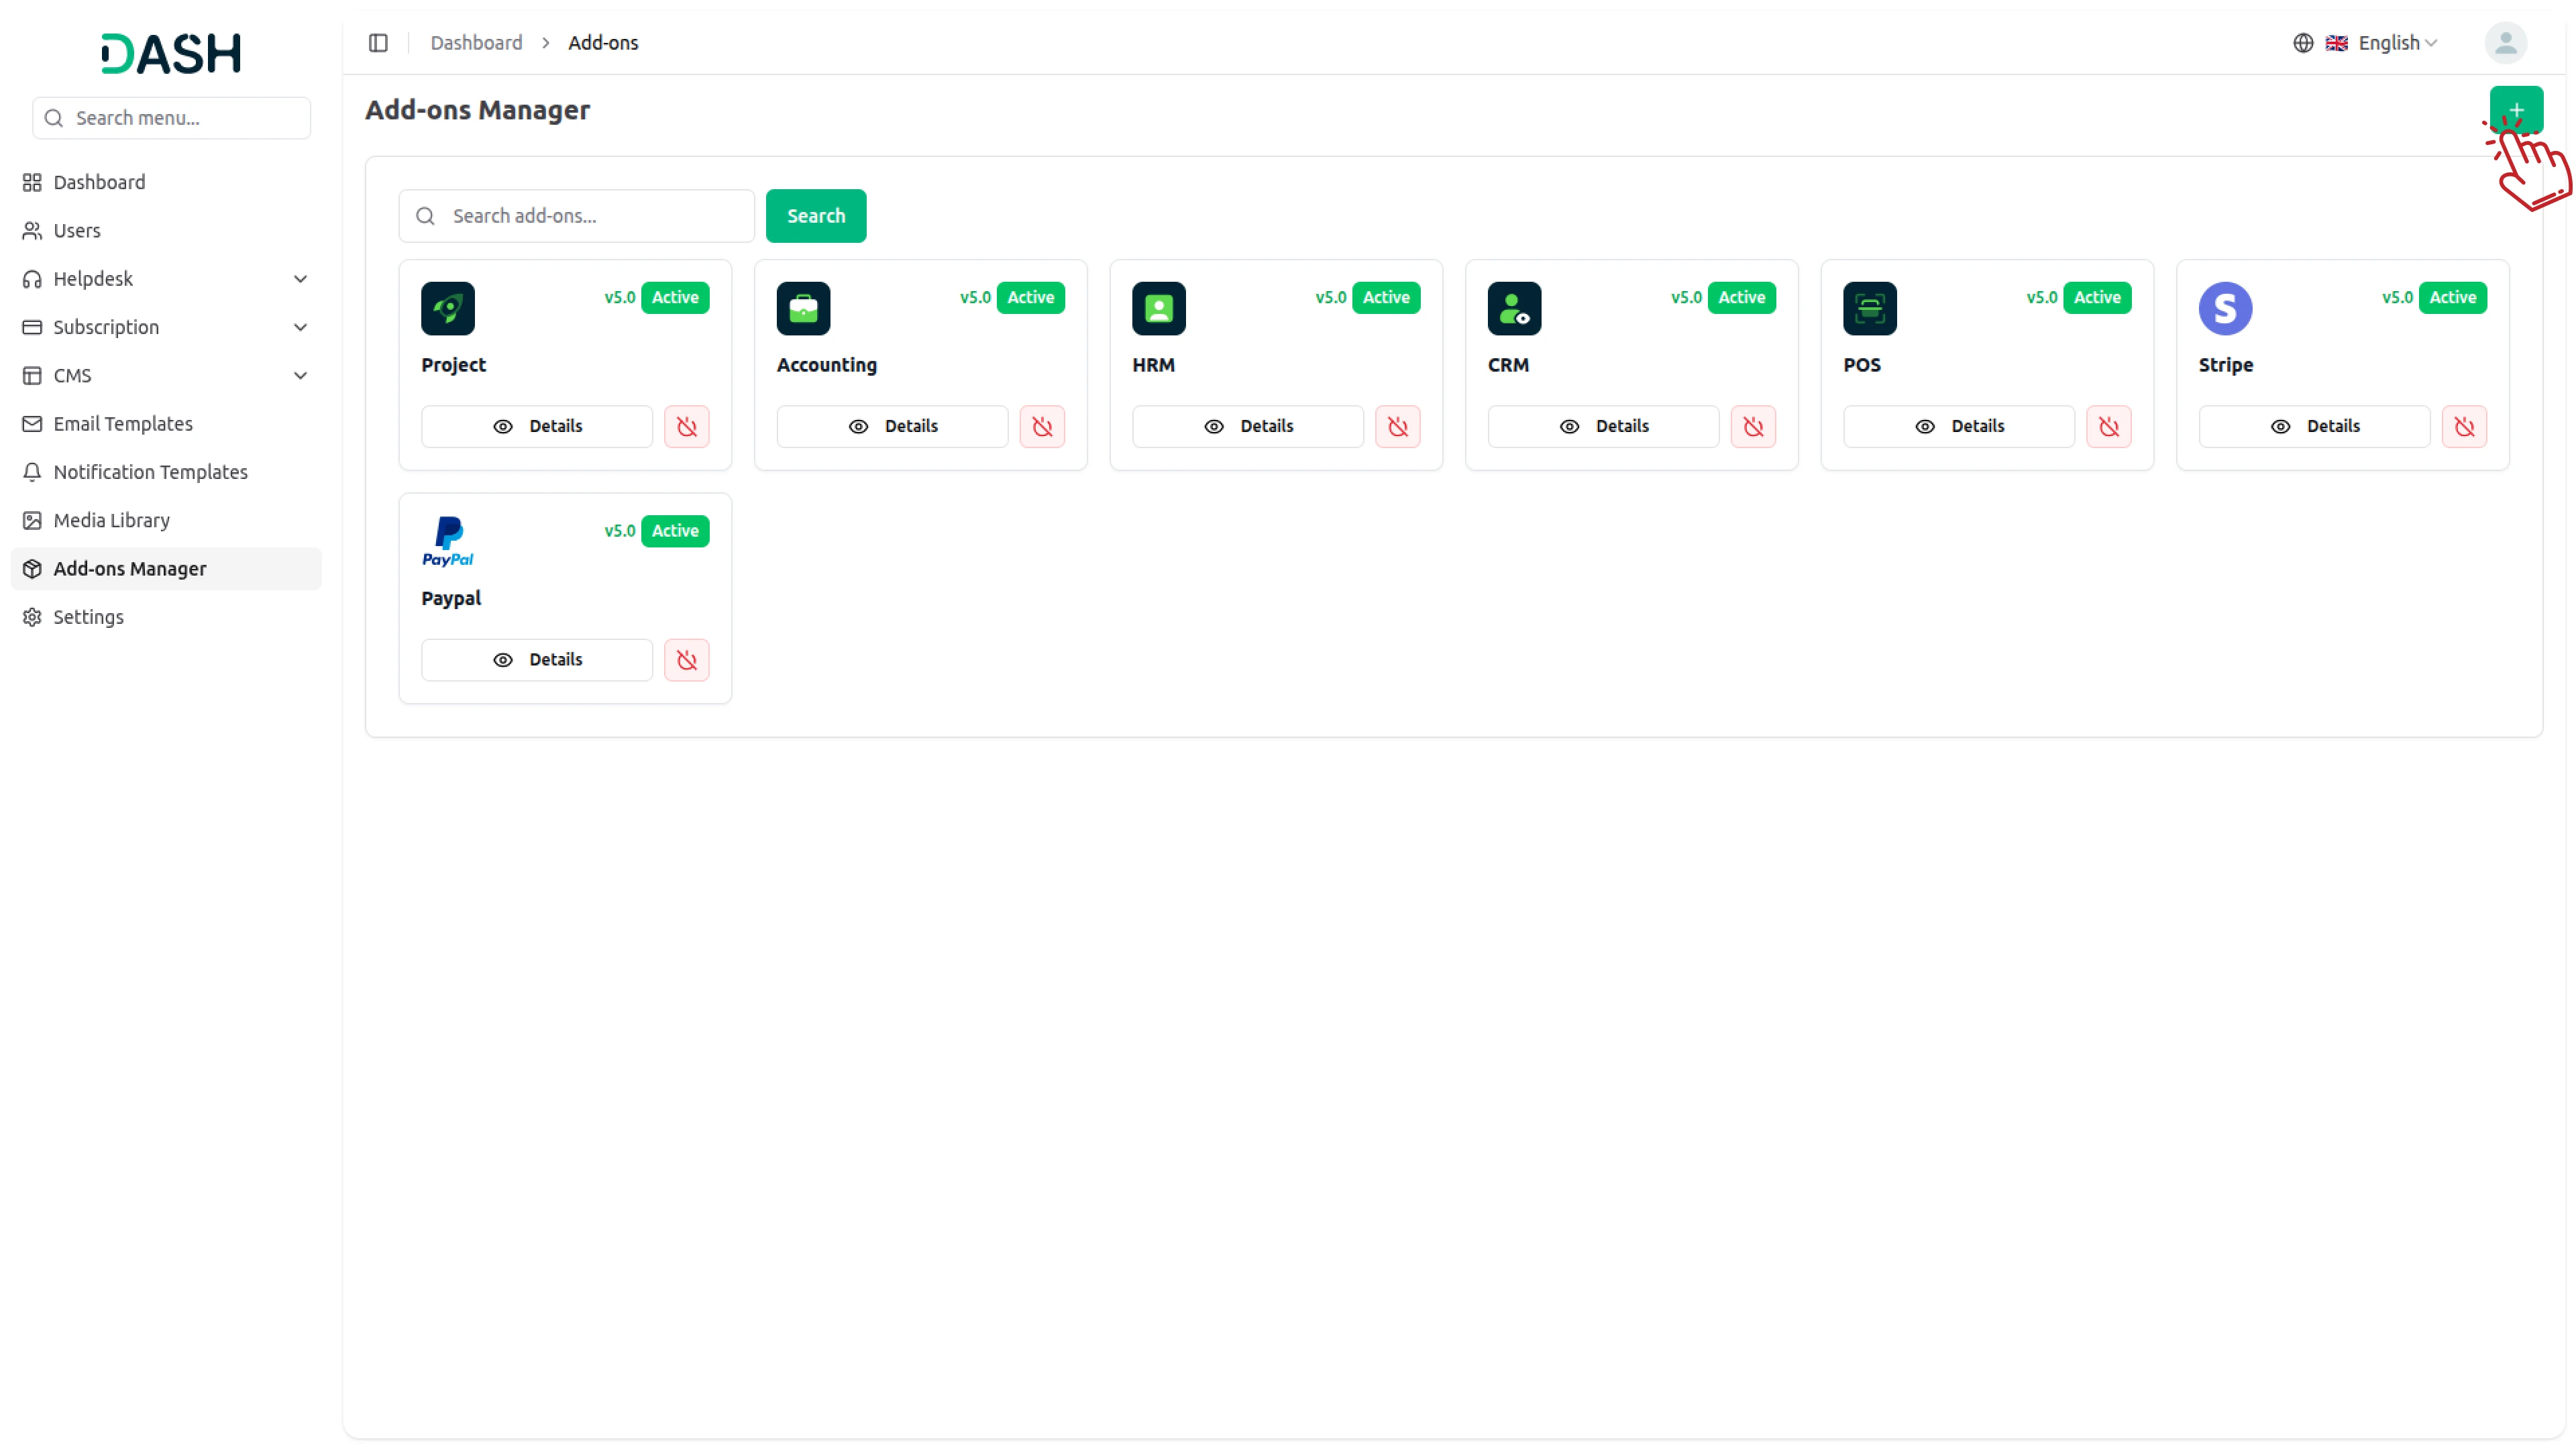
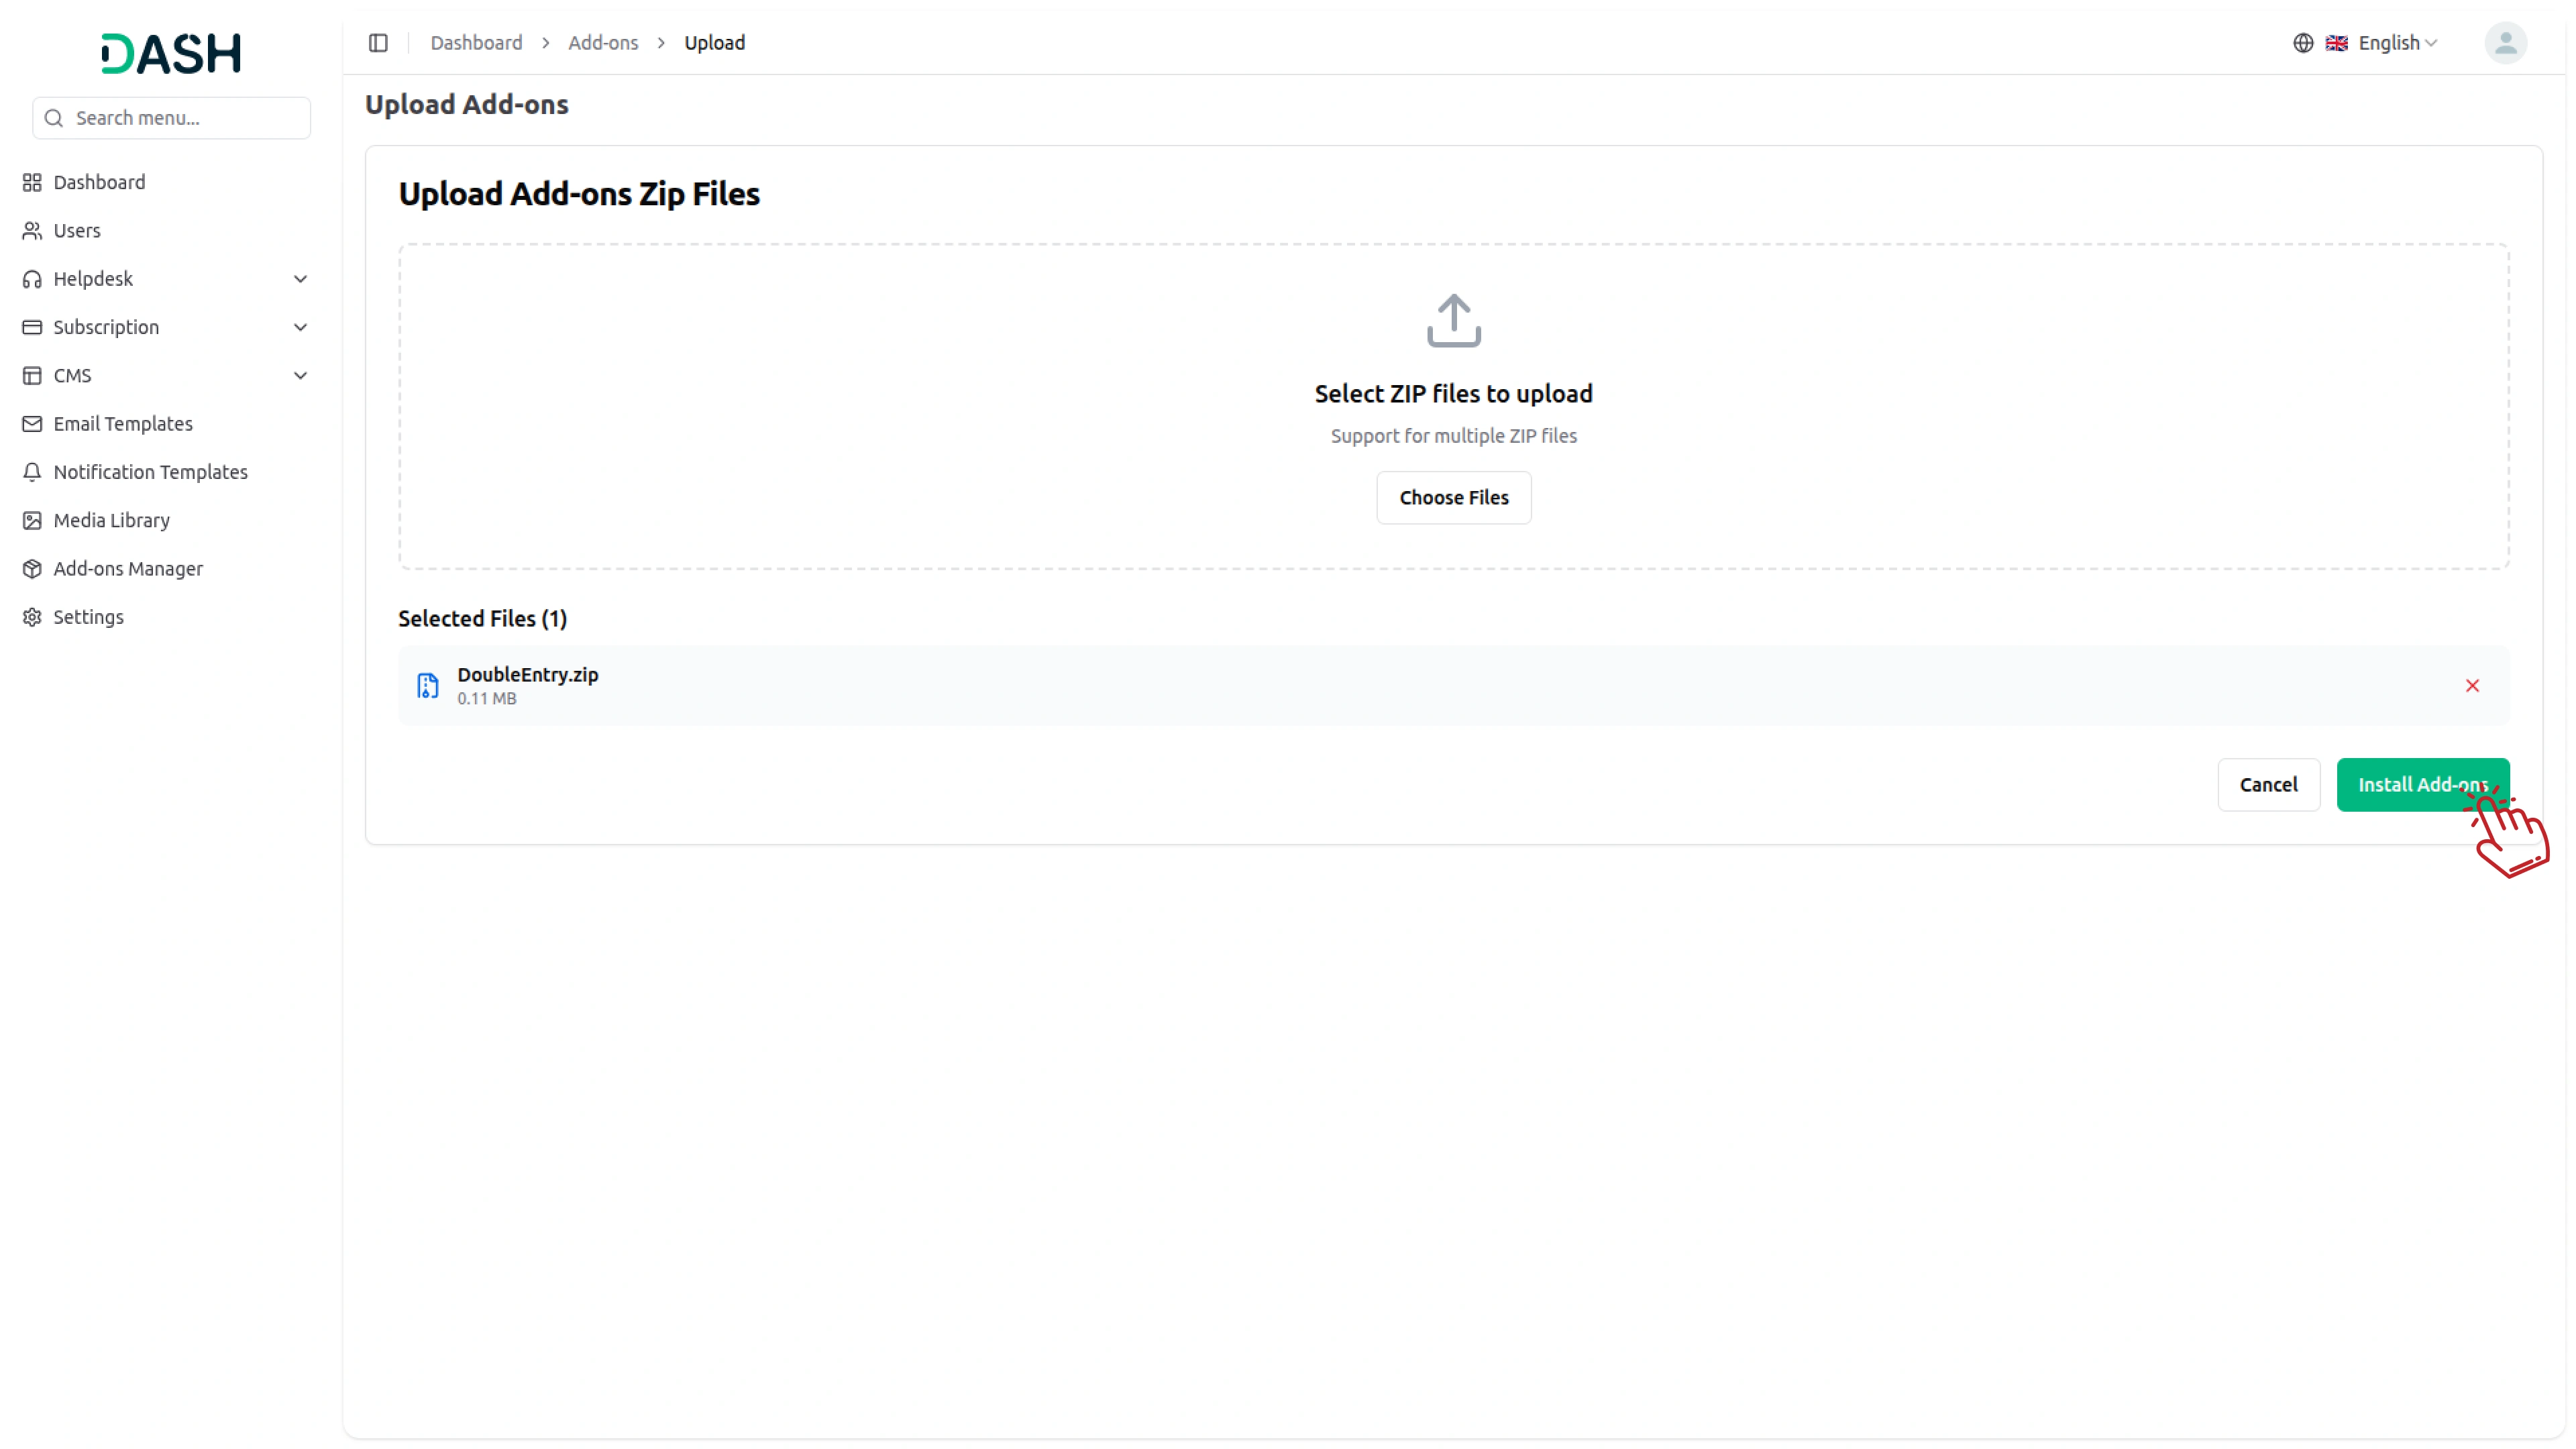
Step 2: Click on the “+” button, and drop down the ZIP file of that particular add-on.
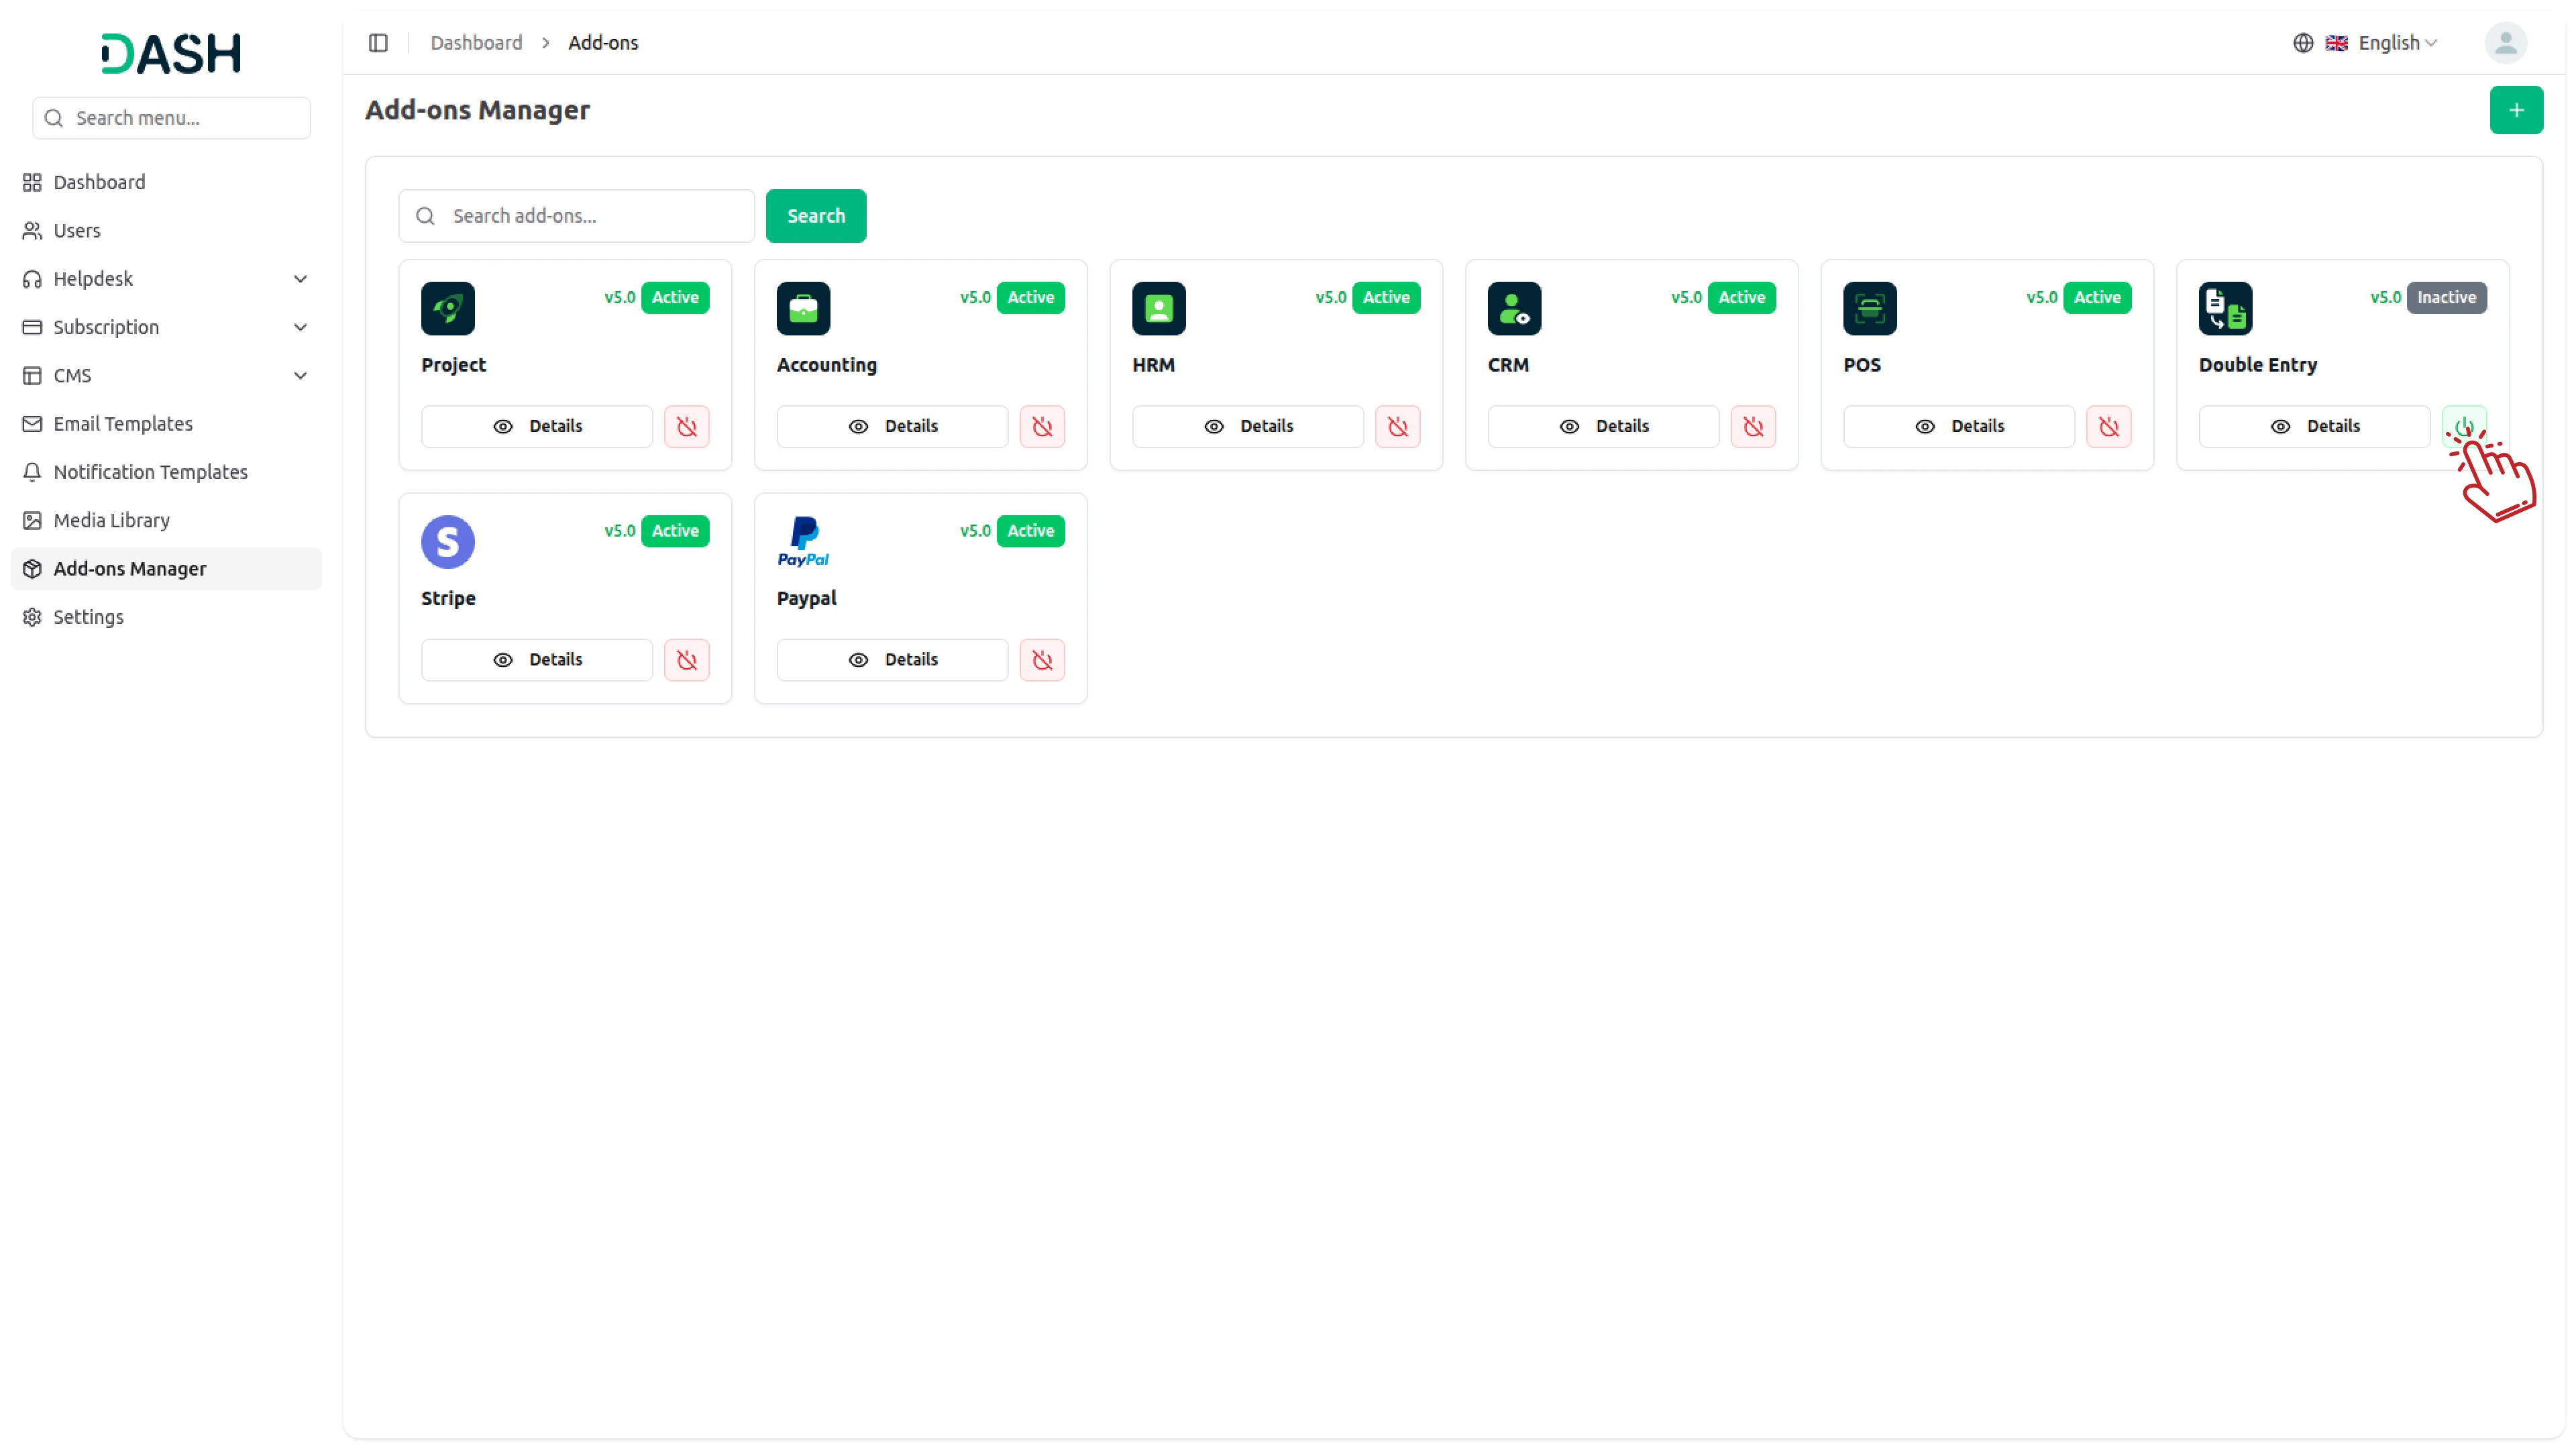
Step 3: Once you upload the ZIP file of an Add-On, you will be able to see that on the Add-On Manager Page.
Step 4: After you upload the Zip, you need to run the `npm run build` command.

Step 5: Simply enable that Add-On to make it visible to the end users.
Step 6: Go to the subscription -> subscription settings page once you enable the Add-On. sub
Step 7: After that, you will see two options on that page: Pre-Packaged subscription and Usage Subscription.
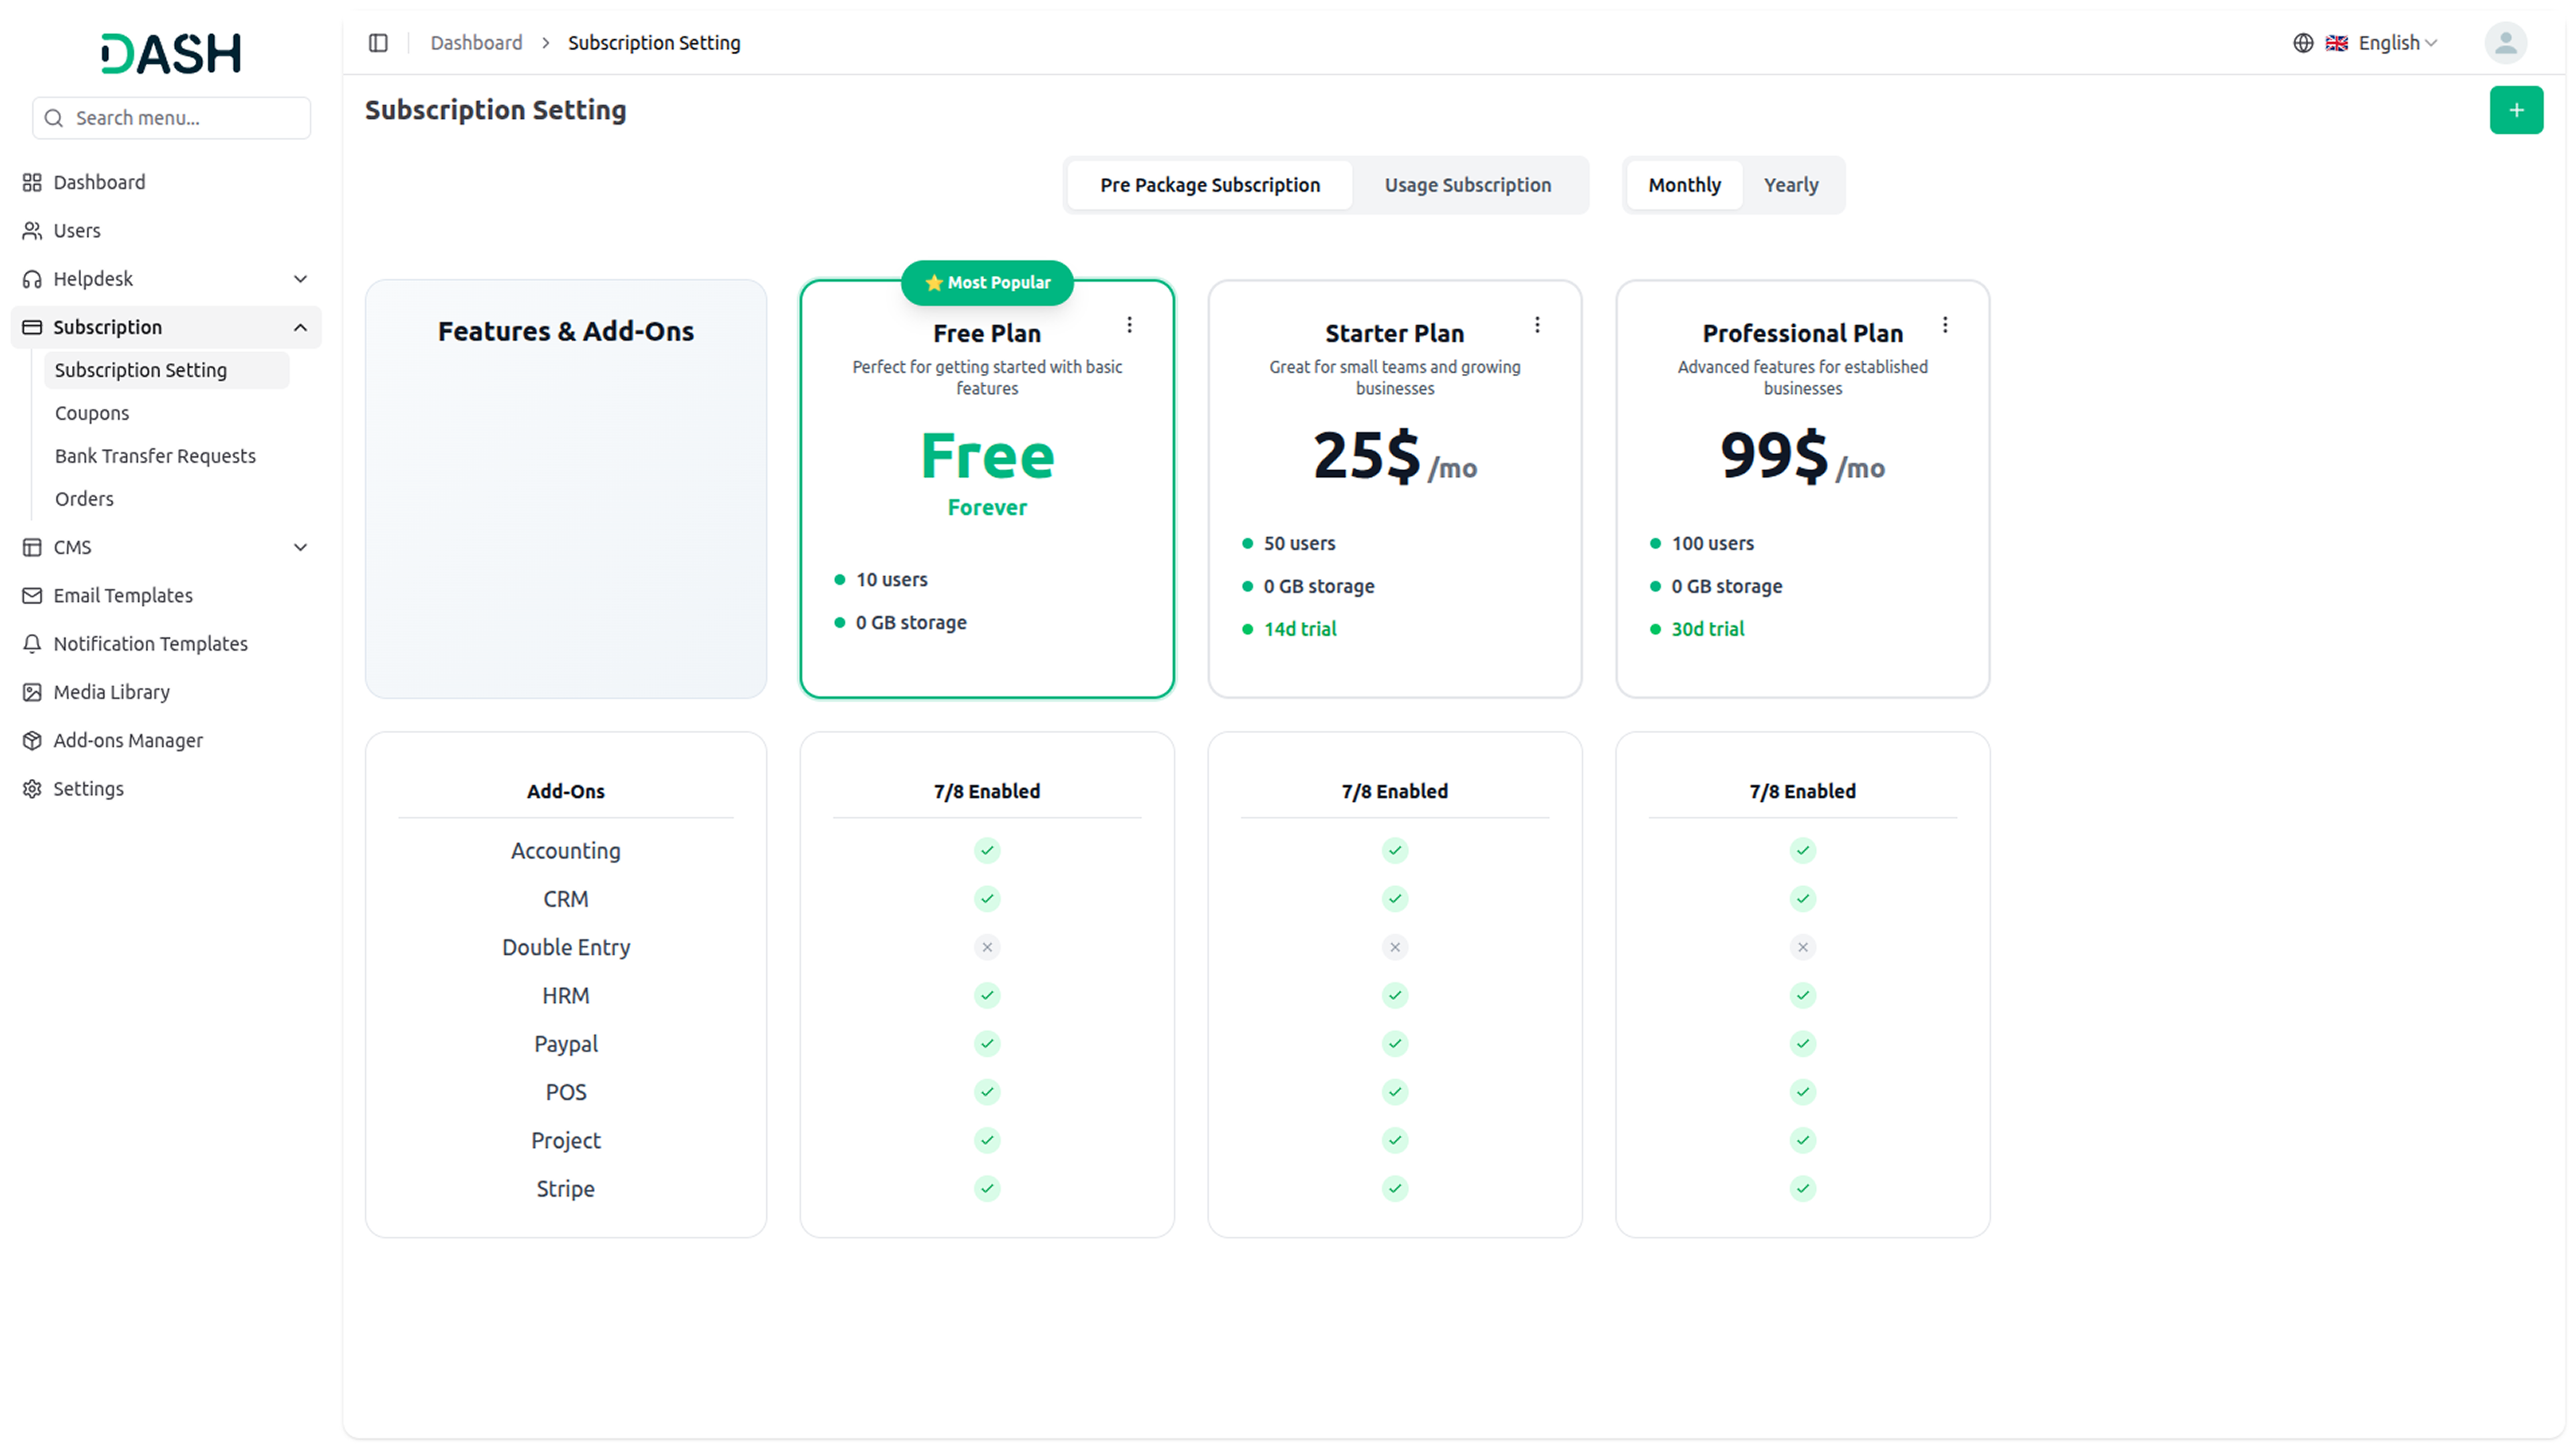
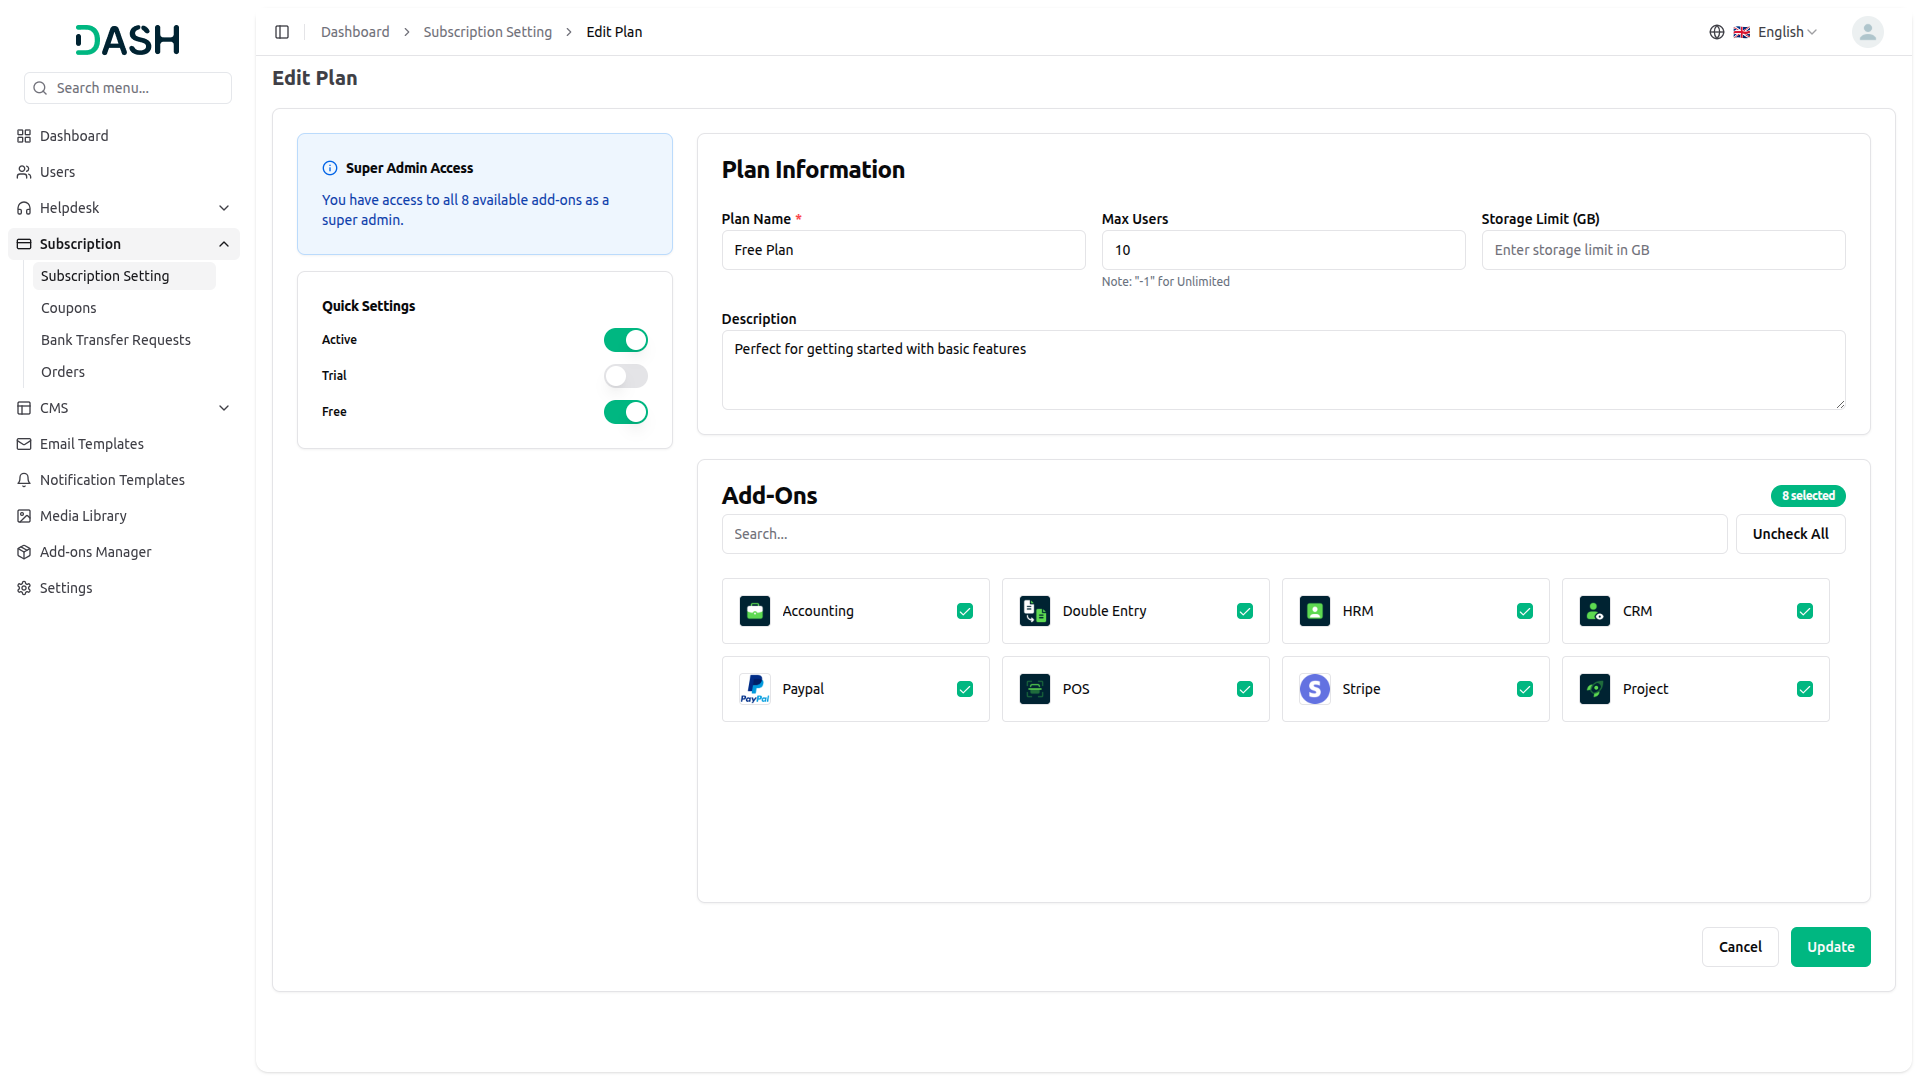
Step 8: If you select the Pre-Packaged subscription, you can add that Add-On to a particular plan. Just click on the “+” button, and add the required details mentioned over there. After entering all the details, select the add-on from the list given below, and click on the Create button. You can also use the edit action to modify the details.
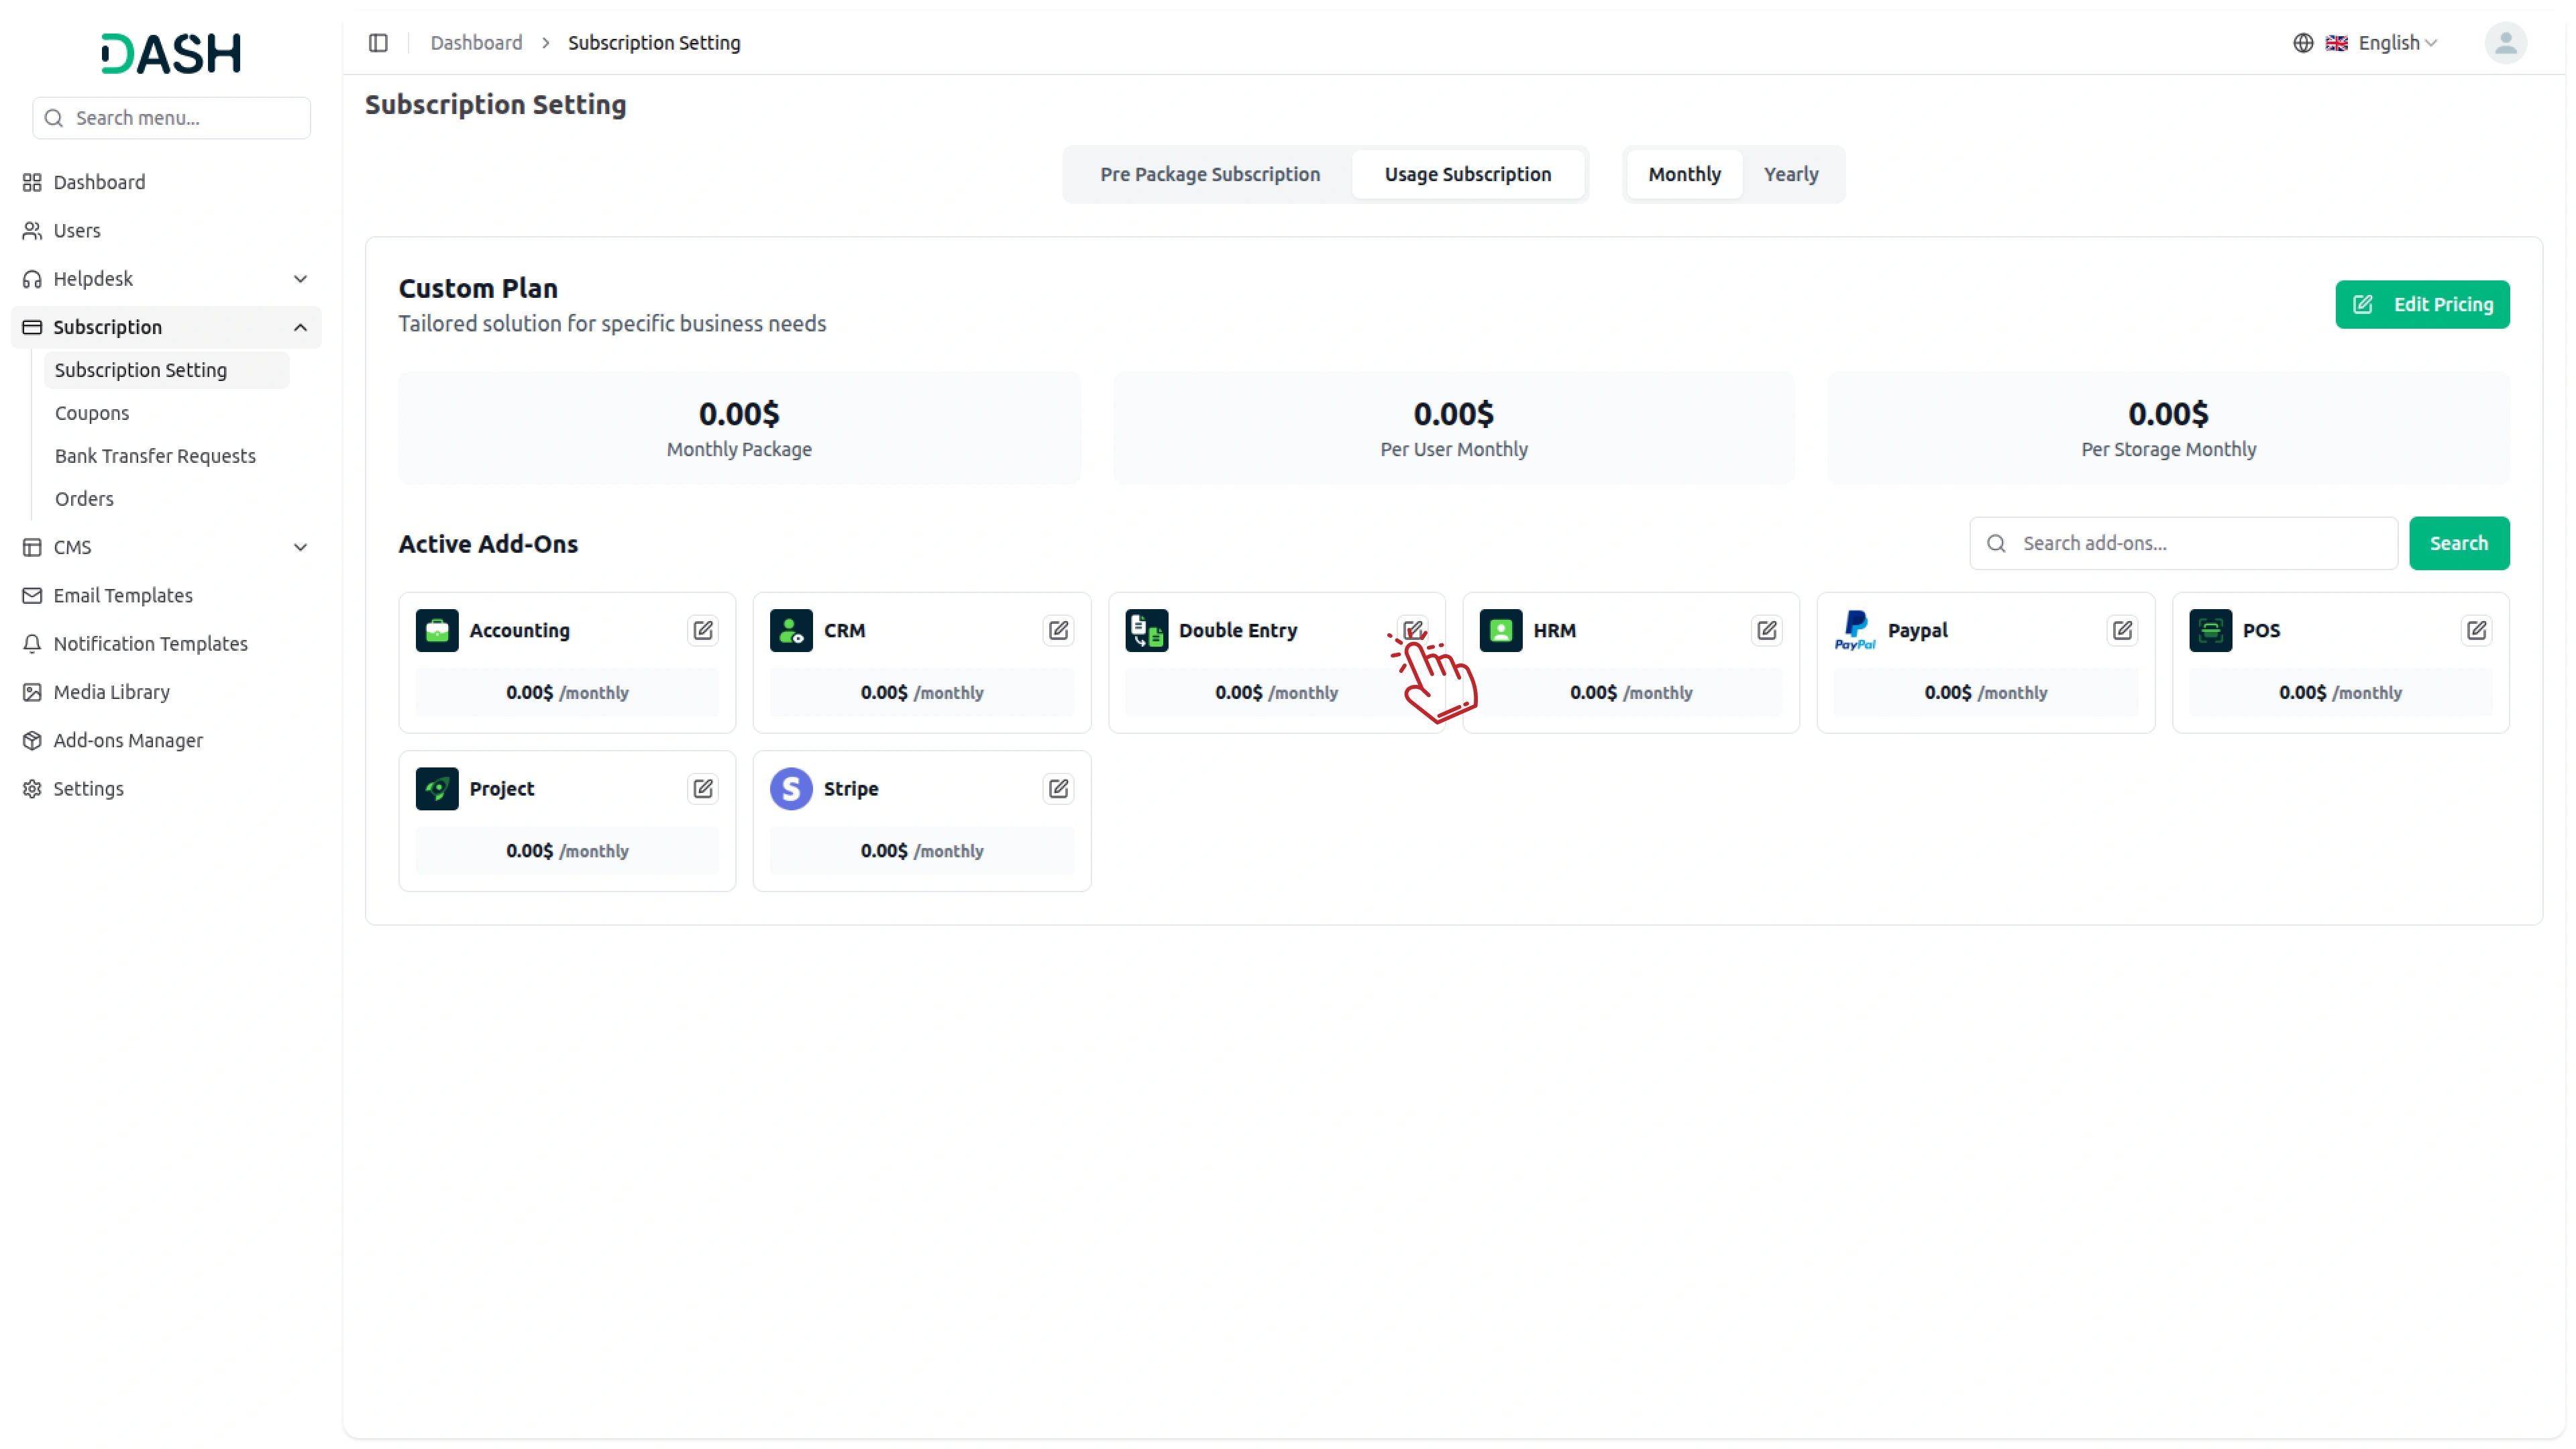
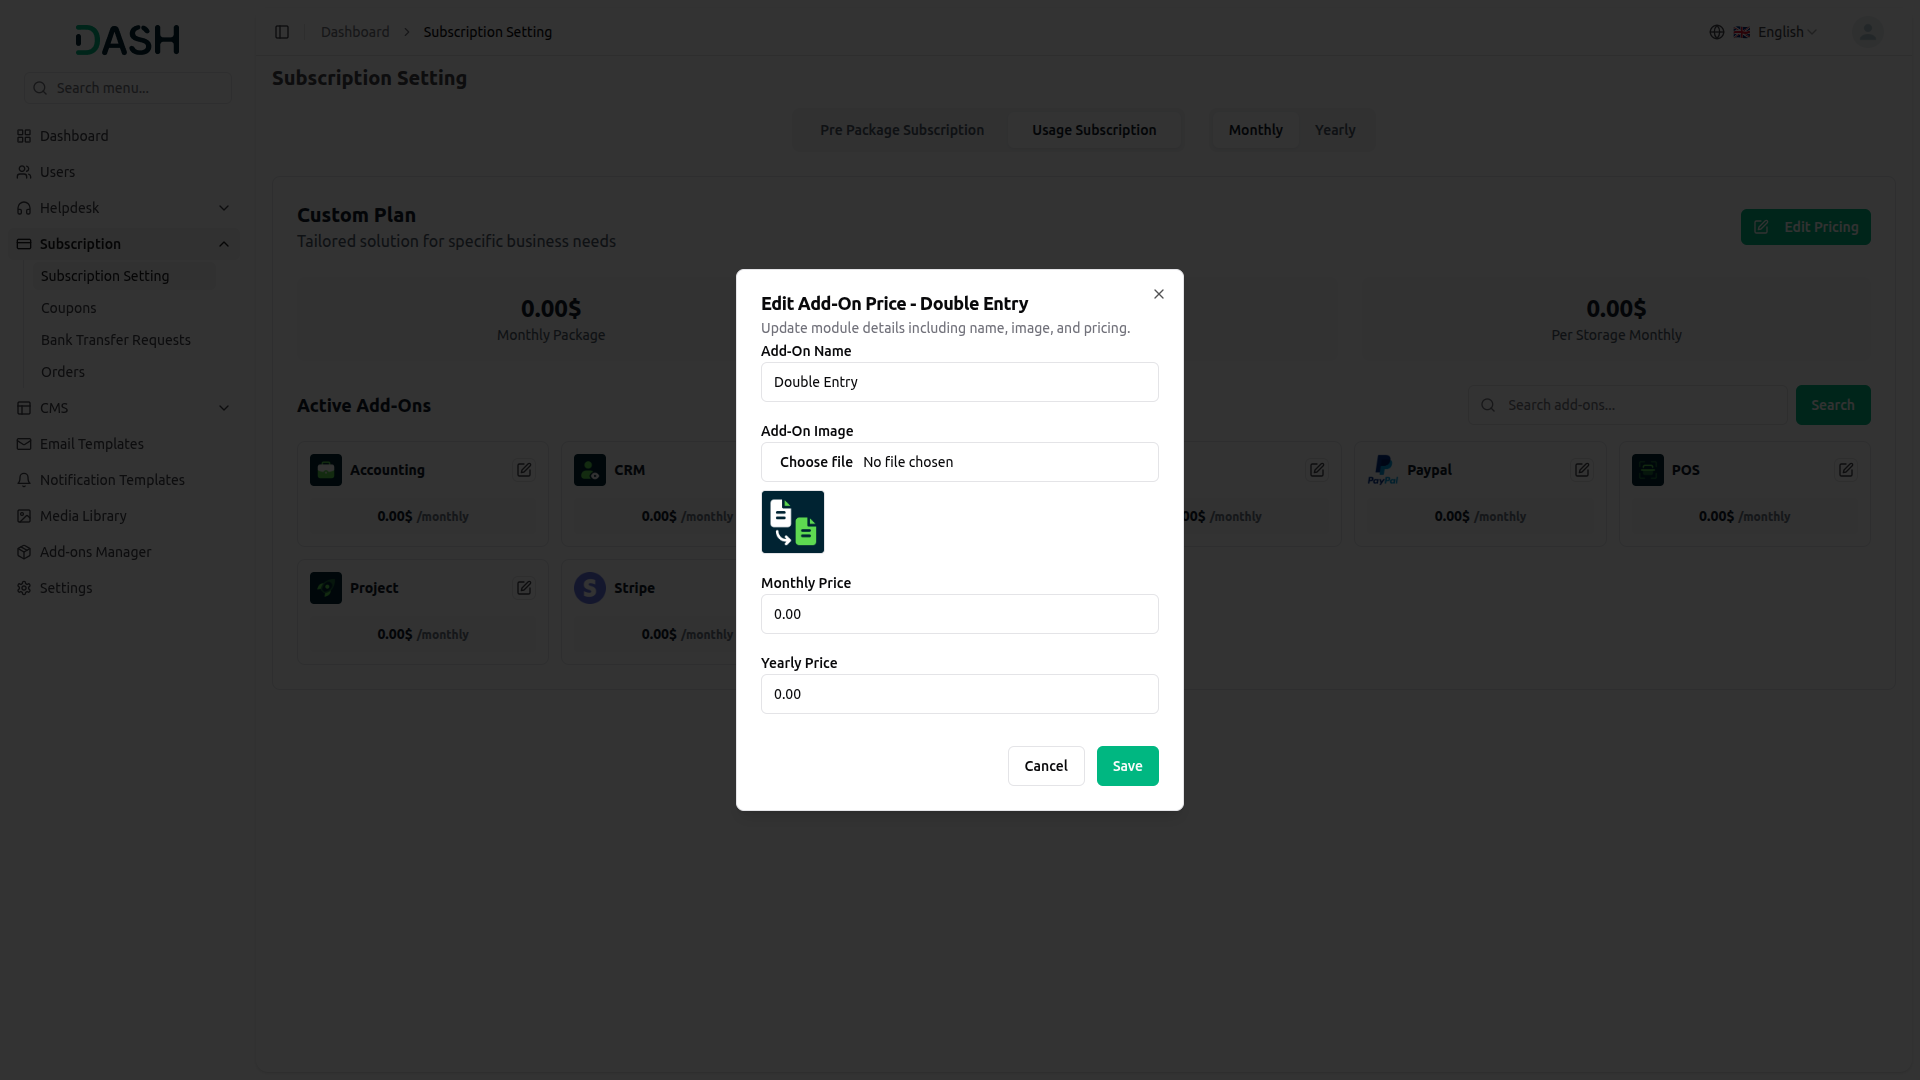
Step 9: If you select the Usage Subscription, you can add a particular add-on for the end users. Once you enable the add-on from the Add-on Manager Page, it will be visible on the Usage Subscription Page, you just have to set the pricing details by clicking on the “edit” button.
Step 10: After following these steps, go to the Company Login Side.
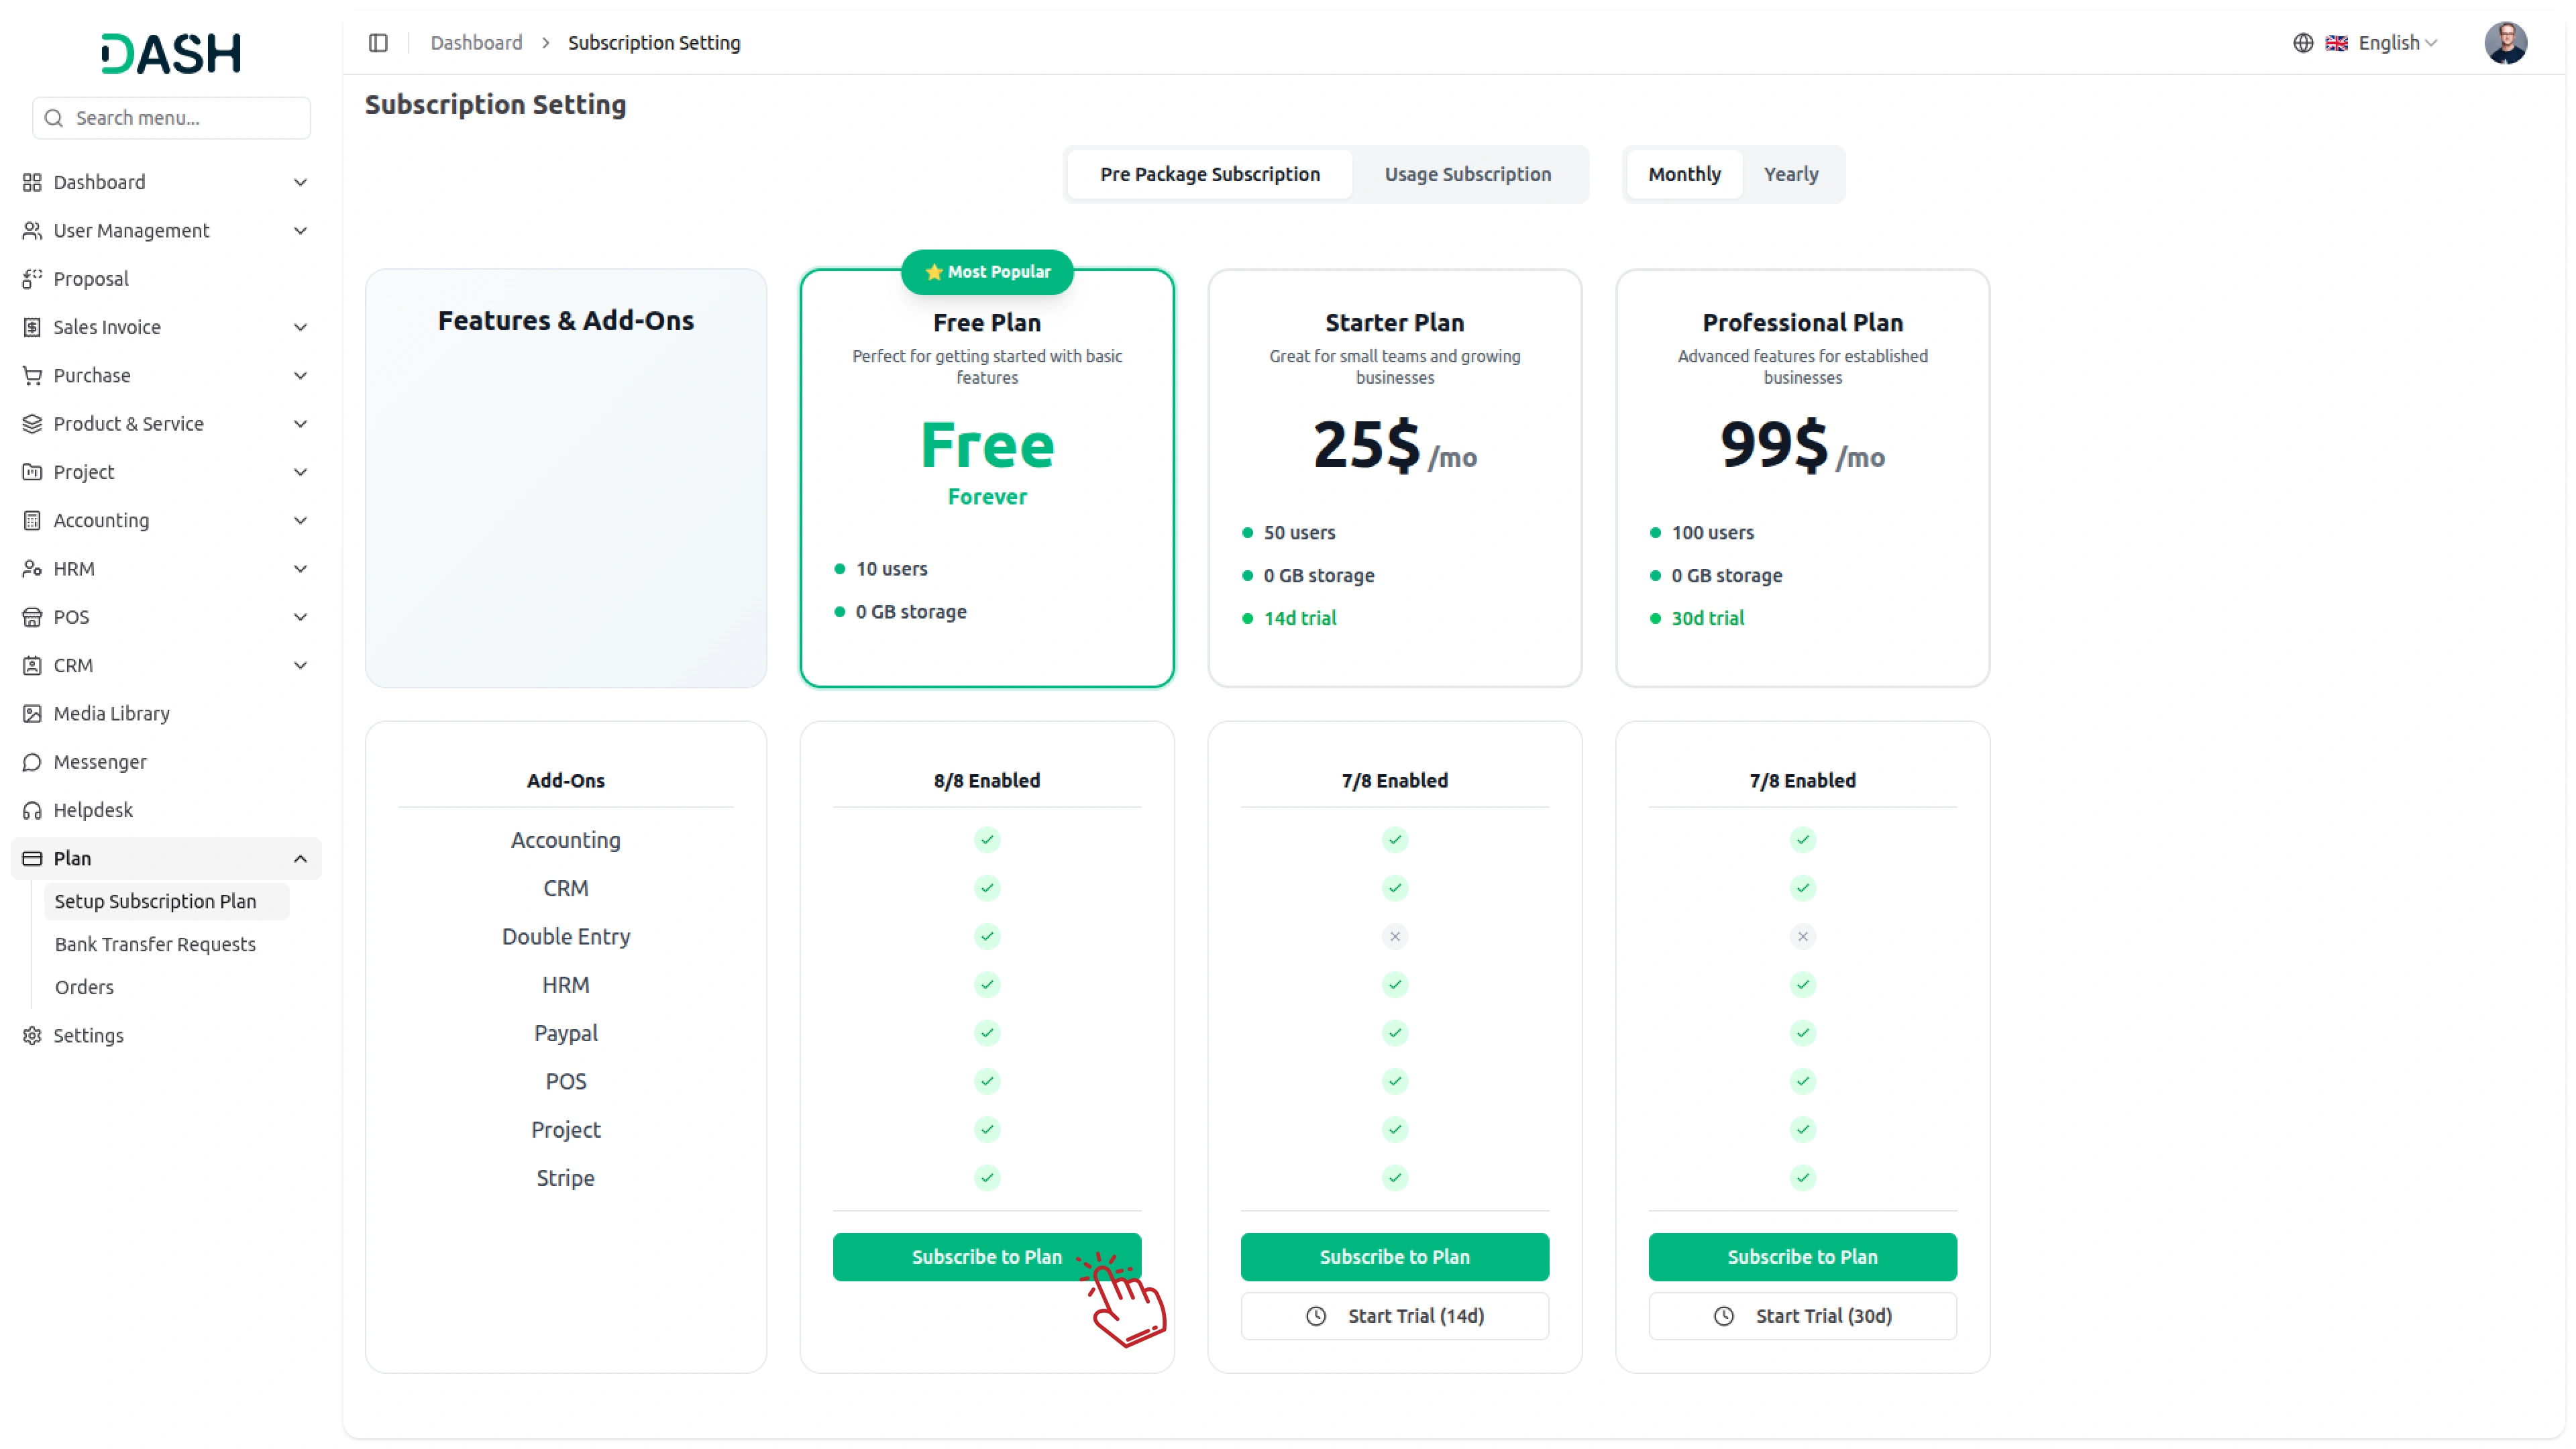
Step 11: On the Company Login Page, scroll down and click on the plan -> setup Subscription Plan Page, where you can subscribe to the Plan, including the Add-On.
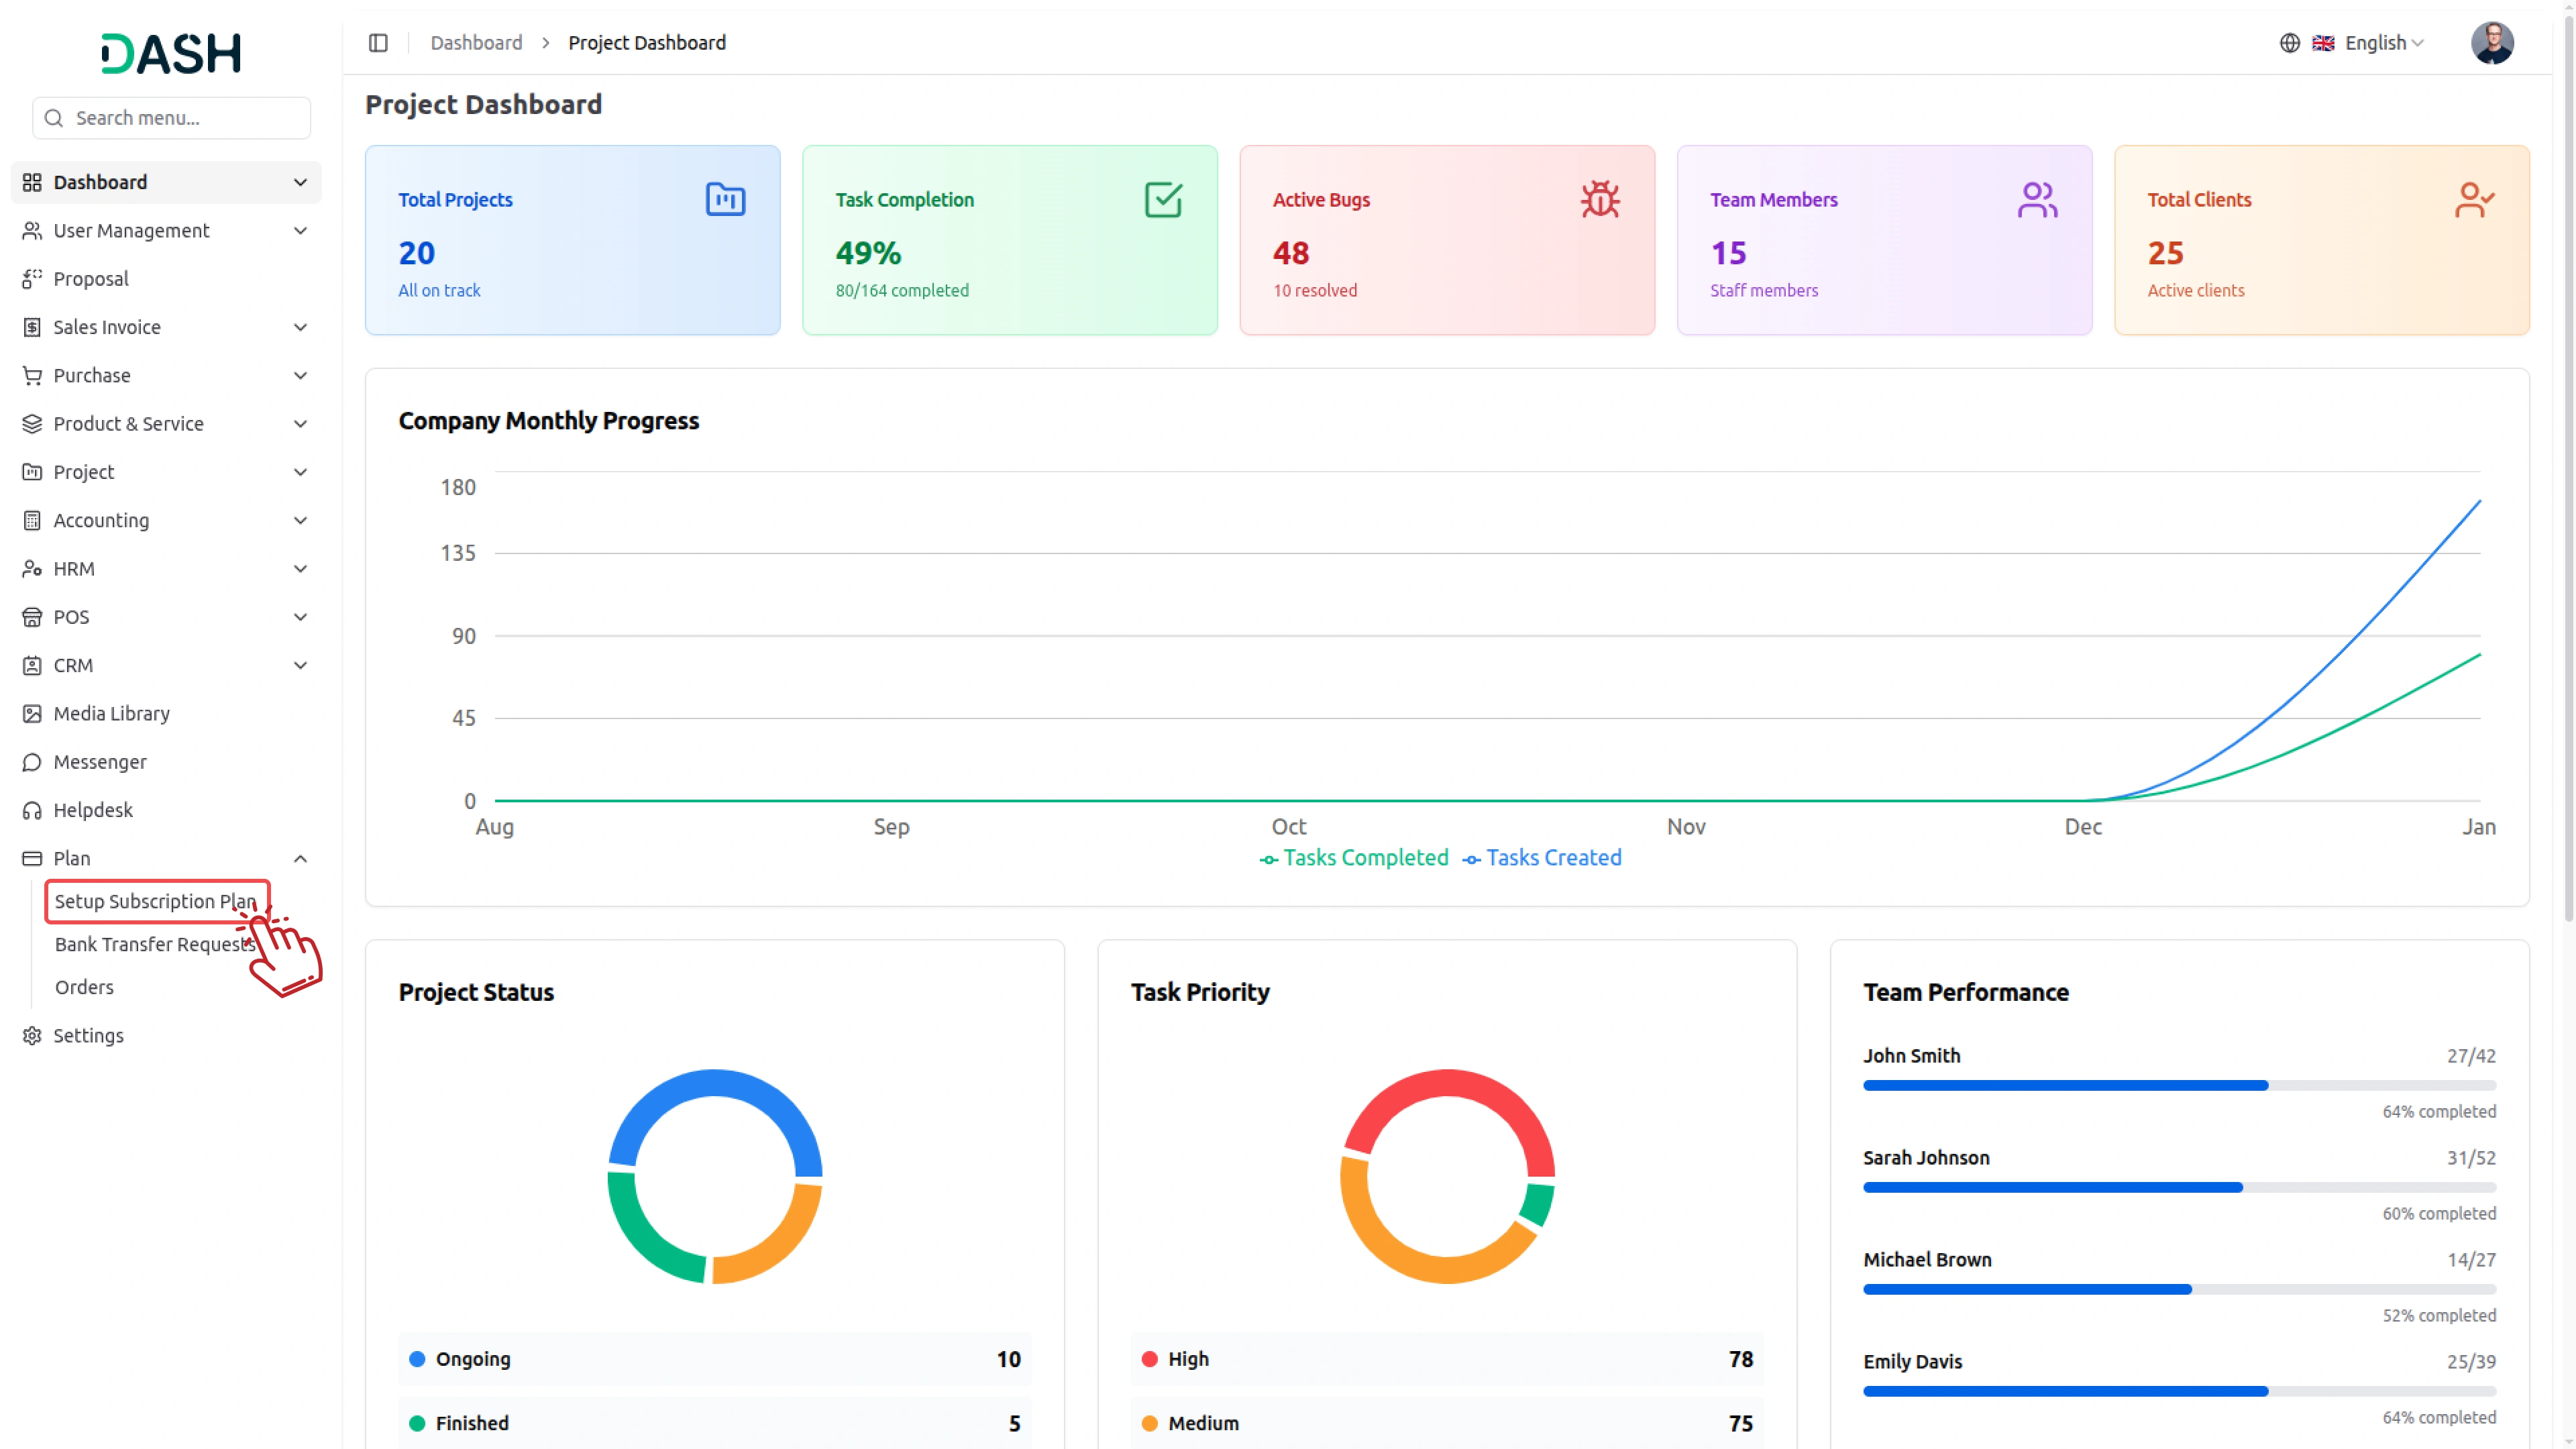
Step 12: If you want only the Add-On, choose the Usage Subscription option, where you will get to see that add-on, simply click on the box given over there, complete the payment process with the help of payment gateways that are activated from the super admin side, and at last purchase the add-on.
Steps to Follow If You’re Facing Issues While Uploading a ZIP File in the Add-On Manager
If your Add-On is not activating, you may need to increase some settings on your server. Please update the values mentioned below
max_execution_time = 3000
max_input_time = 6000
memory_limit = 5000M
post_max_size = 1000M
upload_max_filesize = 1000M
If you are still facing issues, try following the step given below.
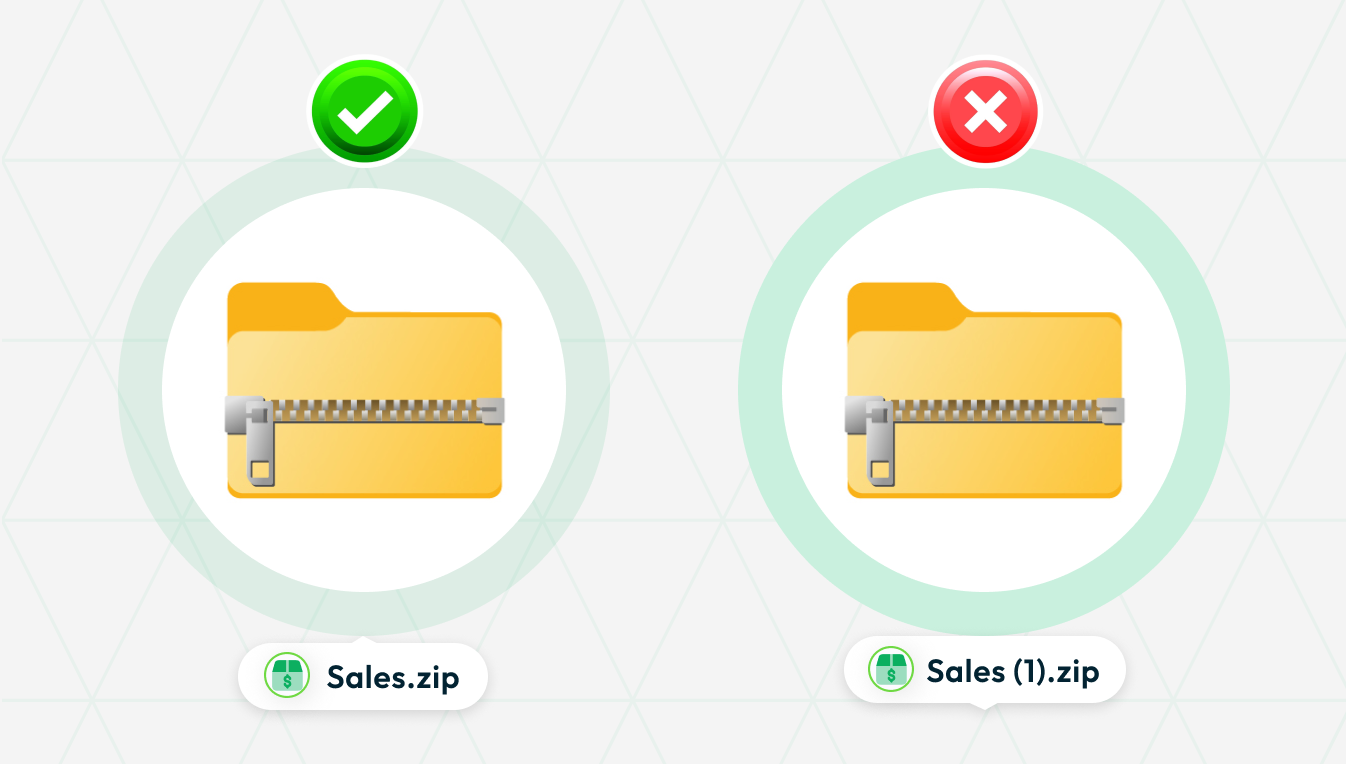
Please make sure there are no old zip files of the Add-On in the folder before you download a new one. If the old file is still there, the new file might download with a name like Sales(1).zip, which can cause issues during installation. To avoid this, simply delete any existing Add-On zip files from the folder first. This will keep the file name correct and ensure the Add-On works properly.
Categories
Related articles
- Custom fields
- Contract Template Integration in Dash SaaS
- Africa’s Talking Detailed Documentation
- n8n Detailed Documentation
- Repair Management Integration in Dash SaaS
- Custom form builder
- Proposal, Invoice, & Print Settings
- Library Management Detailed Documentation
- LinePay Payment Detailed Documentation
- Diagram Add-On Detailed Documentation
- CMMS Integration in Dash SaaS
- Business Model Integration in Dash SaaS
Reach Out to Us
Have questions or need assistance? We're here to help! Reach out to our team for support, inquiries, or feedback. Your needs are important to us, and we’re ready to assist you!


Need more help?
If you’re still uncertain or need professional guidance, don’t hesitate to contact us. You can contact us via email or submit a ticket with a description of your issue. Our team of experts is always available to help you with any questions. Rest assured that we’ll respond to your inquiry promptly.
Love what you see?
Do you like the quality of our products, themes, and applications, or perhaps the design of our website caught your eye? You can have similarly outstanding designs for your website or apps. Contact us, and we’ll bring your ideas to life.
