
Internal Knowledge – WorkDo Dash SaaS Add-On Guide
Learn how to create, organize, and manage knowledge articles in WorkDo Dash SaaS.
Introduction
The Internal Knowledge Add-On helps you create a central place to store and organize company information. Content is organized into Books, which act like folders, and Articles, which hold the actual content inside each book, written as regular documents or mind maps. You can assign specific users to each book so only the right people have access. With easy search, filters, and the option to duplicate articles, your team can quickly find and manage the information they need in one place.
How To Install The Add-On?
To Set Up the Internal Knowledge Add-On, you can follow this link: Setup Add-On.
How to Use The Internal Knowledge Add-On?
Manage Books
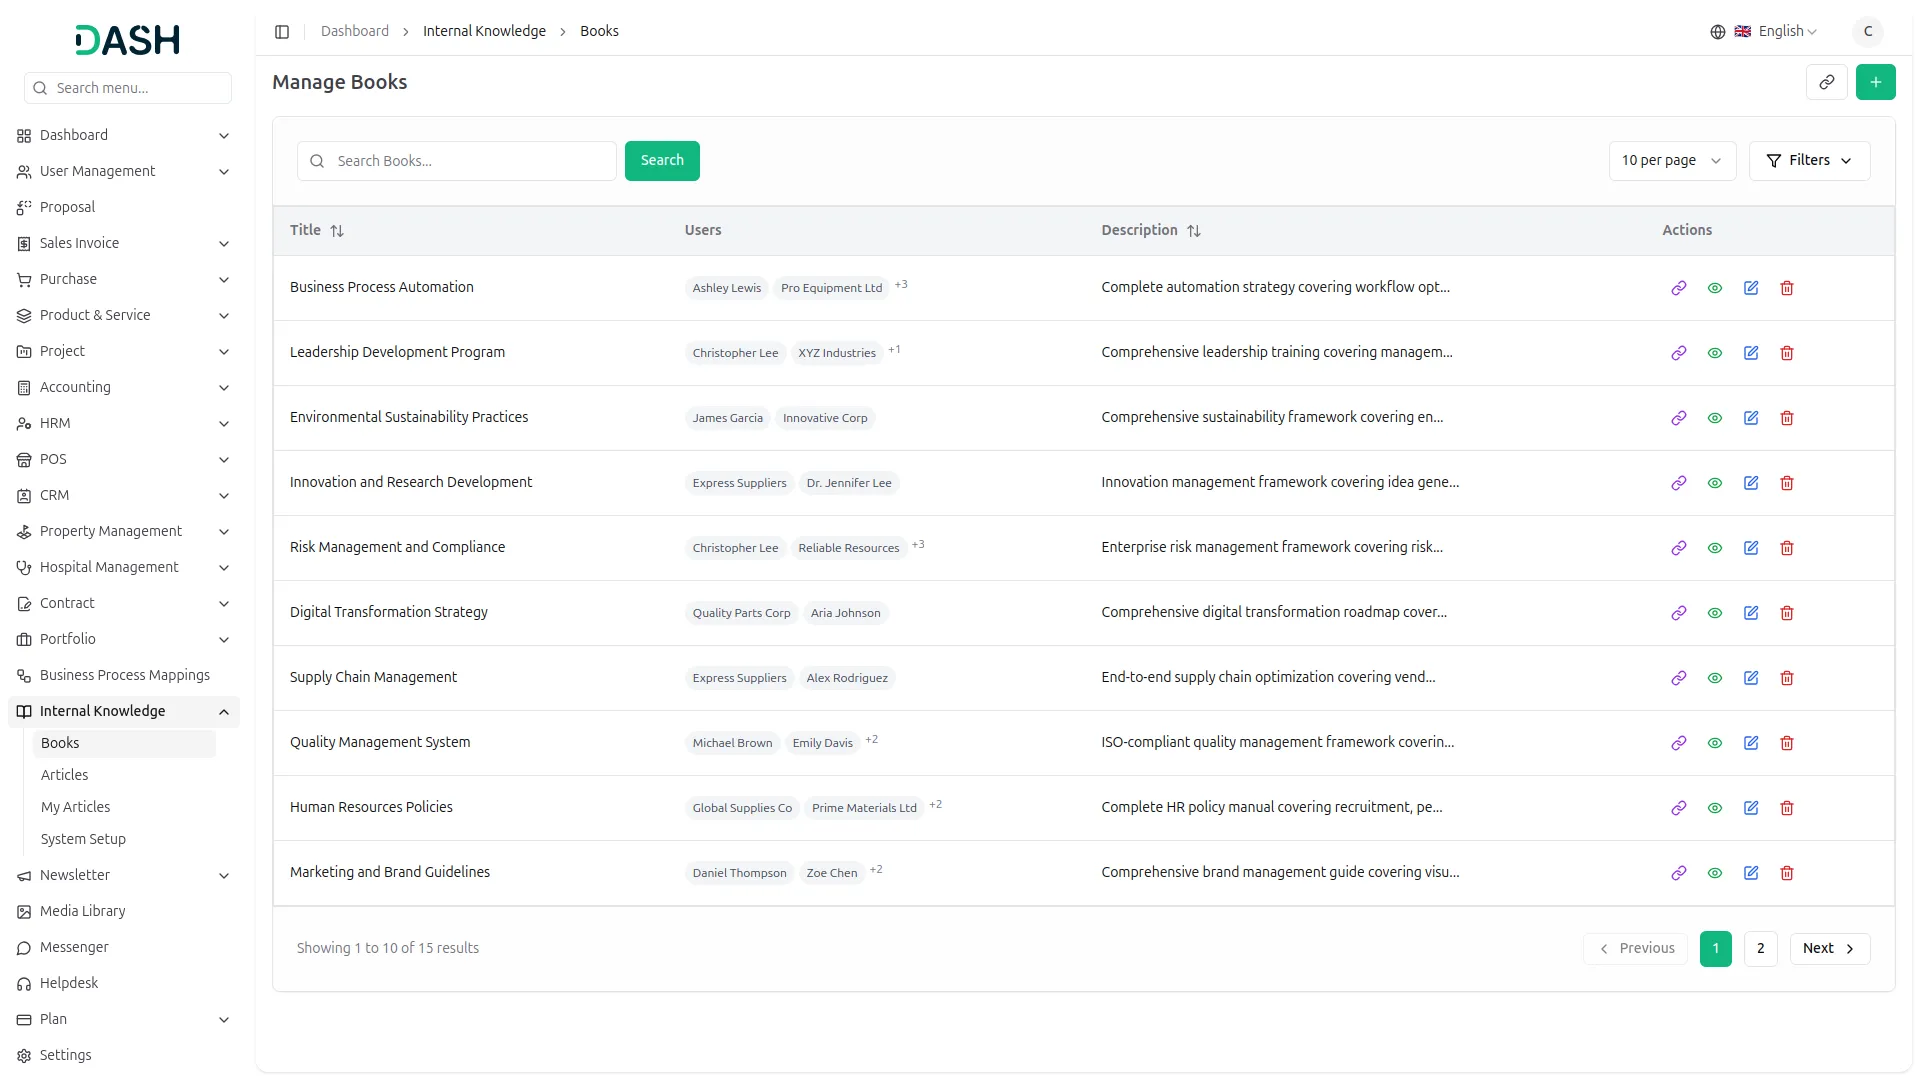
- To create a new book, click the “Create” button on the book page. Enter the book title which will serve as the main identifier and organizational category for related articles. Select multiple users from your organization who will have access to this book and its contents. Add an optional description that explains the book’s purpose, scope, or contents to help users understand what type of information they’ll find within.
- The Manage Books page displays a table of the book’s Title, Users, and Description columns, along with an Action column. Use the search bar to find a specific book by its title.
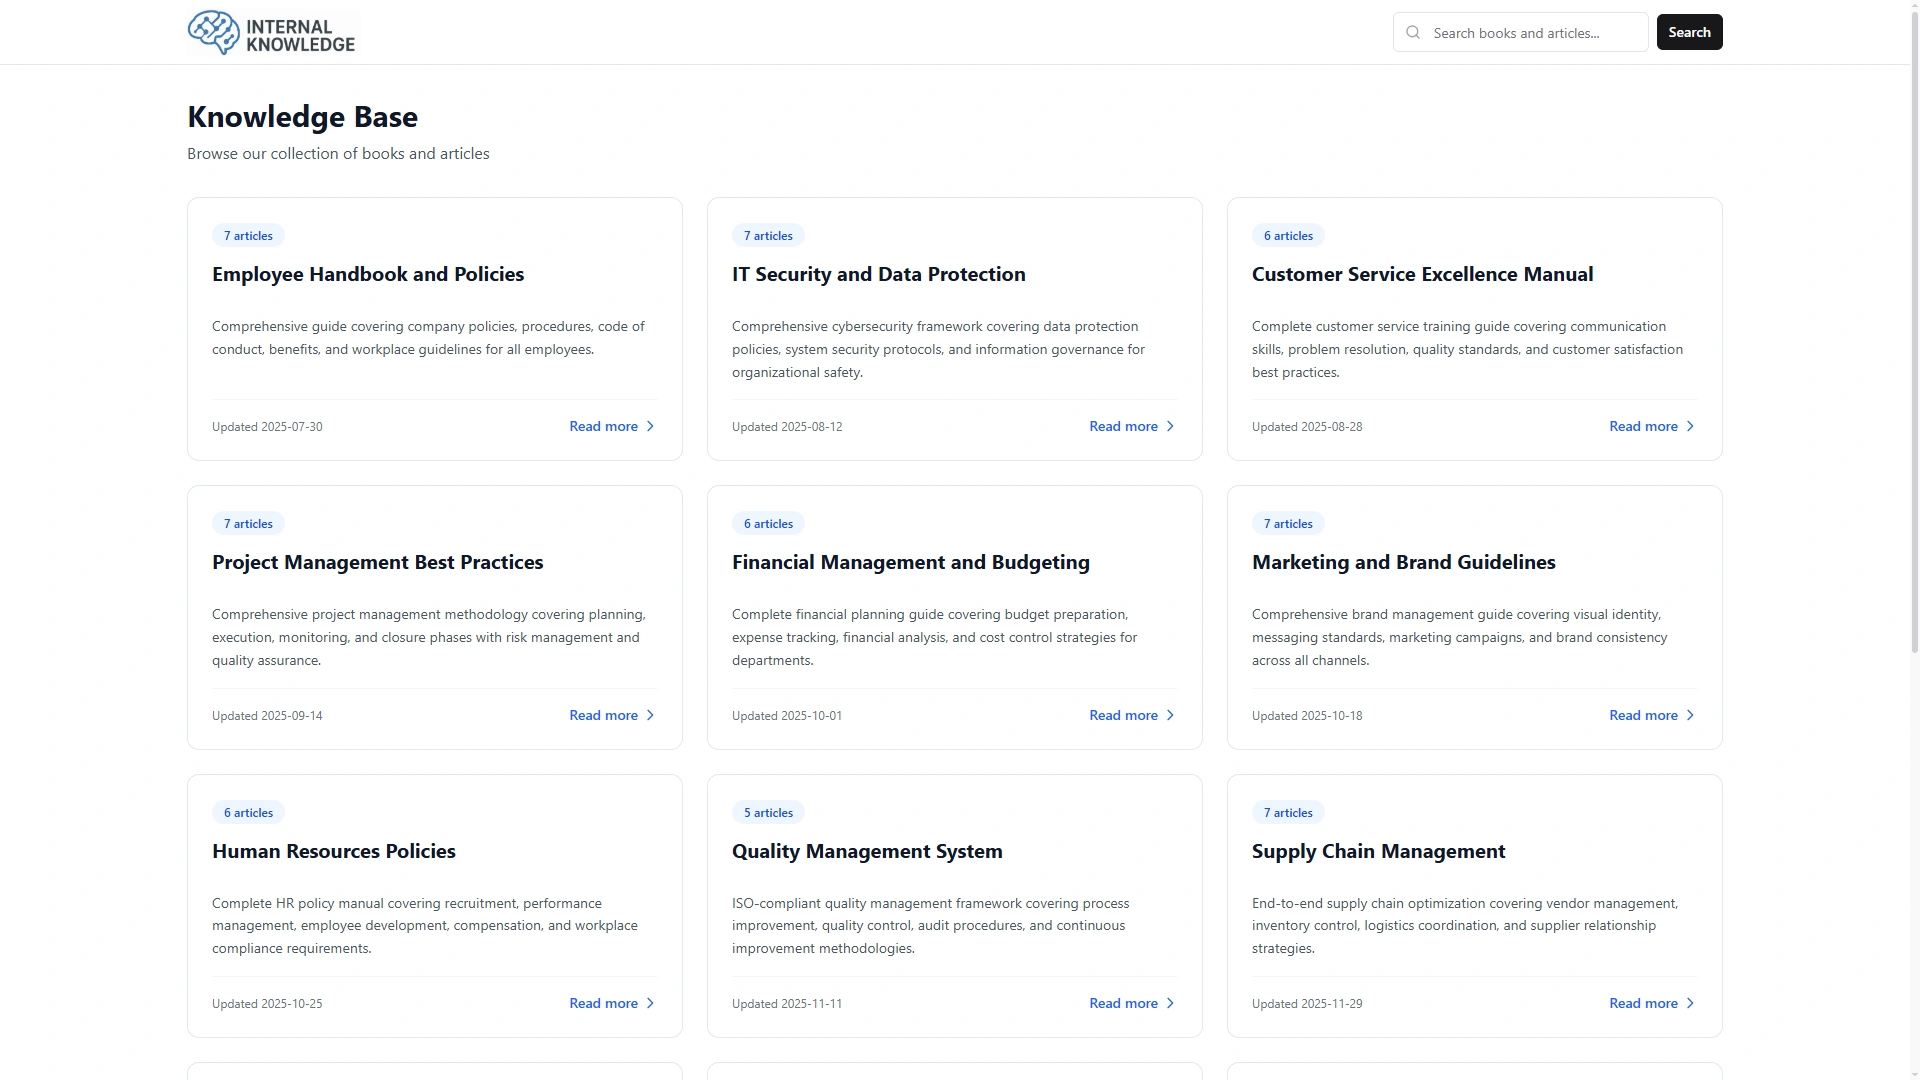
- Click the Filters button to filter the book list using the user dropdown options, then click Apply to filter the data or Clear to reset it. Use the Copy Books Link button at the top to copy a shareable link to the entire Books list.
- In the Action column, you can use the Copy Link button to copy a direct link to that specific book, the View button to see the book’s full details, the Edit button to update the book’s details, and the Delete button to permanently remove it from the system.
- When you click the View button, the Book Details page opens, showing full information about the selected book. At the top, you’ll see the book’s title and description. Use the back arrow in the top right to return to the Manage Books list. The Assigned Users section shows all users assigned to that book.
- The Articles section lists all articles included in the book. Click any article title to open it. Each article also shows its content type (Document or Mind Map) and the associated company or author name.
Manage Articles
- To create a new article, click the “Create” button on the Manage Articles page. Select a Book from the dropdown (comes from the Manage Books section). Enter a Title. Enter an Overview describing the article.
- Select a Type (Document or Mind Map) by using the radio button. Then enter the Content for the article using the rich text editor. Click “Create” to save the article or “Cancel” to discard it.
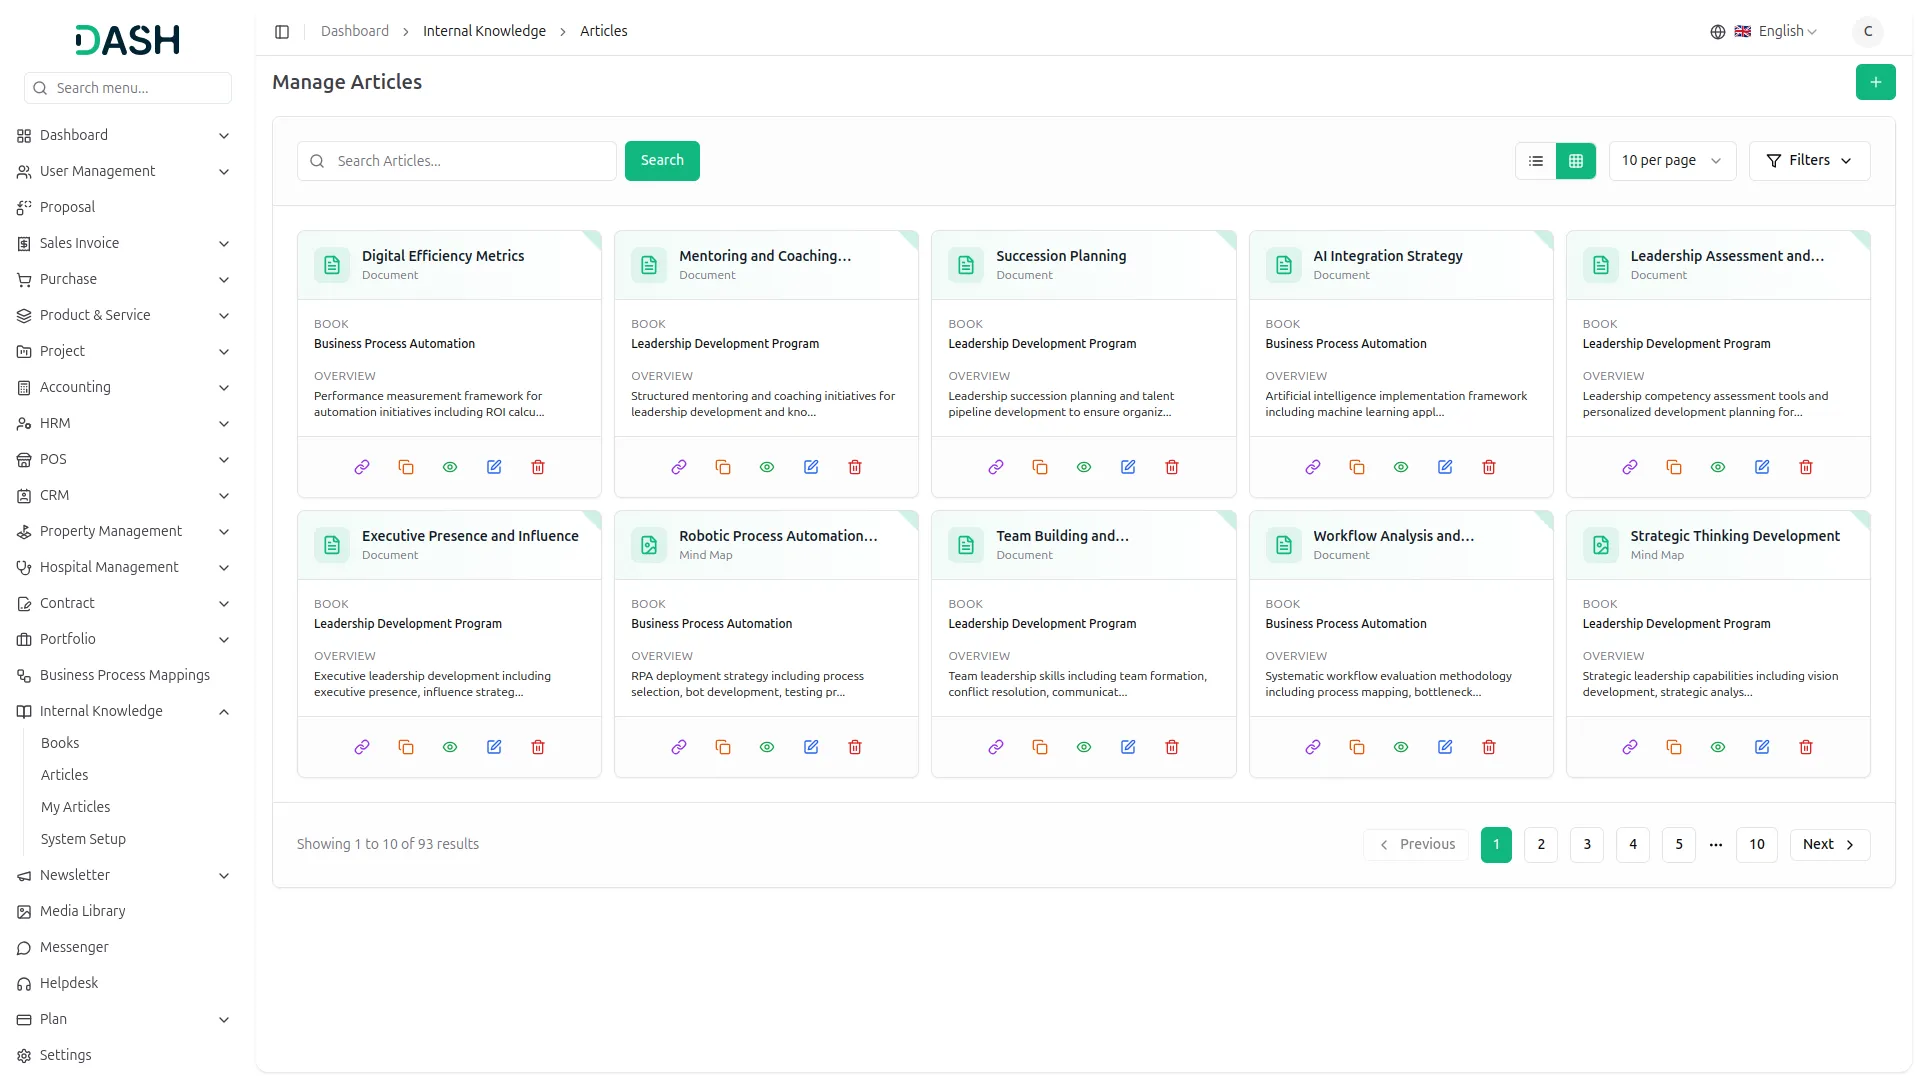
- The Manage Articles page displays a table of your articles with columns for Title, Overview, Book, Type, and Actions. Use the Search bar to find a specific article by title, and toggle between list view and grid view using the icons.
- Click the Filters button to filter articles by Type or Book using the dropdowns, then click Apply to filter the data or Clear to reset it.
- In the Actions column, you can use the Copy Link option to copy a direct link to that article, Duplicate to create a copy of it, View to see the article’s full details, Edit to update the article, or Delete to permanently remove it.
- When you click the Duplicate option, a new window opens showing a copy of the article’s information. The Book, Title, Description, Type, and Content are already filled in for you. You can change any of these details if needed, then click “Duplicate” to save it as a brand-new article, or click “Cancel” if you don’t want to create the copy.
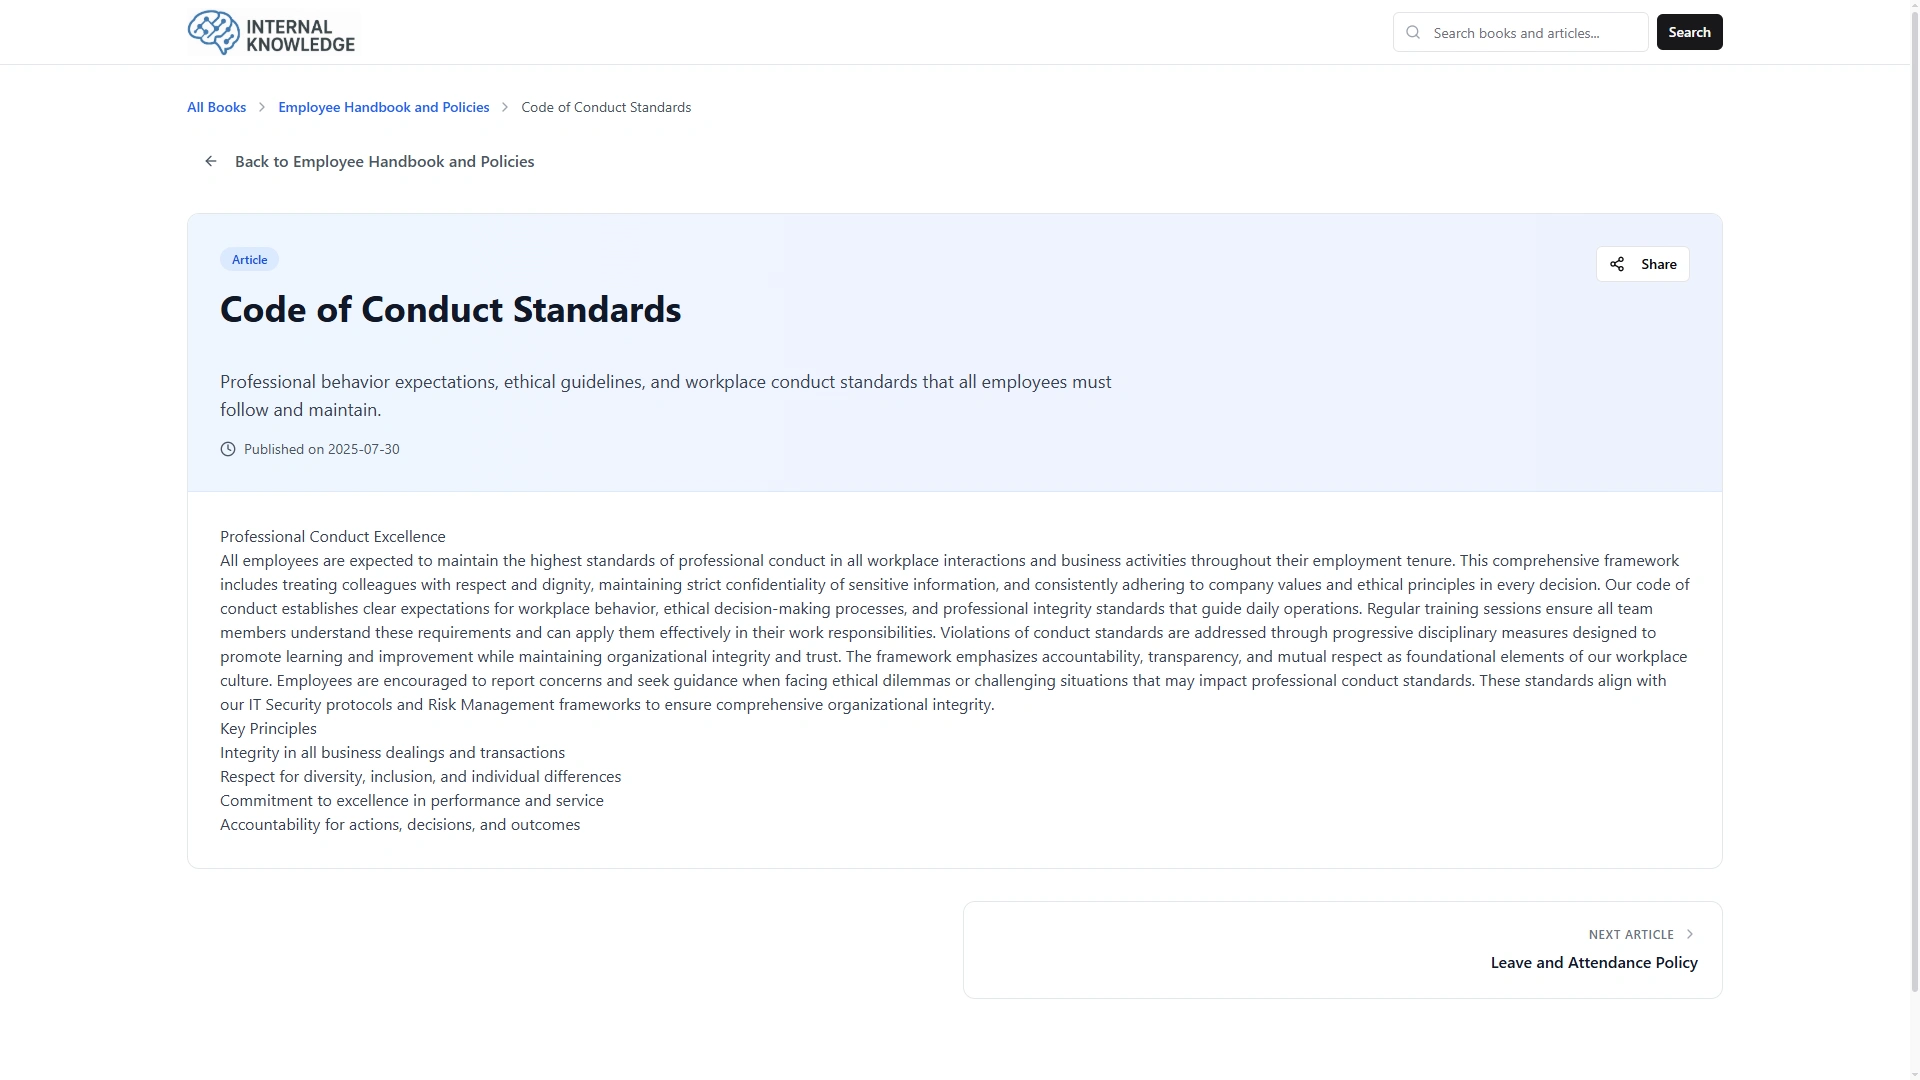
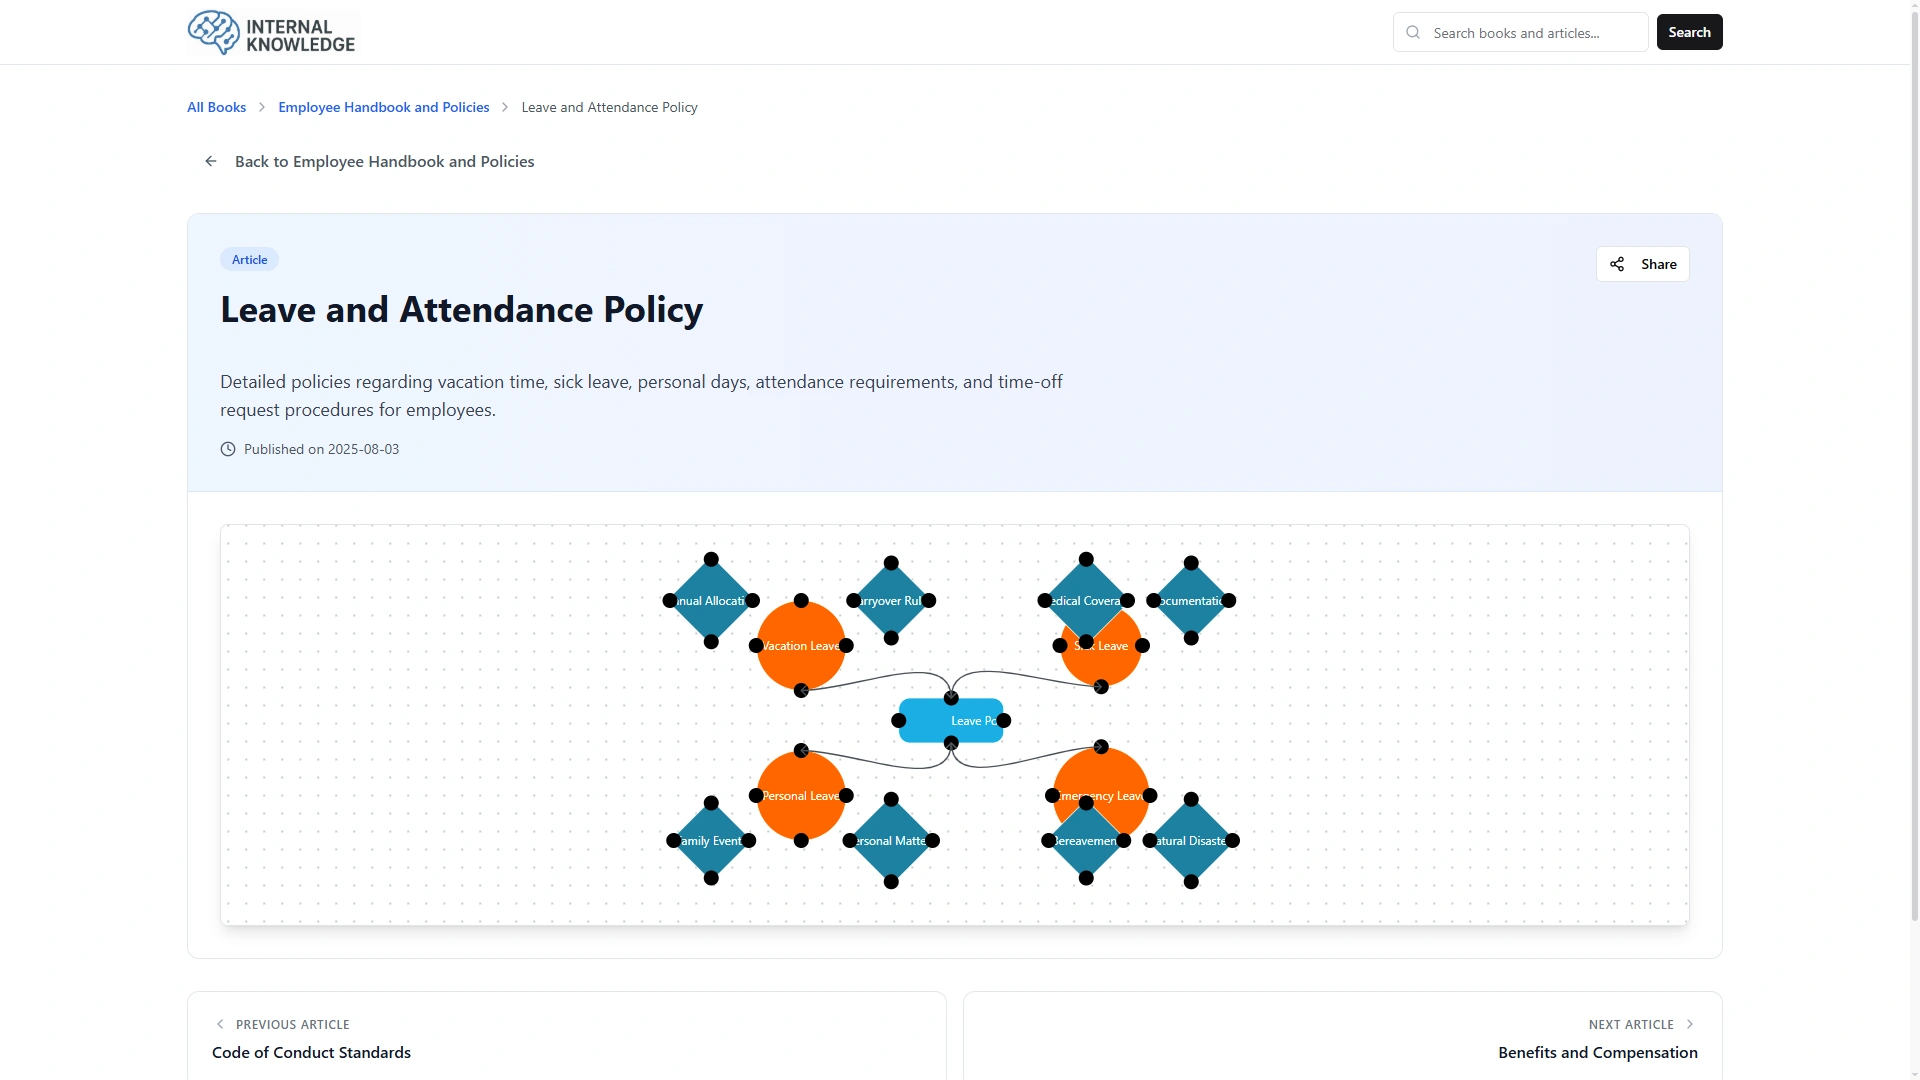
- Articles are directly connected to the Book section, meaning you must have at least one book created before you can add articles. The book assignment determines which users will have access to view and interact with your article content.
- The list page shows all articles with columns for article title, description content, book title, and article type indicator. You can Add new articles, or use Grid View for alternative display formatting.
- In the actions column, you can Copy which opens the document or mind map for viewing, Duplicate to create a copy of the article for modification or reuse, Show to view the complete article document or mind map, Edit article content and settings, or Delete articles when no longer required.
My Articles
- To create a new article, click the “Create” button on the Manage My Articles page. Select a Book from the dropdown (comes from the Manage Books section). Enter a Title, and Overview describing the article.
- Select a Type (Document or Mind Map) by using the radio button. Then enter the Content for the article using the rich text editor. Click “Create” to save the article or “Cancel” to discard it.
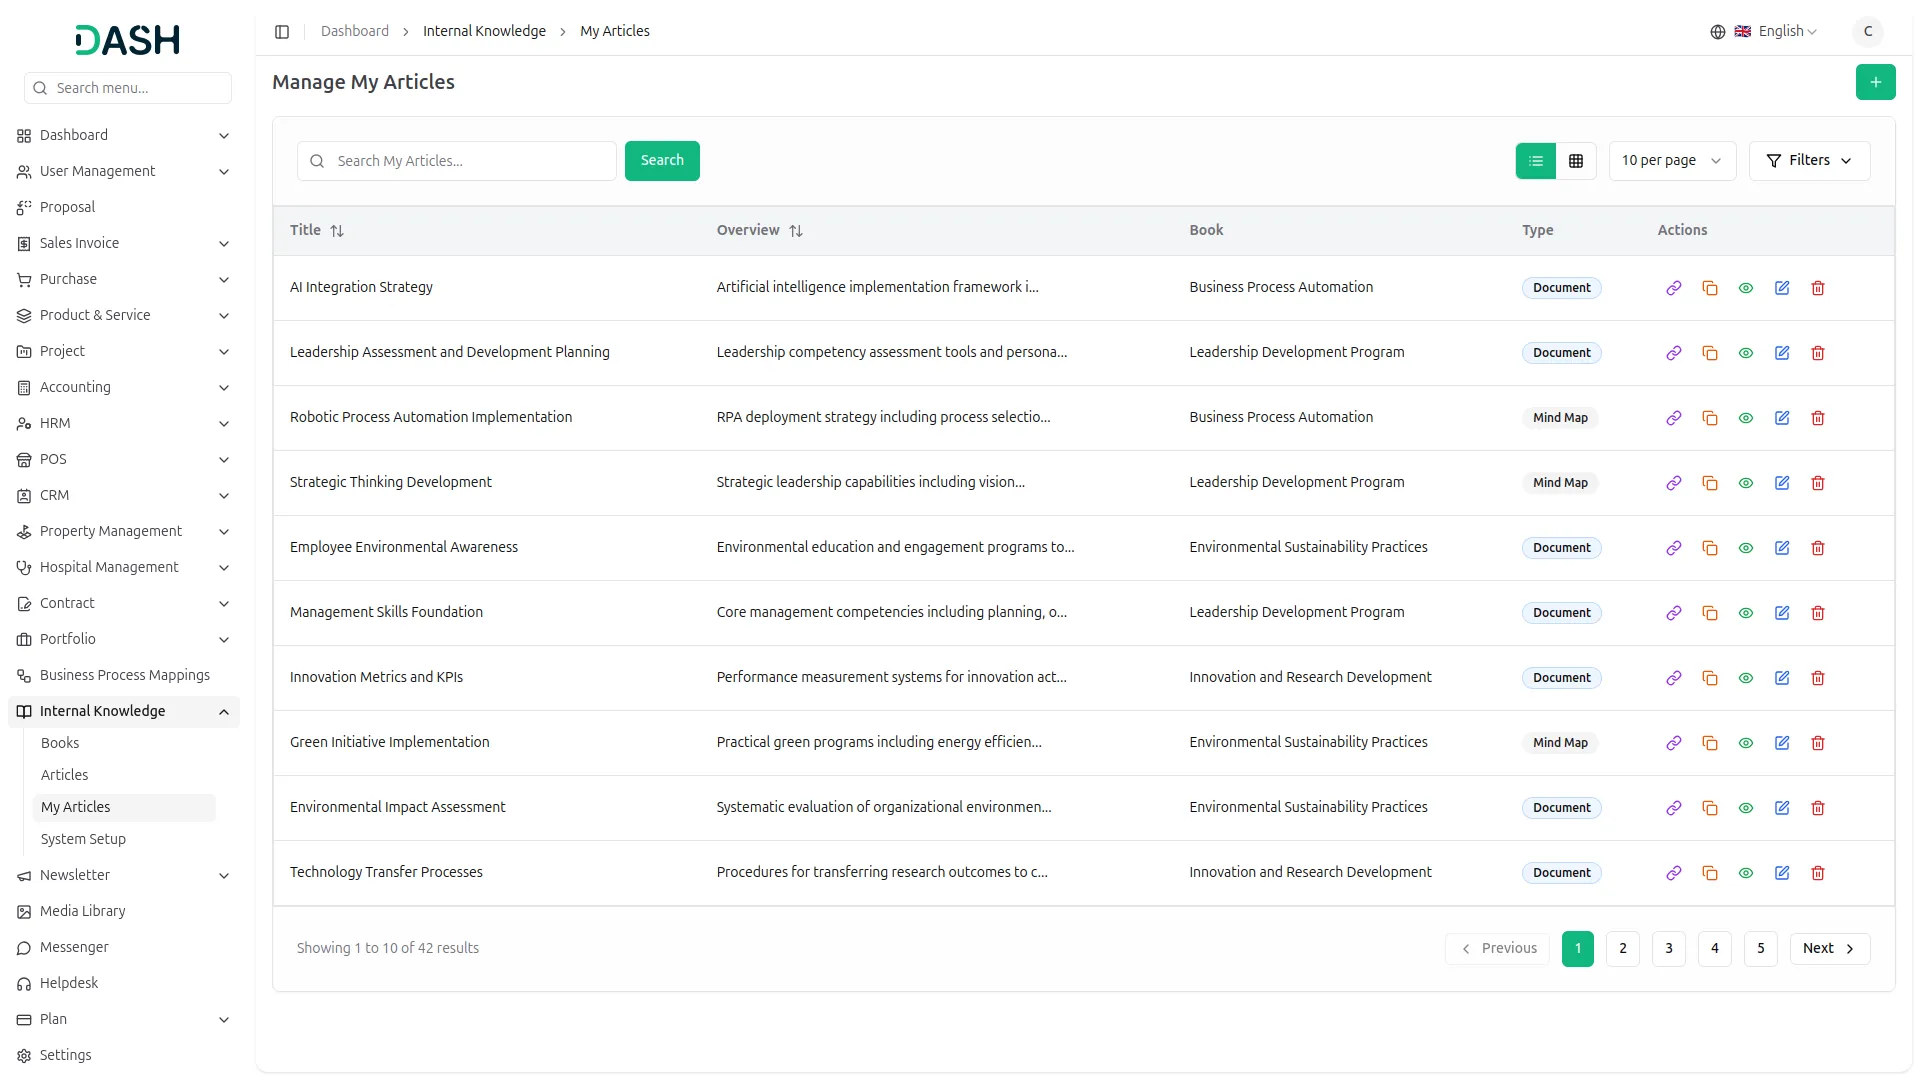
- The Manage My Articles page displays a table of your articles with columns for Title, Overview, Book, Type, and Actions. Use the Search bar to find a specific article by title, and toggle between list view and grid view using the icons.
- Click the Filters button to filter articles by Type or Book using the dropdowns, then click Apply to filter the data or Clear to reset it.
- In the Actions column, you can use the Copy Link option to copy a direct link to that article, Duplicate to create a copy of it, View to see the article’s full details, Edit to update the article, or Delete to permanently remove it.
- When you click the Duplicate option, a new window opens showing a copy of the article’s information. The Book, Title, Description, Type, and Content are already filled in for you. You can change any of these details if needed, then click “Duplicate” to save it as a brand-new article, or click “Cancel” if you don’t want to create the copy.
System Setup
Brand Setting
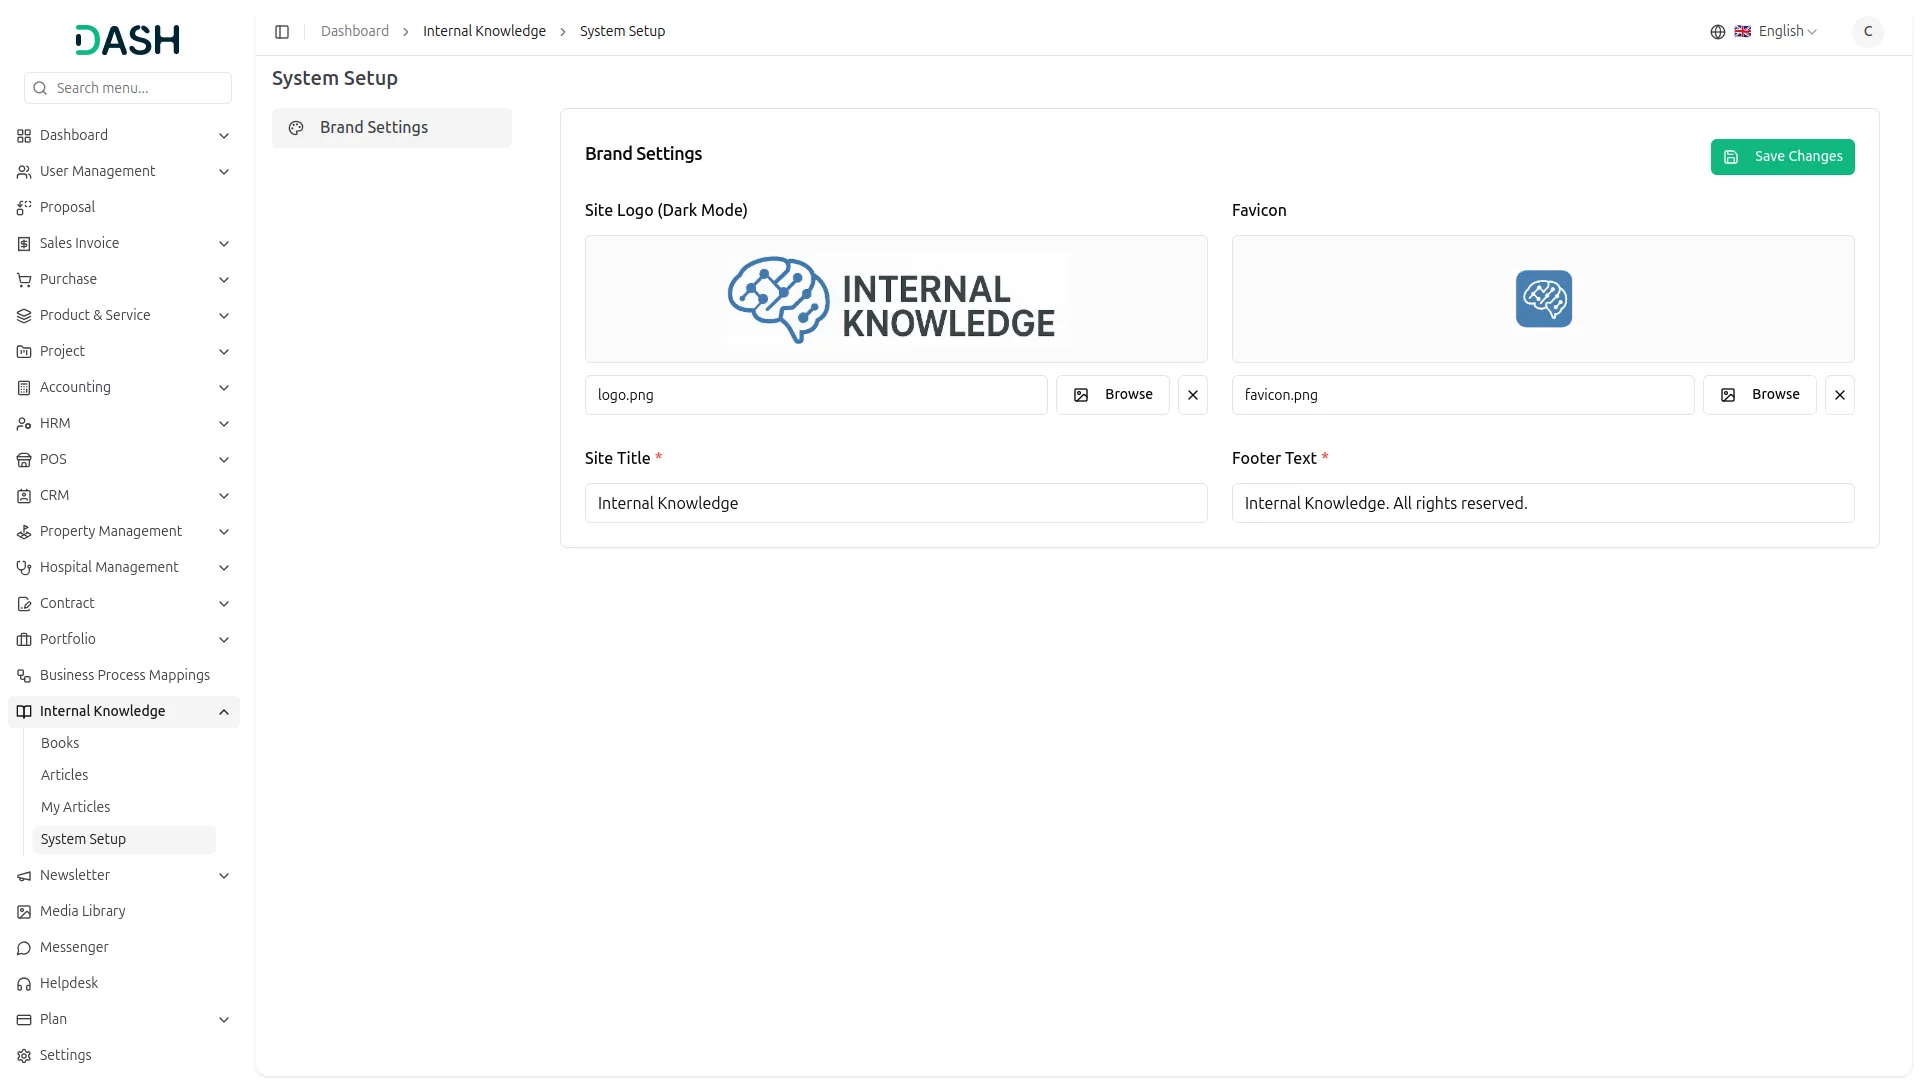
- In the Brand Settings section, you configure your application’s basic branding elements. Upload your Site Logo (Dark Mode) that will appear in the header section of your application, add a Favicon that will appear in browser tabs, and enter your Footer Text, which typically includes copyright information.
- You also need to set your Site Title, which is the name of your application that will be displayed throughout the system. These branding details will be visible across your entire application and help establish your company’s visual identity.
Categories
Related articles
- Sign in with GitHub – eCommerceGo SaaS Add-On Guide
- LinePay – WorkDo Dash SaaS Add-On Guide
- User Manual – Sales SaaS
- Flexible Hours – BookingGo SaaS Add-On Guide
- Instamojo – WorkDo Dash SaaS Add-On Guide
- Rocket.Chat Credentials Generation Guide
- Consignment – WorkDo Dash SaaS Add-On Guide
- Social Media Analytics – WorkDo Dash SaaS Add-On Guide
- Tour & Travel Management – WorkDo Dash SaaS Add-On Guide
- PayNow – BookingGo SaaS Add-On Guide
- Countdown Timer – eCommerceGo SaaS Add-On Guide
- UddoktaPay – WorkDo Dash SaaS Add-On Guide
We're Here to Help - Let's Talk
Have questions about our solutions, customization services, or business tools? Our team is here to help you. let's talk.