Hubspot Support Ticket Detailed Documentation
The HubSpot Support Ticket integration Add-On connects your platform system with HubSpot’s ticketing platform. This integration allows you to sync support tickets between both systems, manage HubSpot tickets directly from the platform, and automatically synchronize ticket replies.
Introduction
The HubSpot Support Ticket integration Add-On connects your platform system with HubSpot’s ticketing platform. This integration allows you to sync support tickets between both systems, manage HubSpot tickets directly from the platform, and automatically synchronize ticket replies. The Add-On enables seamless ticket management across platforms while maintaining data consistency.
How To Install The Add-On?
To Set Up the Hubspot Support Ticket Add-On, you can follow this link: Setup Add-On
How to Use The Hubspot Support Ticket Add-On?
Settings Configuration
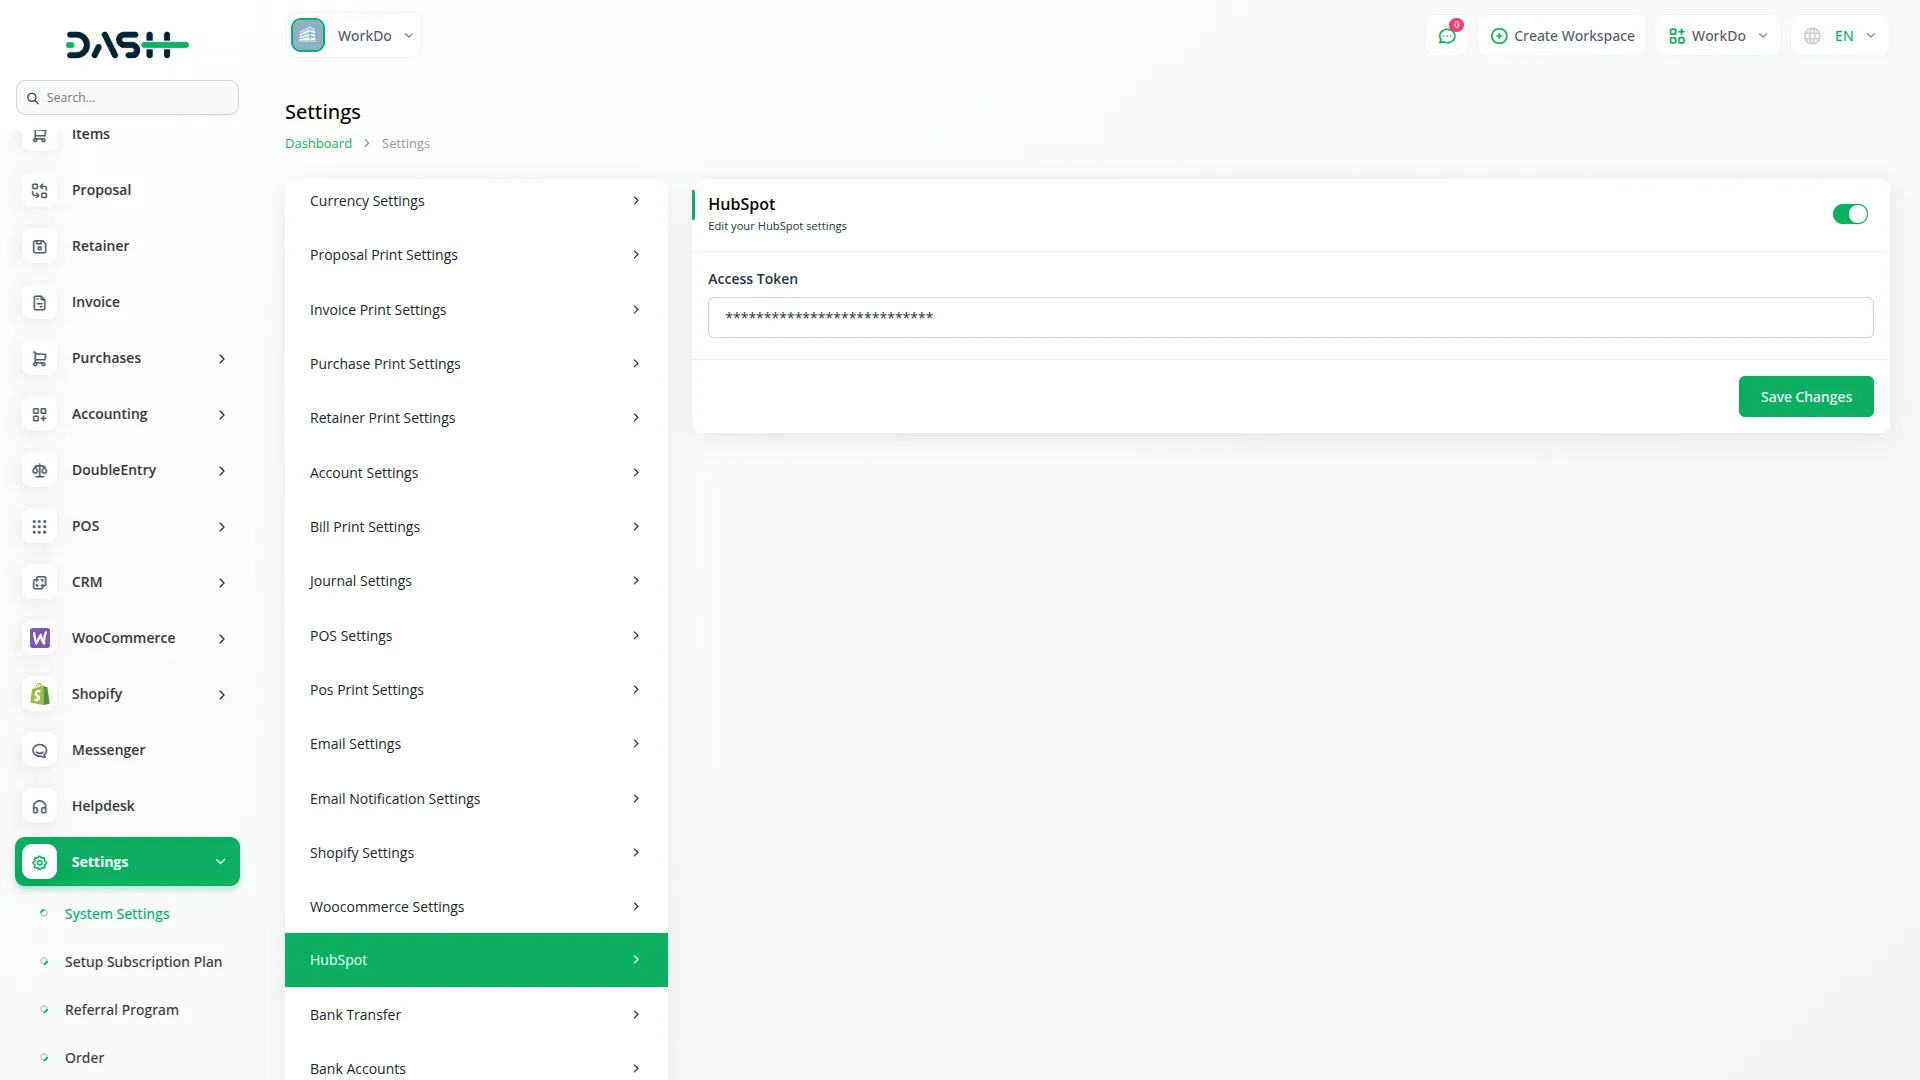
- To configure the HubSpot Support Ticket integration, navigate to Settings then HubSpot Support Ticket. Here you will find five main configuration options that control how the integration works.
- First, use the Enable/Disable Toggle to activate or deactivate the entire integration. When disabled, you cannot enter any configuration details. When enabled, you can access all other settings and the integration will become active after saving changes.
- Next, enter your Access Token in the designated field. This token must be generated from your HubSpot account and enables the secure connection between HubSpot and the platform for ticket data exchange.
- Then specify the Owner EmailId, which sets the default HubSpot user email address to whom new tickets will be automatically assigned when created through the integration.
- Configure the Synchronize toggle to control automatic syncing. When enabled, any new or updated support tickets created in the platform’s Support Ticket Add-On will automatically sync with your HubSpot account. Disabling this also hides the Synchronization Status in the ticket list.
- Finally, set the Reply toggle to manage reply synchronization. When enabled, any replies made to tickets in the platform’s Support Ticket Add-On will automatically be pushed to the corresponding ticket in HubSpot.
Email Notification Settings
- To set up email notifications for HubSpot ticket activities, go to Settings, then System Settings, then Email Notification Settings and locate the HubSpot Support Ticket section.
- Enable “HubSpot New Ticket” to receive email notifications whenever a new ticket is created through the integration.
- Enable “HubSpot New Ticket Reply” to receive email notifications whenever a reply is added to any HubSpot ticket through the system.
Integration Workflow
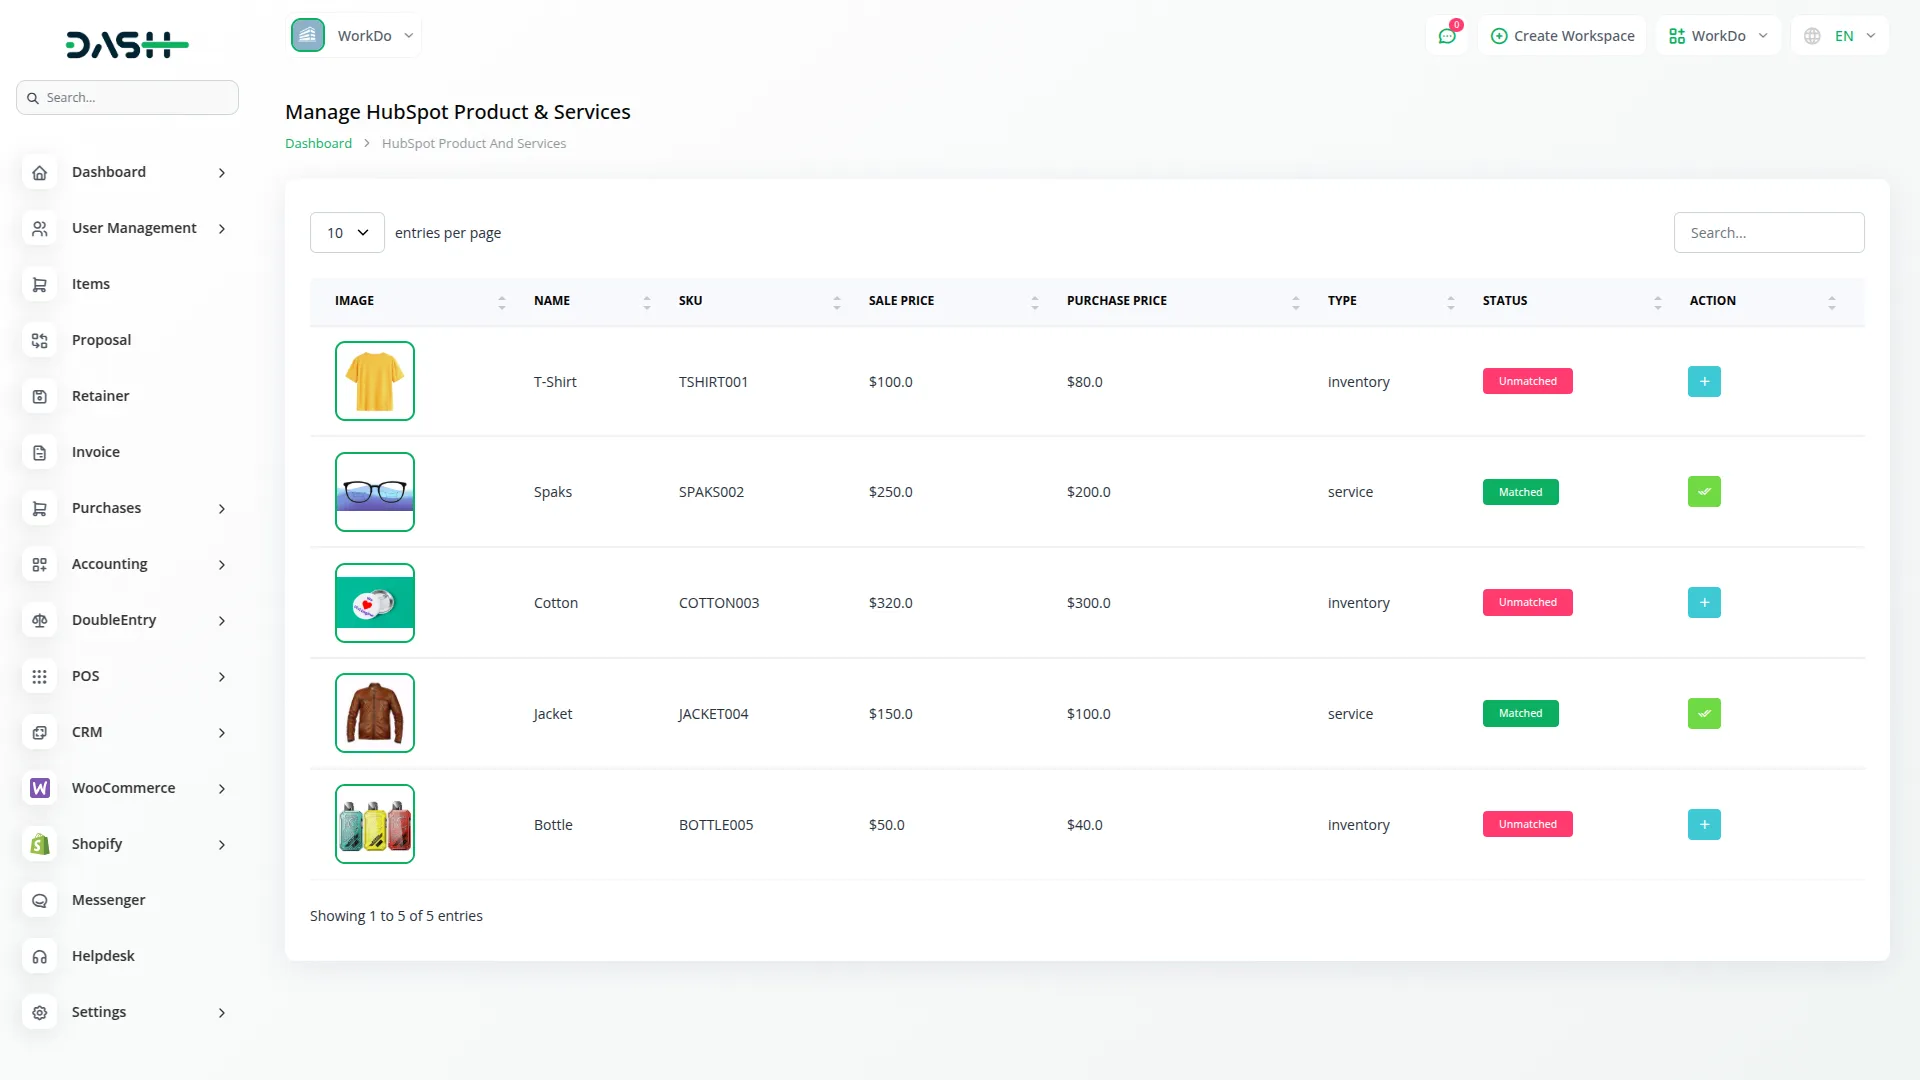
- Once properly configured with the toggle enabled, you can access HubSpot ticket data through the HubSpot Support Ticket Add-On section within your dashboard. The integration displays all HubSpot tickets in a centralized location for streamlined management.
- The integration provides bidirectional synchronization between your platform and HubSpot: From HubSpot: Tickets created in HubSpot are automatically displayed in the HubSpot Support Ticket section, To HubSpot: Tickets created within the HubSpot Support Ticket section are automatically synced to HubSpot.
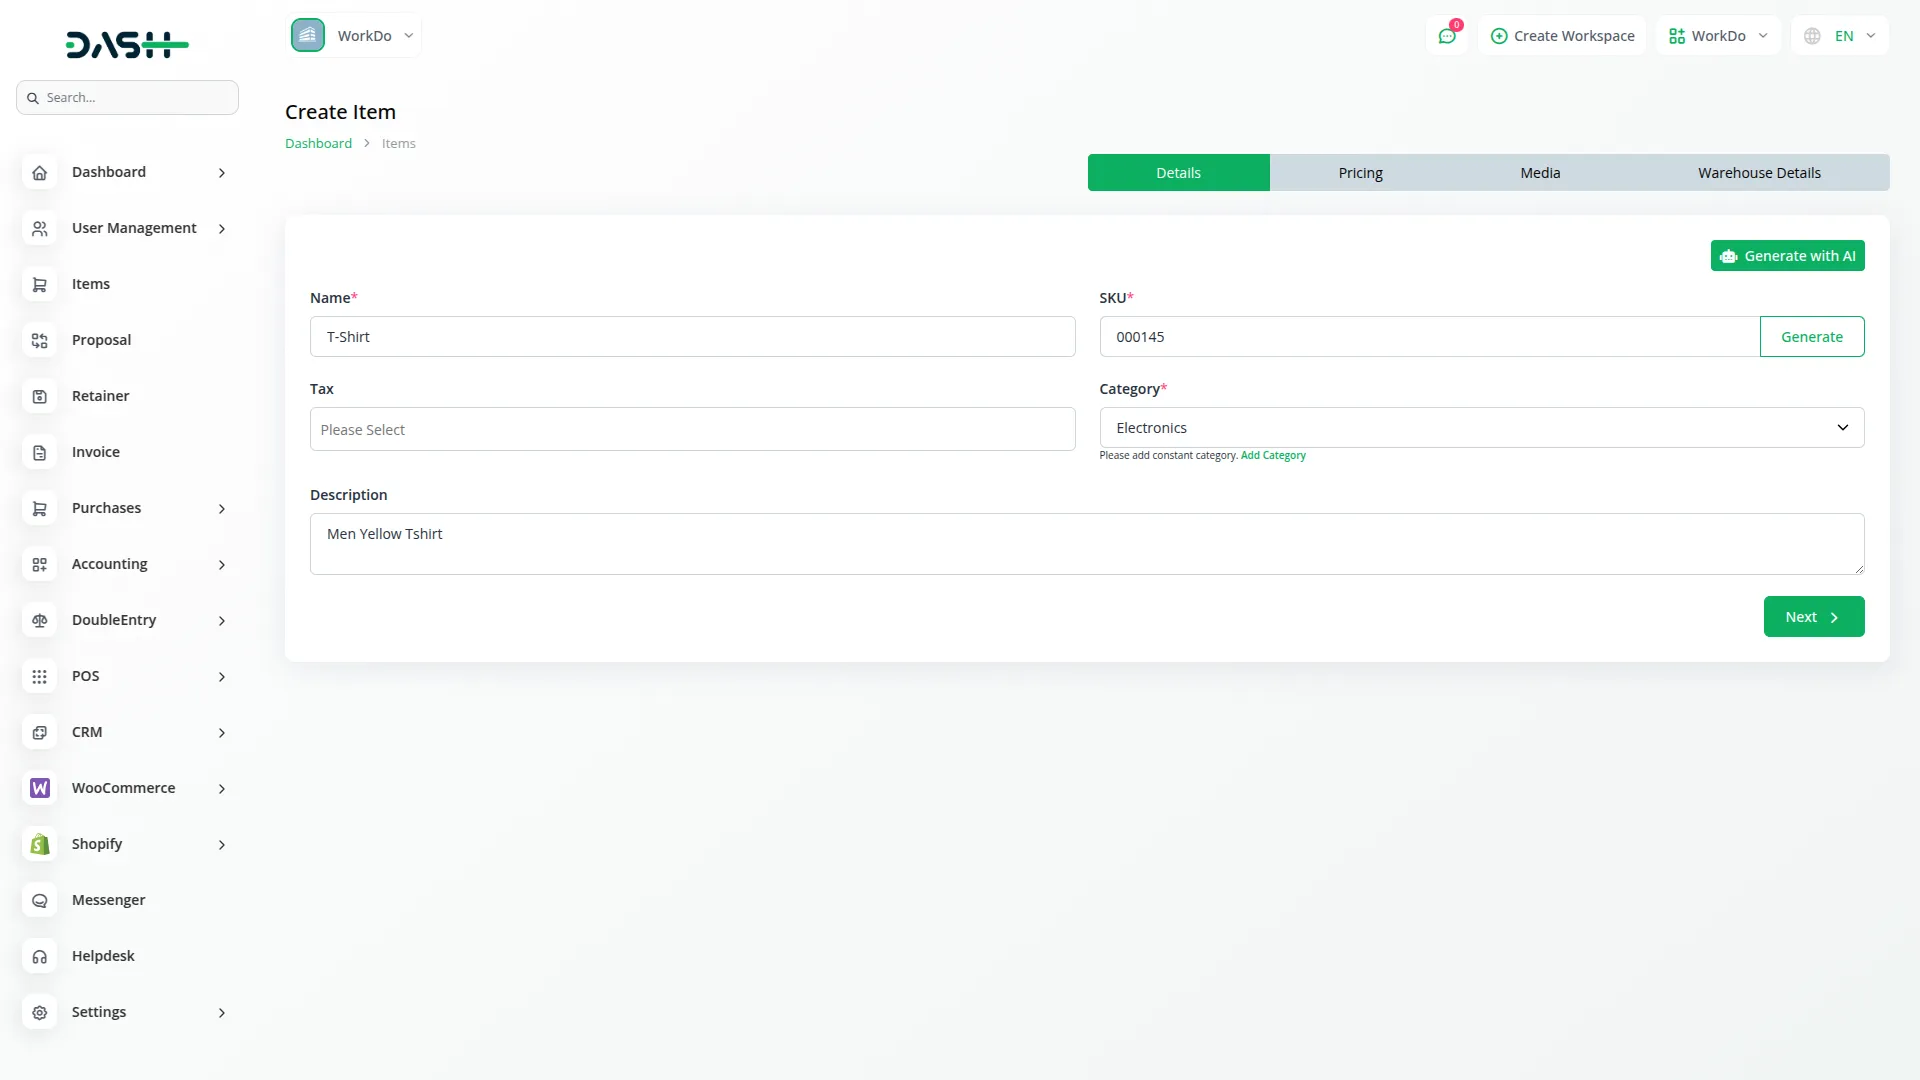
- To create a new HubSpot support ticket, Click the “Create” button in the top right corner Fill out the ticket creation form with the following details, Enter the subject, Select the Priority (Low, Medium, High, or Urgent) from the dropdown, select the Stage (New, In Progress, On Hold, or Close) and enter the Description. All newly created tickets automatically sync with HubSpot upon submission.
- The main ticket list displays all support tickets in an organized table format with the following columns: Ticket ID (clickable for detailed view), Subject, Owner, Status (Synchronization status: Unsynchronized, Synchronized – visible only if Synchronize setting is enabled), Priority Visual indicator (color-coded badges for Low, Medium, High, Urgent), Stage: Current workflow stage (New, On Hold, etc.), and Created At.
- Use the search bar at the top of the ticket list to quickly locate specific tickets by entering keywords related to Ticket ID, Subject, Owner, or other fields. You can also filter by Status (if enabled), Stage, and Priority. Click the red “Search” button to execute your query.
- While tickets sync automatically, you can manually refresh ticket data from HubSpot at any time by clicking the sync icon in the Actions column for individual tickets or using the bulk sync function.
Reply to HubSpot Support Ticket
- When you click the reply icon from the Actions column in the ticket list, you’ll be directed to the ticket reply page where you can view complete ticket details and respond to the ticket. The reply page displays comprehensive information organized into multiple sections, including the ticket header with the unique identifier, subject line, and color-coded stage badge indicating the current workflow status. You can also see the ticket owner, creation timestamp, and ticket type category, giving you immediate context about the support request. This centralized interface ensures all ticket communication and information is accessible in one place for efficient support management.
- To respond to a ticket, use the Add Reply form located in the main content area. Note: If the ticket does not have an assigned Owner Name or Owner Email in HubSpot, the reply functionality will be disabled, and a warning message will appear. This ensures replies are directed to a valid owner.
- The To Email field allows you to select or enter the recipient’s email address, while the Reply Message text area is where you compose your detailed response. Once you’ve written your message, click the Send Reply button to submit your response. All replies are automatically synced with HubSpot and associated with the ticket thread, maintaining a complete communication history.
- The right sidebar displays essential ticket details including the ticket ID, stage, priority level, and created/updated timestamps. Below that, the Owner Information panel shows the assigned team member’s details, subject line, and full ticket description.
- The Associated Contacts section allows you to view and manage all contacts linked to the ticket by clicking the “Create” button to add new contacts or the delete to remove them, ensuring only relevant parties remain connected to the support conversation.
Manage HubSpot Contacts
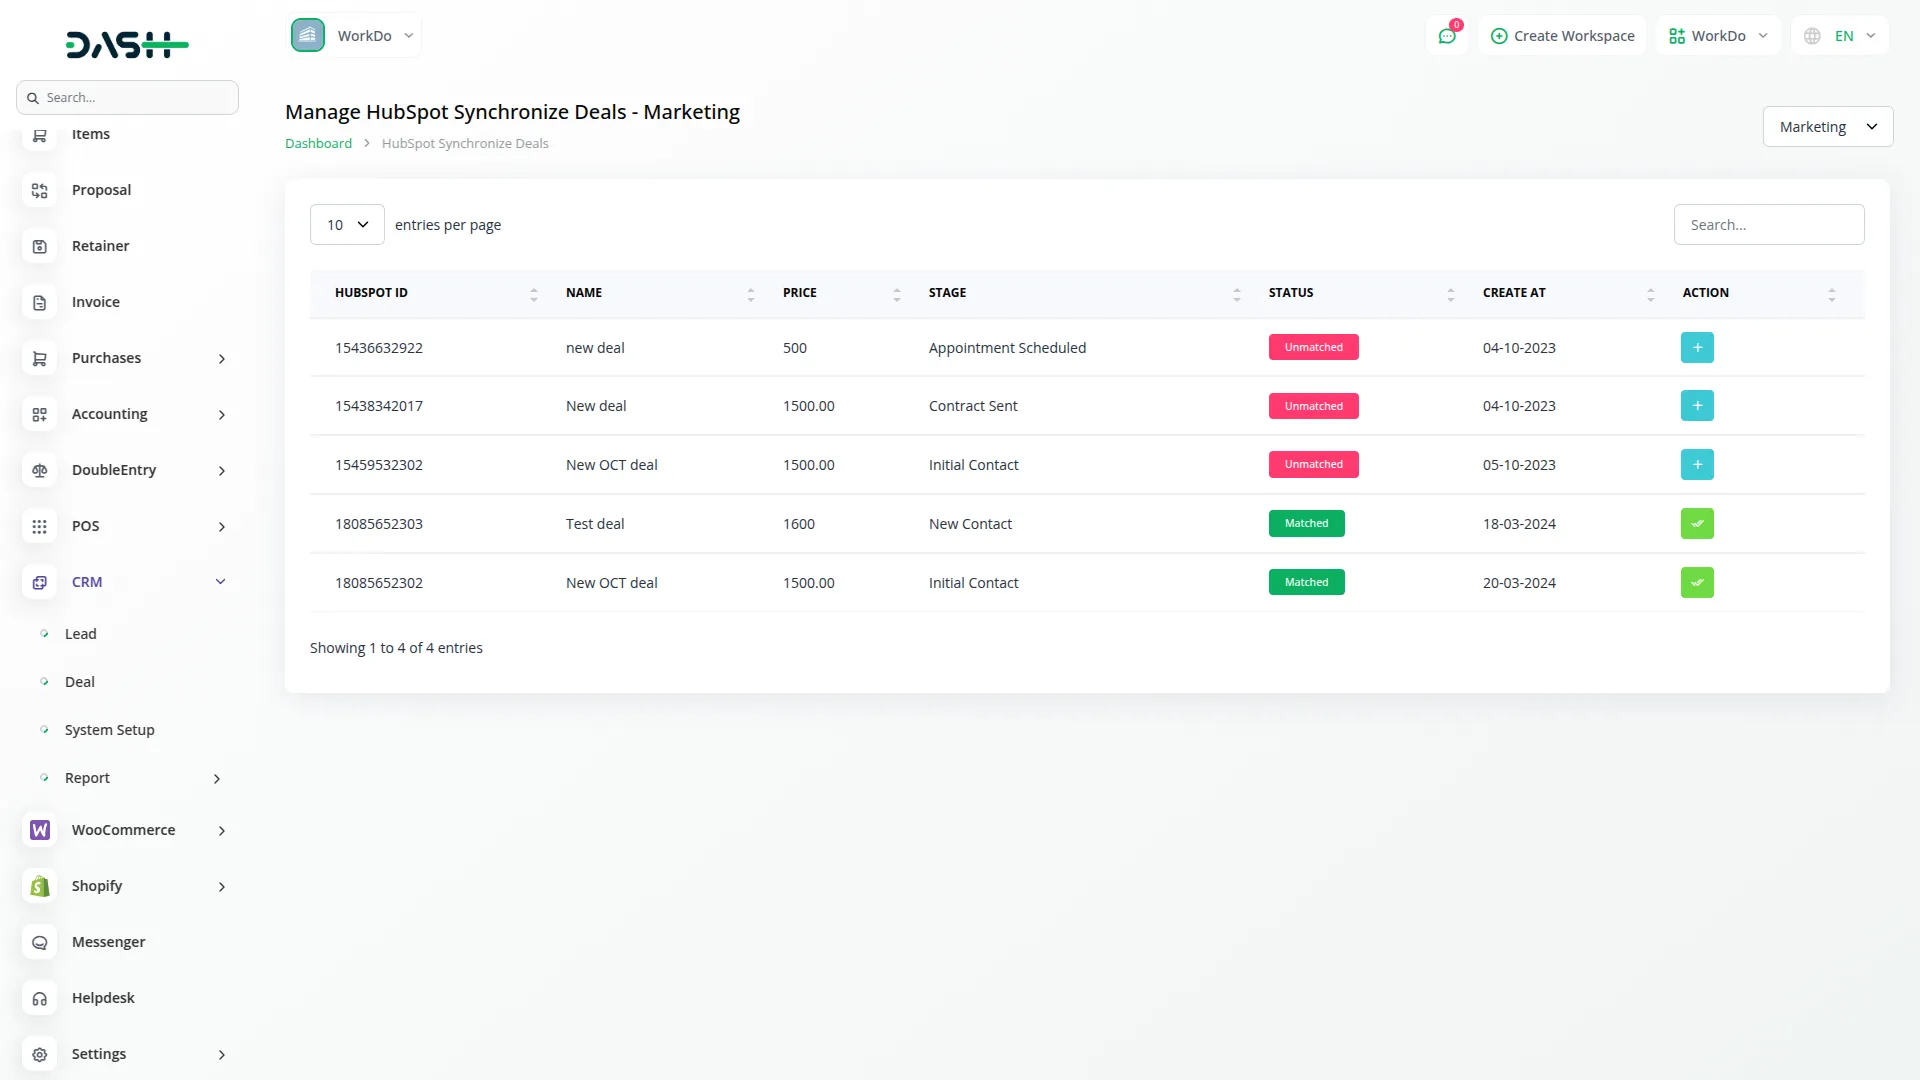
- The Manage HubSpot Contacts section allows users to efficiently manage contacts linked to HubSpot support tickets. You can access this section by clicking the Contacts button at the top of the Manage HubSpot Support Tickets page.
- To create a new contact, click the “Create” button in the top corner of the page. This opens the contact creation form, where you can enter essential information such as First Name, Last Name, Email, and Phone Number.
- The Contact List page displays all contacts in a structured table format with columns for Name, Email, Phone, Created At, and Actions. Use the search bar at the top of the page to quickly locate specific contacts by entering their name, email, or phone number, then click the Search button to filter results.
- Each contact row includes action icons for easy management. Click the edit to modify existing contact details, or click the delete to remove a contact from the system.
How to generate the access token:
- Sign in to the HubSpot portal you want to integrate with.
- Go to Settings (top-right).
- In the left sidebar, choose Integrations > Private Apps.
- Click Create private app.
- Give the app a Name (e.g. “Ticket Sync”) and optional description.
- Under Scopes, tick only the APIs you really need.
- Click Create app → Continue. HubSpot shows a modal with the token once.
- Store the token in a secure place.
Categories
Related articles
-
No Related Posts Found
Reach Out to Us
Have questions or need assistance? We're here to help! Reach out to our team for support, inquiries, or feedback. Your needs are important to us, and we’re ready to assist you!


Need more help?
If you’re still uncertain or need professional guidance, don’t hesitate to contact us. You can contact us via email or submit a ticket with a description of your issue. Our team of experts is always available to help you with any questions. Rest assured that we’ll respond to your inquiry promptly.
Love what you see?
Do you like the quality of our products, themes, and applications, or perhaps the design of our website caught your eye? You can have similarly outstanding designs for your website or apps. Contact us, and we’ll bring your ideas to life.
