
Contract Template – WorkDo Dash SaaS Add-On Guide
Learn how to create and manage contract templates in WorkDo Dash SaaS.
Introduction
Introducing our Contract Template Add-On, a powerful tool meticulously designed to enhance your Contract management experience. In the ever-evolving landscape of Contract management, efficiency and consistency are paramount, and this Add-On is here to deliver precisely that. It empowers you to effortlessly create, save, and convert Contract templates into active Contracts, taking your Contract management to the next level. With the ability to define Contract structures, tasks, milestones, and key parameters, you can easily tailor templates to your specific needs. The customization options allow you to fine-tune templates, making them perfectly suited to your Contract requirements. Whether you need to save time, reduce manual data entry, or maintain a consistent Contract structure, our Contract Template Add-On is your key to efficient and error-free Contract management, all while retaining the flexibility to adapt to the unique demands of each Contract.
Note: This Add-On is dependent on the Contract Add-On, so you need to purchase it first.
How to Install the Add-On?
To Set Up the Contract Template Add-On, you can follow this link: Setup Add-On.
How to use the Contract Template Add-on?
- Before using the Contract Template Add-On, make sure that the Contract Add-On is active.
- The Contract Template Add-On will not work unless the Contract Add-On is enabled, as it depends on it for functioning properly.
manage Contract Template
- To create a new template from scratch, click the “Create” button at the top of the contract template page. Select a Contract Type from the dropdown (or create a new one via the “Create contract type” link) and enter a Subject, Value, set a Start Date, and End Date.
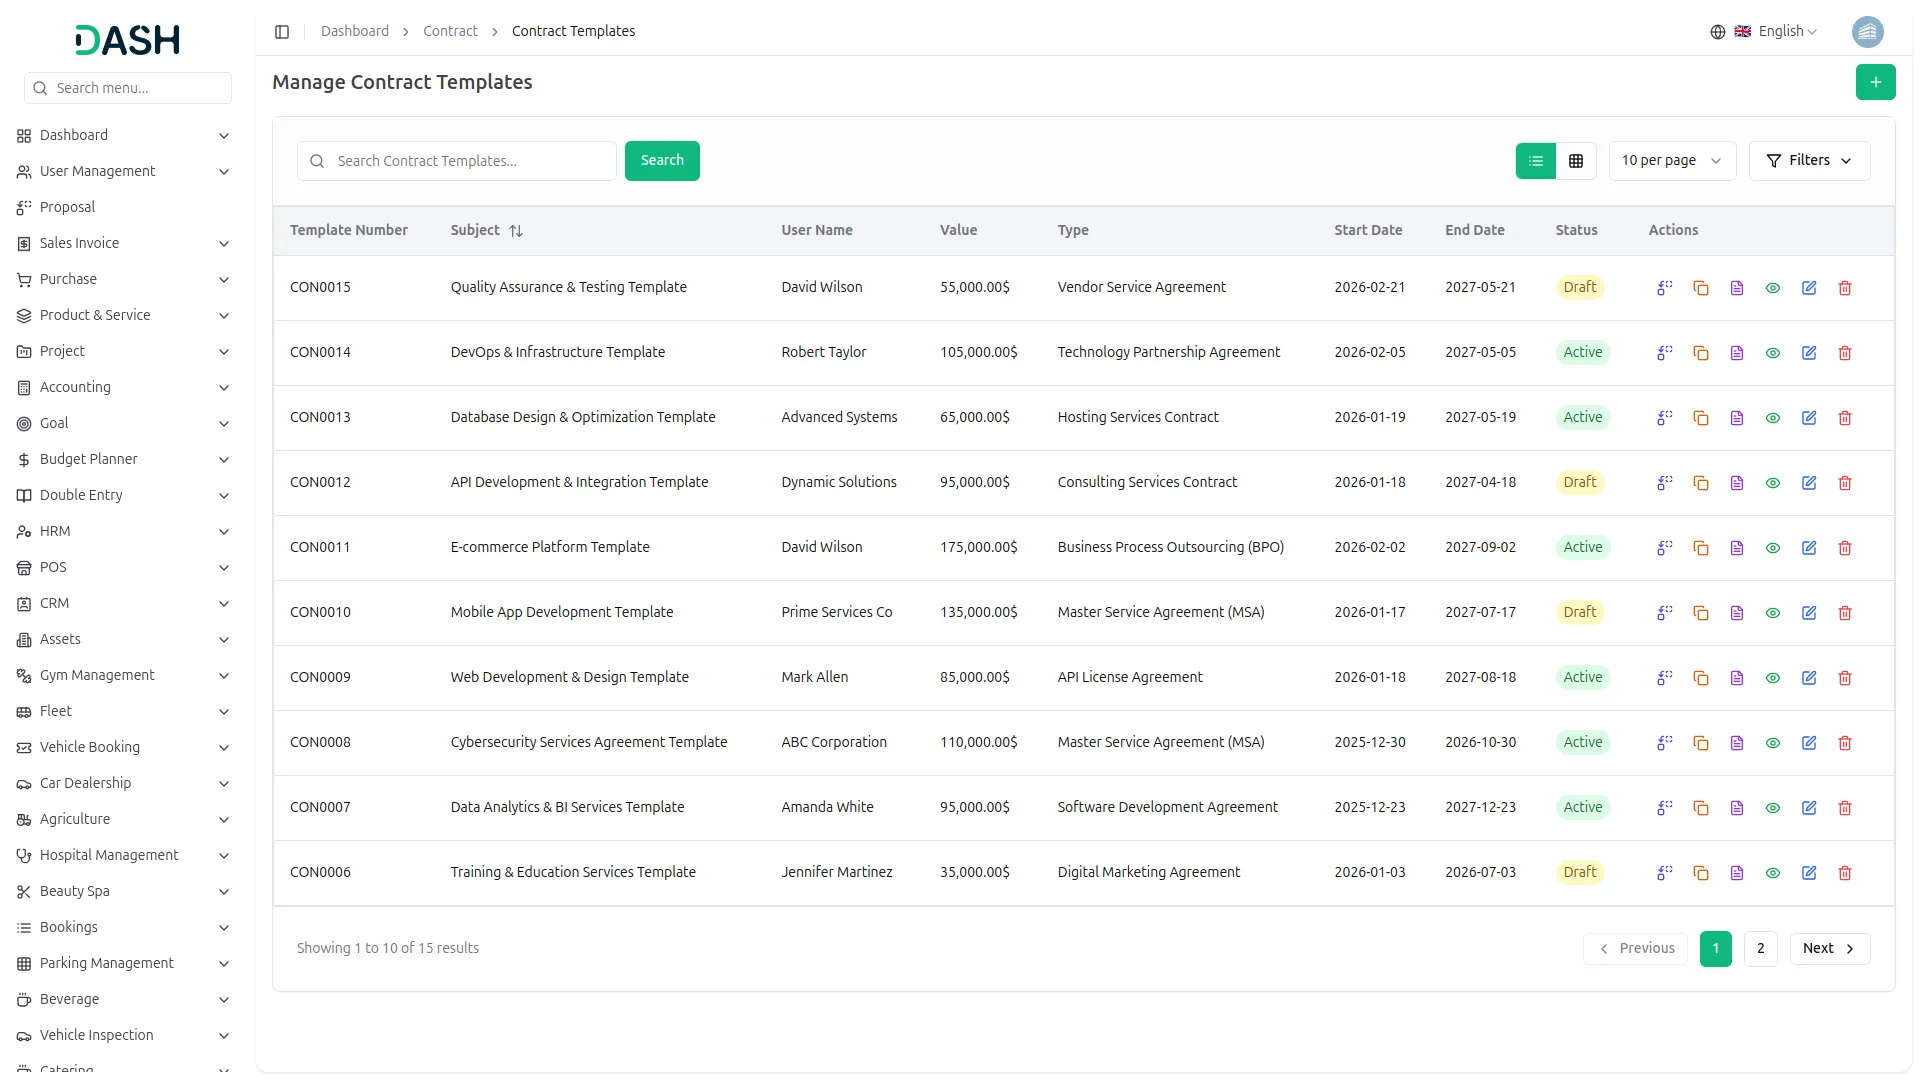
Viewing Contract Templates
- At the top of the page, you can filter templates by status using the “All”, “Draft”, “Active”, and “Archived” tabs, each showing a count of how many templates fall under it. Use the search bar to find a specific template.
- Templates are displayed as cards, each showing a preview thumbnail, Status (Draft, Active, or Archived), Template Name, Contract Type, and when it was last updated.
- Clicking “Convert to Contract” opens a form pre-filled with the template’s Subject, Value, Start Date, End Date, Status, and Contract Type, which you can edit as needed. You’ll also need to select the Users to assign to the new contract. You can choose to copy over the template’s Comments, Notes, and Attachments using the checkboxes under “Copy Options”. A note on the form reminds you that converting creates a new contract while the original template stays unchanged.
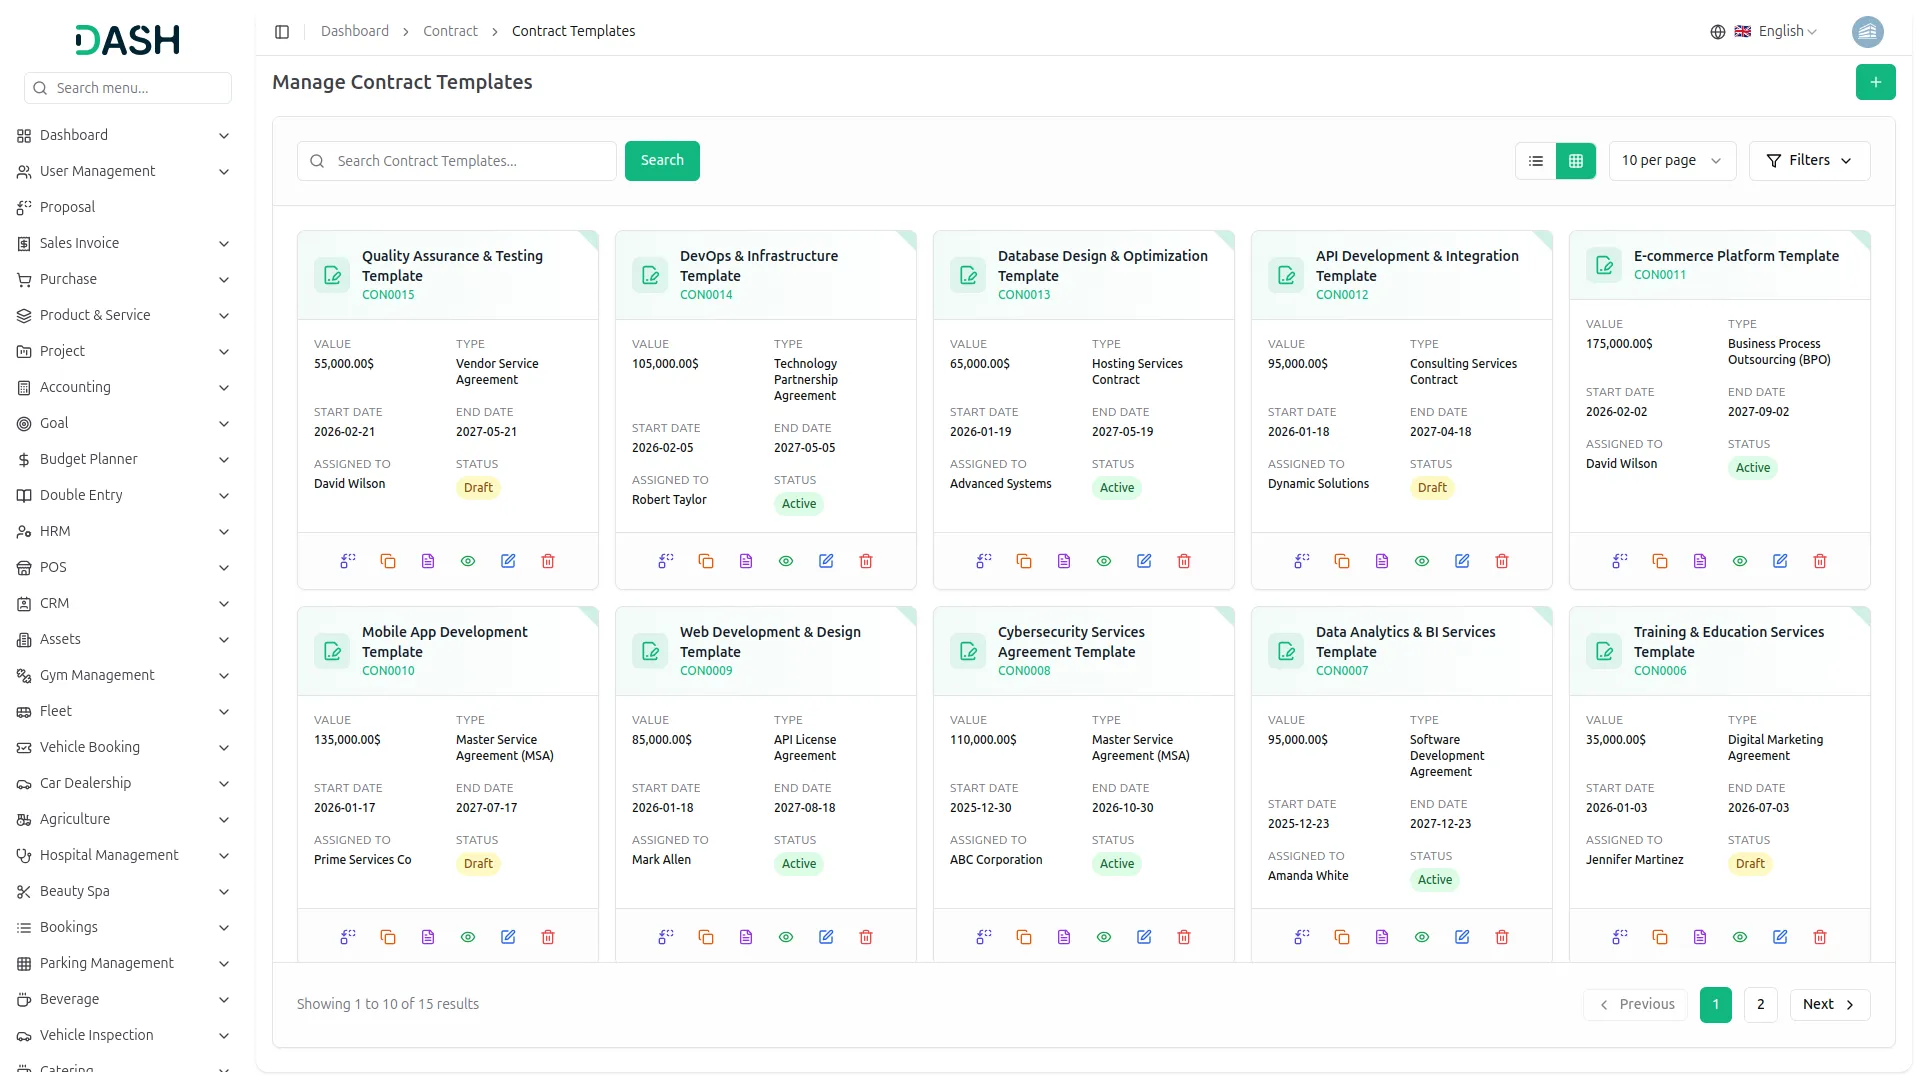
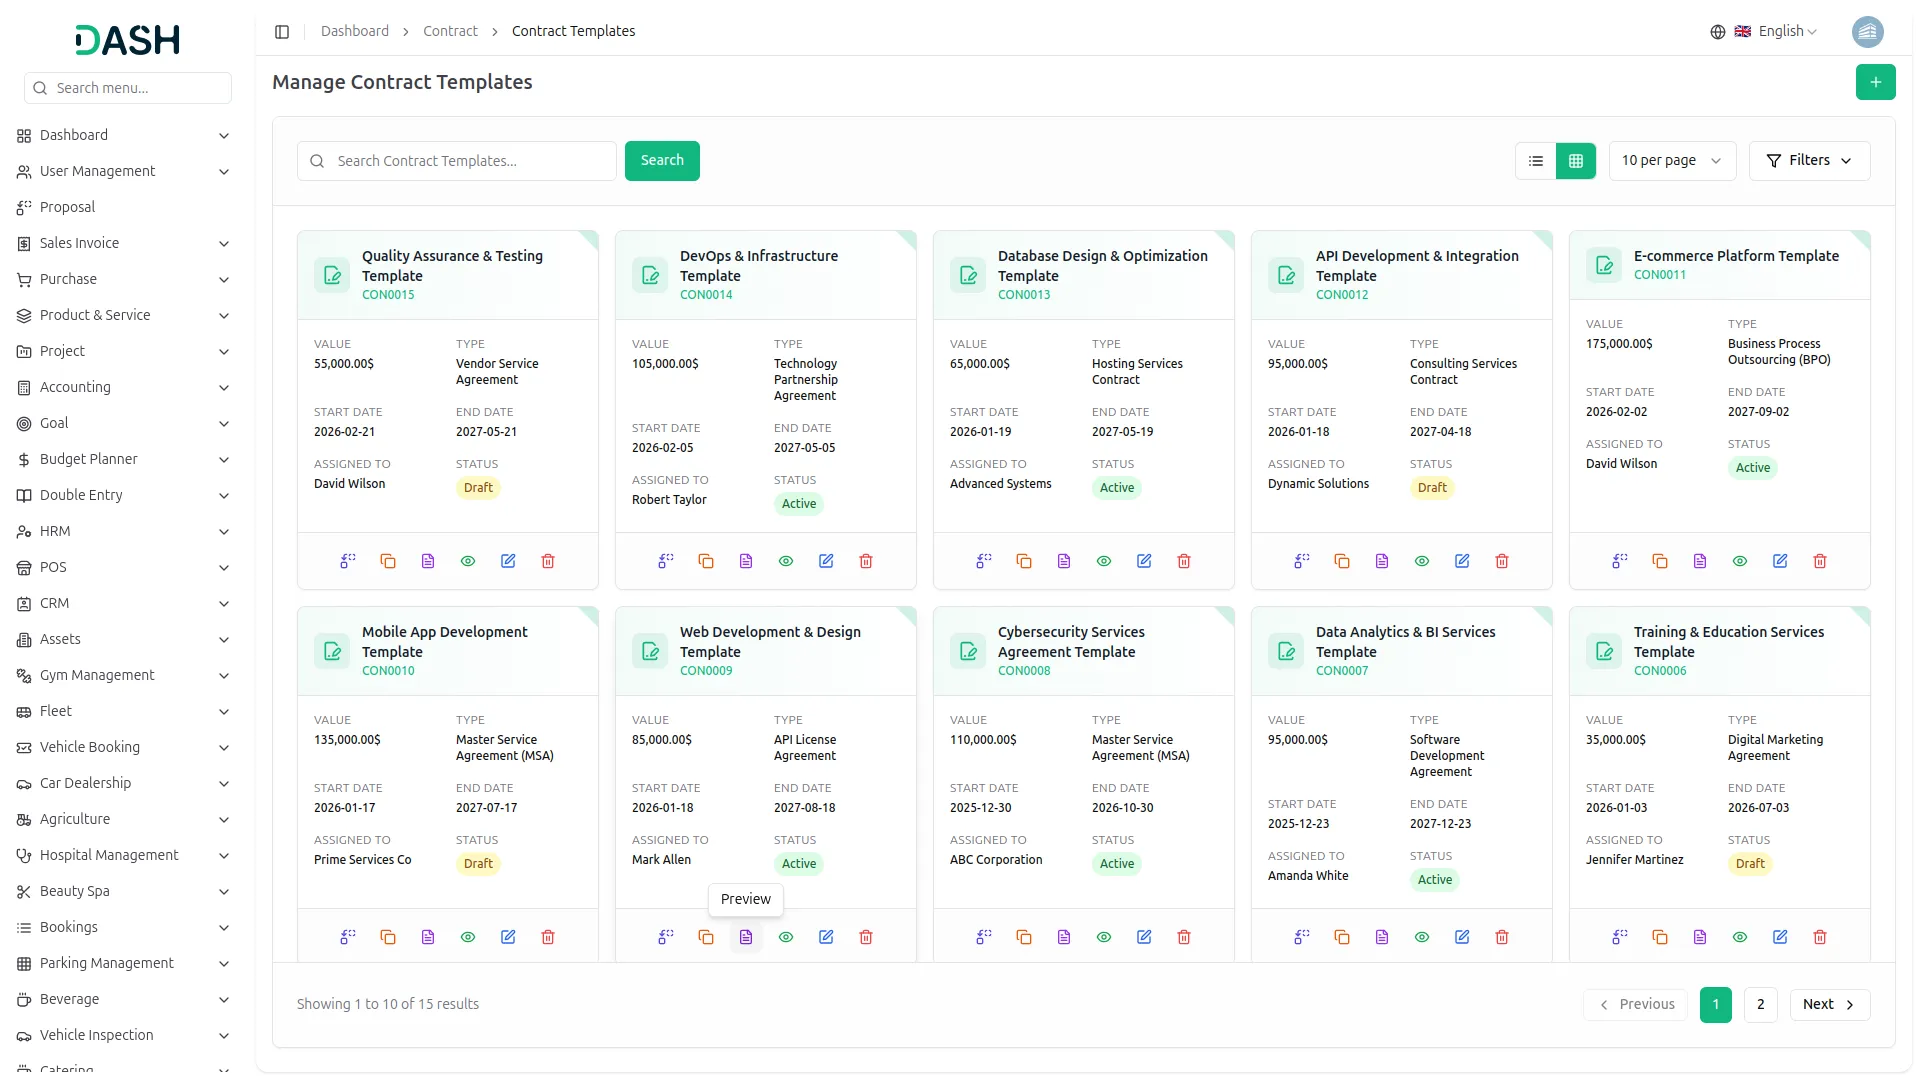
Template Actions
- Each template card has additional options:
- Duplicate: Create a copy of the template. The form opens pre-filled with the original’s Subject (marked as a Copy), Value, Status, Start Date, End Date, and Contract Type, which you can adjust as needed. You can also choose to copy over its Comments, Notes, and Attachments before clicking “Duplicate” to save.
- Preview: View a formatted, print-ready version of the template, showing its Status, Template Number, Client Name (shown as a placeholder like {client_name} since no client is assigned yet), Contract Value, Start/End Date, Duration, and Description, with options to Print or Download as PDF.
- View: Open the full template details page.
- Edit: Update the template’s information.
- Delete: Permanently remove the template.
- When you click the View button, you’ll see a detail page where key figures, Template Value, Start Date, End Date, and Duration are displayed at the top alongside its current Status.
- The left panel shows the Template Details, including the Template Number, Template Type, and when it was Created.
- The template detail page is organized into four tabs: Details, Attachments, Comments, and Notes.
- Details: Shows the template’s Description, which can be updated using the “Edit” button.
- Attachments: Lists uploaded files with their File Name, who uploaded them, and the upload Date, with options to download, preview, or delete each file. Click the upload icon at the top right to add new attachments.
- Comments: Displays a comment thread on the template, where you can write and post new comments and edit or delete existing ones.
- Notes: Works similarly to Comments, allowing you and your team to add internal notes, with the ability to edit or delete existing entries.
Categories
Related articles
- Jitsi Meet – WorkDo Dash SaaS Add-On Guide
- PayU – WorkDo Dash SaaS Add-On Guide
- Paystack – BookingGo SaaS Add-On Guide
- Performance Indicator – WorkDo Dash SaaS Add-On Guide
- eSewa – BookingGo SaaS Add-On Guide
- Moneris – WorkDo Dash SaaS Add-On Guide
- MyFatoorah – BookingGo SaaS Add-On Guide
- Omise – BookingGo SaaS Add-On Guide
- Rocket.Chat Credentials Generation Guide
- Waste Management – WorkDo Dash SaaS Add-On Guide
- Slack Integration – TicketGo Add-On Guide
- Car Dealership – WorkDo Dash SaaS Add-On Guide
We're Here to Help - Let's Talk
Have questions about our solutions, customization services, or business tools? Our team is here to help you. let's talk.